Advertisement
Quick Links
Advertisement

Related Manuals for Car Solutions QCPASS1371


Summary of Contents for Car Solutions QCPASS1371
- Page 1 Installation Manual HDMI Interface for Mercedes Benz NTG5.5 & NTG6.0...
- Page 2 Compatibility: E-Class 8.4"/12.3" 2016~ S-Class 12.3" 2018~ Sprinter 7“/10" 2019~ C class 7”/10" 2019~ A Class 7”/10" 2019~ Components: Interface Main board *1 Interface Input / Output specification: Input: LCD INPUT(CAR SYSTEM) *1 HDMI *1 Analog RGB *1 A/V *2 CVBS(Front Camera) *1 CVBS(Rear Camera) *1 Output:...
-
Page 3: Main Board
RGB CABLE MAIN BOARD LCD DUAL FAKRA AV CABLE HRGBCA0013 QCPASS1371 HLCDCA0058 HAVCAB0056 UART CABLE REAR CABLE MULTI CABLE Res. T/S CABLE HTOUCH0031 HARETC0002 HARETC0240 HTOUCH0009 BUTTON CABLE IR CABLE REMOTE CTRL. HARETC0001 HIRCAB0002 REMOTE0001 * Power cable for NTG5.5 [OPTION] * Power cable for NTG6.0... -
Page 4: Rear Camera
* ON : DOWN / OFF : UP Please make sure to disconnect the power cable of the interface and reconnect the power cable again to apply the dip switch changes. FUNCTION Dip S/W SELECT OFF : RGB MODE ON : RGB MODE SKIP OFF : HDMI MODE HDMI ON : HDMI MODE SKIP... - Page 5 FUNCTION POWER & PIP MENU Activating OSD menu Making a selection, changing image display ▲ Moving upward ▼ Moving downward Moving leftward ◀ (If you press this button 2 seconds long, you can access the factory mode) Moving rightward ▶ (If you press this button 2 seconds long, you can reset all the data about user environment)
- Page 6 Menu of FACTORY IMAGE IMAGE H-POSITION PARK V-POSITION H-POSITION: Move the screen left and right. UTIL H-SIZE(NAVI) INFO V-POSITION: Move the screen up and down. H-SIZE (NAVI): Adjust the left and right size of navigation. MENU to Return SEL to Select/Save Menu of FACTORY IMAGE PAS TYPE...
- Page 7 Menu of FACTORY UTIL1 IMAGE AVOUT SELECT AVOUT SELECT: PARK AUTO FCAM TIME UTIL1 FCAM FUNC Select audio channel transmitted through AUX (HDMI, UTIL2 NAVI MODEL INFO HDMI MODEL FACTORY RESET AUTO FCAM TIME: MENU to Return SEL to Select/Save Front camera operation time adjustment FCAM FUNC: Select front camera display (ORI.
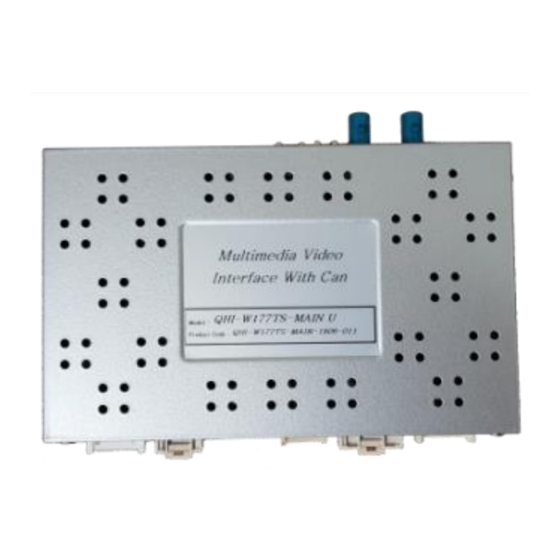
- Page 8 * Side View for QHI-W177TS...
- Page 9 * Please refer next page for LVDS in/out connection * Side View RGB Pin#7 is UART-TX for * Side View UART Touch * Please refer next A/V in *2 V2 IR for page for power/CAN Rear camera in *1 DTV IR connection Front camera in *1 connection...
- Page 10 Please find beige LVDS connector from NTG5.5 head unit for 10”/12.3” screen In case of 10” and 12.3” screen of NTG 5.5, please use provided LVDS cable HLCDCA0058 1. Disconnect the OEM LVDS cable from the backside of head unit 2.
- Page 11 Please find blue LVDS connector from NTG5.5 head unit for 7”/8.4” screen In case of 7” and 8.4” screen of NTG 5.5, please modify the pin location of provided LVDS cable HLCDCA0058, otherwise, screen display will be black. LCD DUAL FAKRA * Swap location #1 and #2 both in male terminal and HLCDCA0058 female terminal.
- Page 12 Please find purple LVDS connector from NTG6.0 head unit for 10” screen Please use provided LVDS cable HLCDCA0058 OEM Cable 1. Disconnect the OEM LVDS cable from the backside of head unit 2. Connect the OEM cable to the female connector of supplied LVDS Fakra cable 3.
- Page 13 * CAN IN/OUT connection for NTG5.5 - Find a bunch of wires from the command behind the monitor as shown below Find a bunch of Take away the black Remove the black cables from the connector cover connector marked command behind with a red circle Reconnect the supplied Put the black connector...
-
Page 14: Power Cable
* CAN IN/OUT Connection for NTG6.0 1. Disconnect the OEM power cable from the backside of command 2. Connect the OEM cable to the female connector of supplied power cable 3. Connect the male connector of supplied power cable to the backside of monitor ❸... - Page 15 * Press high lighted OEM button for 3 seconds long to mode switch...
- Page 16 1. Rear Camera Mode Switch Pushing Monitor shuttle Mode Mode Joy shuttle Direction Rear, Front Ext. Camera <-> OEM 12.3inch Camera Short Screen mode Rear, Front Ext. Camera <-> OEM 8.4inch Camera Short Screen mode 2. DVD, DTV OSD Control OSD control remote will appear if the joy shuttle is moved to the left for a short time in DVD, DTV mode Pushing Monitor...
- Page 17 * Press high lighted OEM button for 3 seconds long to mode switch...
- Page 18 1. Switch to OEM in Rear Camera Mode : Short press below high lighted button in Ext. rear camera mode to switch OEM screen 2. DVD, DTV OSD Control : Slide arrow button right and left for DTV and DVD channel up(+) and down(-) ❷...
- Page 19 * These functions can be used when SE-CP(NAVI MODEL – SE-CP(WVGA) installed. Section Button Operation Function Short press Select HOME/STAR Long press Voice Control (3sec) Short press Left JOG LEFT JOG RIGHT Short press Right Short press Up/Track + JOG UP Long press (3sec) Home...
- Page 20 Q. I cannot change mode A. Check connection of Ground cable and IR Cable. Check LED lamp is on, if not check connection of POWER cable. Q. All I got on the screen is black. A. Check second LED lamp of the interface is on, if not, check A/V sources connected are working well.
Need help?
Do you have a question about the QCPASS1371 and is the answer not in the manual?
Questions and answers