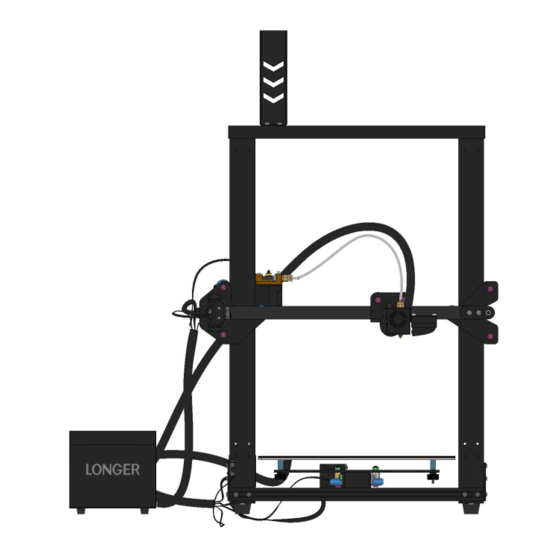
Summary of Contents for LONGER LK1
- Page 1 LONGER LK1/LK4/LK4Pro/LK5Pro/Cube2 & Cura4.4 User Guides 2020-09-29 www.longer3d.com support@longer3d.com...
-
Page 2: Table Of Contents
Contents Contents ...................... I 1.Install Software ..................2 1.1Open the software installation package and enter the "Welcome Page" .................. 2 1.2About user agreement, software introduction, data sharing content: ....................3 1.3 According to your Model.Add a Printer ........4 2.Quick use: Slicing Software ............... 5 2.1Add Model .................. -
Page 3: Install Software
1.Install Software 1.1Open the software installation package and enter the "Welcome Page" www.longer3d.com support@longer3d.com... -
Page 4: About User Agreement, Software Introduction, Data Sharing
1.2About user agreement, software introduction, data sharing content: www.longer3d.com support@longer3d.com... -
Page 5: According To Your Model.add A Printer
1.3 According to your Model.Add a Printer [1]Cube2 model, please modify the print size and uncheck the hot bed setting www.longer3d.com support@longer3d.com... -
Page 6: Quick Use: Slicing Software
2.Quick use: Slicing Software 2.1Add Model Click the "Open File" icon in the upper left corner of the interface, select the model to be printed, and the model will appear in the software. www.longer3d.com support@longer3d.com... -
Page 7: Set Up The Model
2.2Set up the Model Left-click to select the model, and the edit frame on the right will become optional items, and the model can be set up, zoomed, mirrored, and support area. www.longer3d.com support@longer3d.com... -
Page 8: Select Printing Parameters
2.3Select Printing Parameters Click the frame in the upper right corner, select the corresponding printing layer thickness, filling, support, and Adhesion, and click "Slice" in the lower right corner. When the slicing is completed, the Gcode file can be saved to the Micro SD card and inserted into the printer for printing. -
Page 9: Faq
8. FAQ ; -- START GCODE -- Star-G-code Replacement G21 ;metric values G90 ;absolute positioning M82 ;set extruder to absolute mode M107 ;start with the fan off G28 X0 Y0 ;move X/Y to min endstops G28 Z0 ;move Z to min endstops How to solve G1 Z1 F1000 ;move up slightly automatic unloading...


Need help?
Do you have a question about the LK1 and is the answer not in the manual?
Questions and answers