RiverRidge 06-039 Assembly Instructions Manual
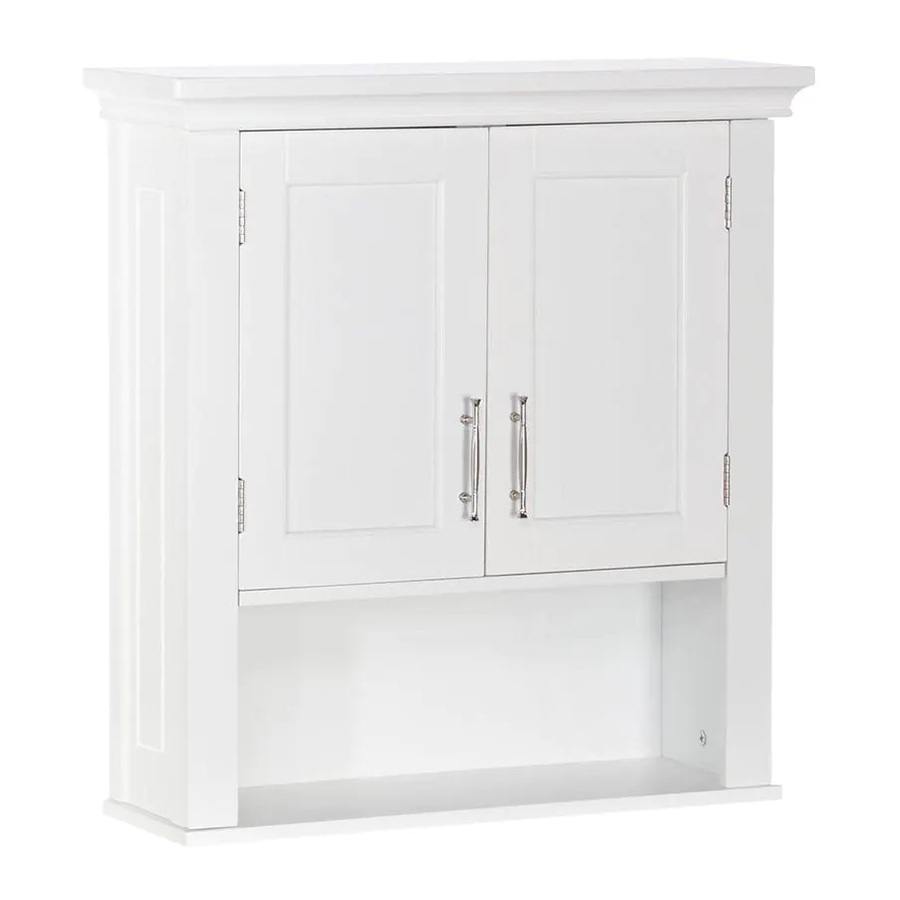
Somerset 2 door wall cabinet
Hide thumbs
Also See for 06-039:
- Assembly instructions manual (11 pages) ,
- Assembly instructions manual (11 pages)

Related Manuals for RiverRidge 06-039


Summary of Contents for RiverRidge 06-039
- Page 1 ASSEMBLY INSTRUCTIONS RiverRidge® SOMERSET 2 DOOR WALL CABINET ITEM #:06-039 WHITE ITEM #:06-078 GRAY...
- Page 2 Send requests for missing or damaged parts replacements by email to: customer.service@ssi-rr.com or call toll free 1-(844)-223-5201 or order parts on line at www.riverridgehome.com THIS SHELF UNIT WILL HOLD UP TO 25 POUNDS PER SHELF OR A TOTAL OF 75 POUNDS. DO NOT LOAD EACH SHELF WITH MORE THAN 25 POUNDS AND A TOTAL OF 75 POUNDS TOTAL WEIGHT.
-
Page 3: Parts List
PARTS LIST PARTS DESCRIPTION LEFT DOOR RIGHT DOOR RIGHT SIDE PANEL LEFT SIDE PANEL CROSS BAR SHELF TOP BOARD BOTTOM BOARD UPPER BACK BOARD MIDDLE BACK BOARD LOWER BACK BOARD ADJUSTABLE SHELF RIGHT SUPPORT BOARD LEFT SUPPORT BOARD... - Page 4 PARTS DESCRIPTION 20PCS WOOD DOWEL 16PCS CAM BOLT CAM LOCK 16PCS WOOD SCREW 3X10MM 26PCS HINGE 4PCS 2PCS MAGNET PLATE 20PCS WOOD SCREW 3X12MM 1SET MAGNET WITH 2 SCREWS 4PCS SHELF HOLDER MACHINE SCREW 4PCS 4X15MM 2PCS HANDLE 2PCS PLASTIC ANCHOR 2PCS WOOD SCREW 4X40MM PLASTIC CONNECTION...
- Page 5 STEP 1 STEP 1 1. Attach 1 magnet plate (F) to left door (1) by inserting 1 wood screw (D) through hole on magnet plate (F) and tighten to left door (1). 2. Attach 1 handle (K) to left door (1) by inserting 2 machine screws (J) through holes on left door (1) and tighten to handle (K).
- Page 6 STEP 3 STEP 3 1. Attach right support board (13) to right side panel (3) by inserting wood dowels (A) into dowel holes and cam bolts (B) into cam lock holes on right side panel (3). 2. Insert 3 cam locks (C) into cam lock holes on right side panel (3) and rotate clockwise to secure cam bolts (B) in place.
- Page 7 STEP 5 STEP 5 1.Screw 4 cam bolts (B) into the pre-threaded holes on bottom board (8). 2.Insert 4 wood dowels (A) into dowel holes on bottom board (8). 3. Attach bottom board (8) to left side panel (4) and right side panel (3) by inserting cam bolts (B) and wood dowels (A) into holes on left side panel (4) and right side panel (3).
- Page 8 STEP 6 90° STEP 6 1.Connect upper back board (9) and middle back board (10) together by sliding into plastic connection strip (N). 2.Attach upper back board (9) and middle back board (10) to cabinet by inserting wood screws (G) through holes on upper back board (9) and middle back board (10), then tighten to cabinet.
- Page 9 STEP 8 STEP 8 Place drawing with hole positions on wall in desired position and drill 2 holes. Insert 2 plastic anchors (L) into holes and attach cabinet in place by inserting 2 long wood screws (M) through holes on cross bar (5) and tighten into plastic anchors (L) in wall. STEP 9 STEP 9 1.Insert 4 plastic holders (I) into holes on left side panel (4) and right side panel (3).
Need help?
Do you have a question about the 06-039 and is the answer not in the manual?
Questions and answers