RiverRidge Somerset 06-039 Assembly Instructions Manual
2-door wall cabinet
Hide thumbs
Also See for Somerset 06-039:
- Assembly instructions manual (10 pages) ,
- Assembly instructions manual (11 pages)
Advertisement
Quick Links
ASSEMBLY INSTRUCTIONS
®
RiverRidge
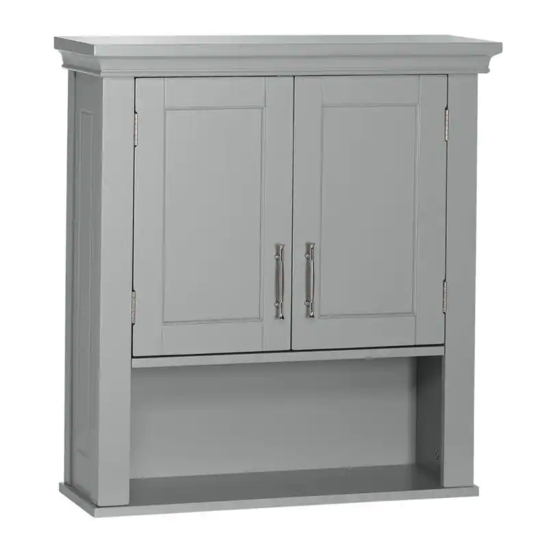
Somerset 2-Door Wall Cabinet
ITEM #: 06-039 White
ITEM #: 06-078 Gray
ADULT ASSEMBLY REQUIRED
This product requires assembly by an adult because of small parts. Care should be taken
in unpacking and assembling this item to keep small parts away from children. During assembly
children should be kept away from the product due to possible risk of injury.
WARNING
SEE FULL WARNING ON PAGE 2
Young children can be seriously injured or killed if furniture tips over. Don't use
this item for a TV stand or place heavy objects on top of item. Always use
angle-braces or anchors to secure furniture to the wall.
Advertisement

Related Manuals for RiverRidge Somerset 06-039


Summary of Contents for RiverRidge Somerset 06-039
- Page 1 ASSEMBLY INSTRUCTIONS ® RiverRidge Somerset 2-Door Wall Cabinet ITEM #: 06-039 White ITEM #: 06-078 Gray ADULT ASSEMBLY REQUIRED This product requires assembly by an adult because of small parts. Care should be taken in unpacking and assembling this item to keep small parts away from children. During assembly children should be kept away from the product due to possible risk of injury.
- Page 2 THIS SHELF UNIT WILL HOLD UP TO 25 POUNDS PER SHELF OR A TOTAL OF 75 POUNDS. DO NOT LOAD EACH SHELF WITH MORE THAN 25 POUNDS OR 75 POUNDS TOTAL WEIGHT. IF OVERLOADED WITH MORE THAN 25 POUNDS PER SHELF OR 75 POUNDS TOTAL WEIGHT, SHELF MAY TIP FROM WALL AND CAUSE SERIOUS INJURY OR DEATH.
-
Page 3: Parts List
PARTS LIST DESCRIPTION Left Door Right Door Right Side Panel Left Side Panel Cross Bar Shelf Top Board Bottom Board Upper Back Board Middle Back Board Lower Back Board Adjustable Shelf Right Support Board Left Support Board... - Page 4 PARTS DESCRIPTION 16PCS Wood Dowel 12PCS Cam Bolt 12PCS Cam Lock 18PCS Screw (3x12mm) 4PCS Hinge 2PCS Magnet Plate 24PCS Screw (2.5x12mm) 1SET Magnet with 2 Screws 4PCS Shelf Holder 4PCS Machine Screw (4x12mm) 2PCS Handle 2PCS Plastic Anchor 2PCS Screw (4x45mm) Plastic Connection Strip Wall Mounting Paper Template...
- Page 5 STEP 1 1. Attach 1 magnet plate (F) to left door (1) by inserting 1 screw (D) through hole on magnet plate (F), then tighten to left door (1). 2. Attach 1 handle (K) to left door (1) by inserting 2 machine screws (J) through holes on left door (1), then tighten to handle (K).
- Page 6 STEP 3 1. Attach left support board (14) to left side panel (4) by inserting 3 cam bolts (B) into cam lock holes on left side panel (4). 2. Insert 3 cam locks (C) into cam lock holes on left side panel (4), then rotate clockwise to secure cam bolts (B) in place.
- Page 7 STEP 5 Screw 2 cam bolts (B) into the cam bolt holes on bottom board (8). Insert 4 wood dowels (A) into dowel holes on bottom board (8). Attach bottom board (8) to left side panel (4) and right side panel (3) by inserting cam bolts (B) and wood dowels (A) into holes on left side panel (4) and right side panel (3).
- Page 8 STEP 6 Attach upper back board (9) and middle back board (10) together by sliding into plastic connection strip (N). Attach upper back board (9) and middle back board (10) to cabinet by inserting screws (G) through holes on upper back board (9) and middle back board (10), then tighten into cabinet.
- Page 9 STEP 8 Option #1: Securing to Drywall 1. Using wall mounting paper template to determine position, screw 2 plastic anchors (L) into drywall. 2. Insert 2 screws (M) through holes on inside of cabinet and into plastic anchors (L) and tighten. Option #2: Securing to Drywall and Wood Stud 1.
- Page 10 ATTENTION ADULTS: Cabinet should be checked periodically for damage or loose screws/parts. Take appropriate action necessary to correct hazards such as tightening of screws and taking any damaged parts away from children. WARNING Please make sure your item is secured to the wall, per assembly instructions. CARE INSTRUCTIONS: Wipe clean with a water dampened cloth.
- Page 11 Thank you for purchasing this RiverRidge Home item. We hope you ® enjoy it and consider purchasing other RiverRidge items. To order replacement parts at no cost to you, email customer.service@ssi-rr.com, call 1-(844)-223-5201 or order parts online at www.riverridgehome.com. Only valid in the United States.
Need help?
Do you have a question about the Somerset 06-039 and is the answer not in the manual?
Questions and answers