Table of Contents

Subscribe to Our Youtube Channel
Related Manuals for Pelstar Health o meter Professional 522KL


Summary of Contents for Pelstar Health o meter Professional 522KL
- Page 1 BABYHR Mounting Instructions for 522KL/522KG PELSTAR, LLC 9500 West 55 St. McCook, IL 60525-7110 USA www.homscales.com © Pelstar, LLC 2018 P/N 522BABYHRBracket Mounting Instructions REV20190107_web...
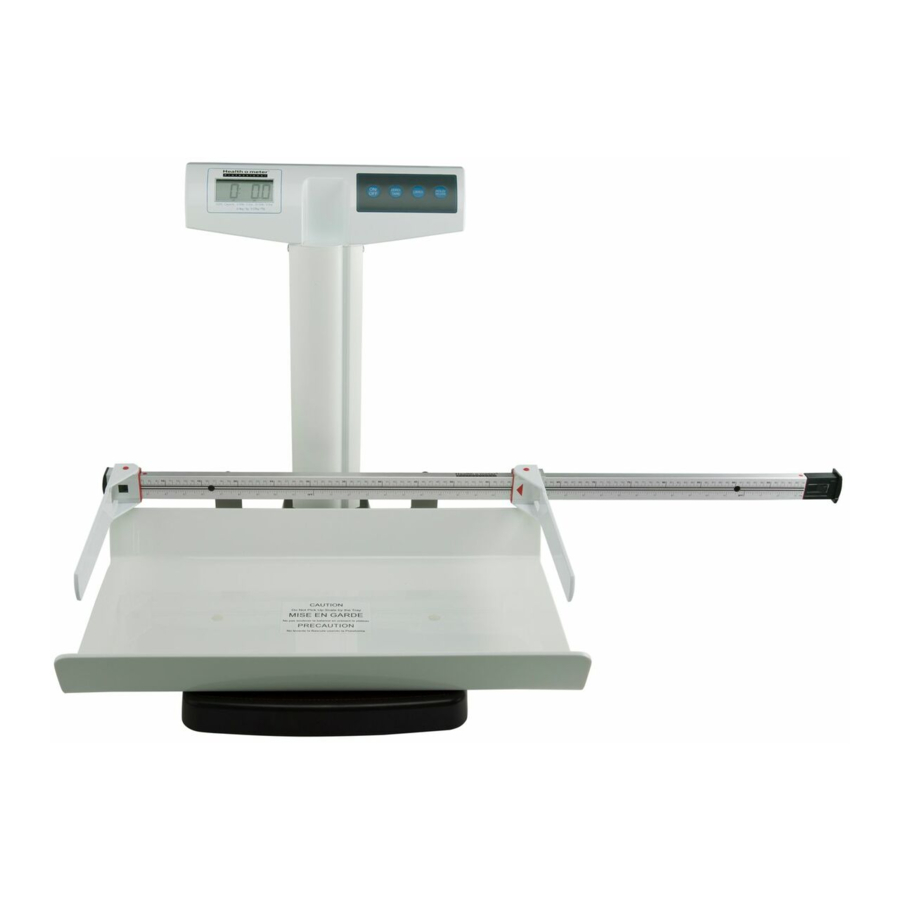
- Page 2 ® Thank you for purchasing this Health o meter Professional product. Please read these instructions carefully and keep it for easy reference or training. Notes: - If mounting the height rod onto a scale with the weighing tray already attached start at step 1. - If mounting the height rod on a brand new scale, do not attach the weighing tray during scale assembly.
- Page 3 Flip the support rod over so the side with the four holes is facing down. Ensure that the end of the support rod with the most holes remains on the left side. Place the BABYHR onto the support rod aligning the two holes at each end. Ensure the end of the height rod with the measuring starting point is on the left side.
- Page 4 The original purchaser of the product must have proof of purchase to receive warranty service. Please save your invoice or receipt. Pelstar dealers or retail stores selling Pelstar products do not have the right to alter, or modify or any way change the terms and conditions of this warranty.
- Page 5 Instrucciones de montaje del estadímetro BABYHR para la báscula 522KL/522KG PELSTAR, LLC 9500 West 55 St. McCook, IL 60525-7110 USA www.homscales.com © Pelstar, LLC 2018 P/N 522BABYHRBracket Mounting Instructions REV20190107_web...
- Page 6 Gracias por comprar este producto de Health o meter® Professional. Le pedimos leer detenidamente las instrucciones y conservarlas para fines de consulta o capacitación. Notas: - Para montar el estadímetro a una báscula con la bandeja de pesaje ya instalada, inicie en el paso 1.
- Page 7 Tome la barra de soporte plateada del empaque. Coloque la barra de soporte sobre una superficie plana de costado con cuatro agujeros mirando hacia arriba. Coloque el extremo con más agujeros en el lado izquierdo. Voltee la barra de soporte de manera que el lado con cuatro agujeros mire hacia abajo.
- Page 8 Pelstar, LLC (consulte las instrucciones en la sección de: "Para obtener el Servicio de Garantía"). En caso de que el fabricante determine que existe un defecto de material o fabricación, el único recurso del cliente será...
Need help?
Do you have a question about the Health o meter Professional 522KL and is the answer not in the manual?
Questions and answers