Table of Contents
Advertisement
Quick Links
Advertisement
Table of Contents

Related Manuals for Keysight Technologies i7090


Summary of Contents for Keysight Technologies i7090
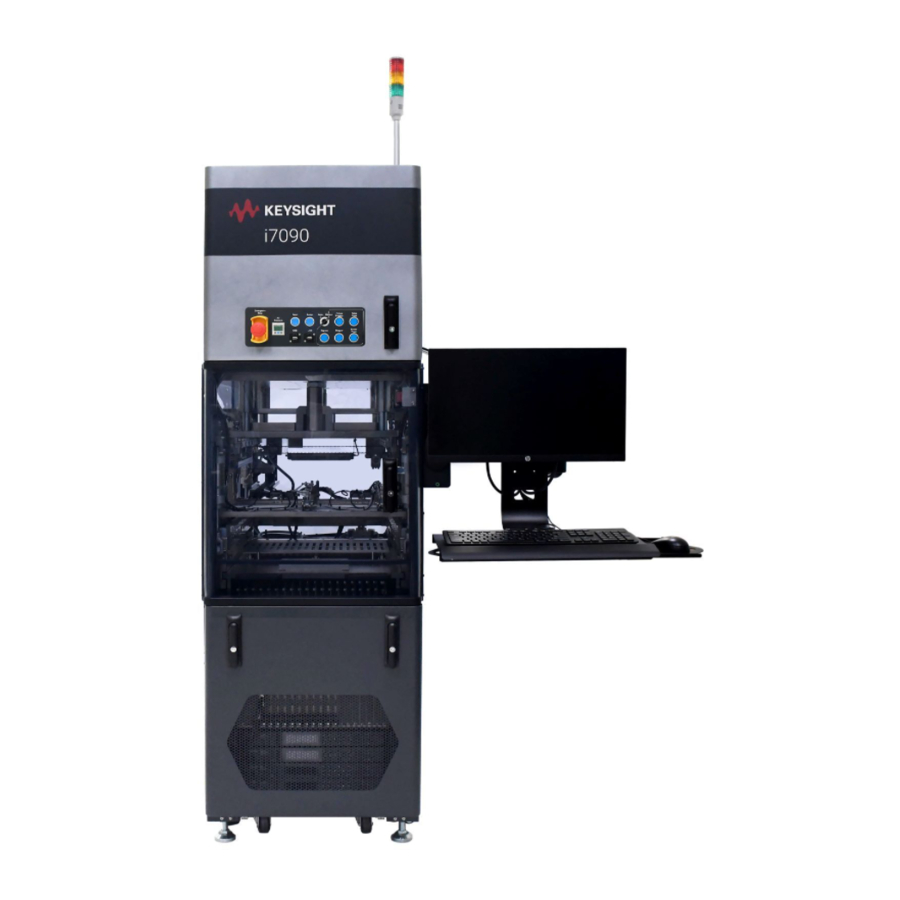
- Page 1 System Installation Keysight i7090 Board Test System...
- Page 2 Keysight Technologies as governed by U.S. Government Rights could result in personal injury or death. United States and international The Software is "commercial computer...
-
Page 3: Table Of Contents
Adjust Conveyor Height and Alignment Power Up the System This guide describes the installation of the Keysight i7090 board test system. These tools are needed in addition to the tools supplied with the system shipment: • Allen wrench set (metric) •... -
Page 4: Safety Notices
If these instructions are not strictly followed, the user may be exposed to hazards, or equipment damage may occur. Keysight Technologies assumes no liability for injury or damage if these instructions are not followed. Installation... -
Page 5: Before Installation
2 Check the system and the contents of all crates and boxes against the order and any packing lists. Install Monitor, Mouse and Keyboard Install the monitor arm and monitor following the manufacturer’s instructions. Place the keyboard and mouse on the keyboard tray and connect them to the system connectors. i7090 System Installation... -
Page 6: Release Press Safety Brackets
Release Press Safety Brackets 1 Open the top front door. 2 Unlock the yellow press safety bracket by turning it backwards to release it from the latch. Do the same on the other side. Locked Press safety bracket Unlocked i7090 System Installation... -
Page 7: Install Tower Light
1 Tighten the nut on the tower light bracket using the adjustable wrench. Tighten the nut 2 Remove the screws securing the front top panel and remove the panel. Front top panel 3 Remove the two screws for the tower light. i7090 System Installation... - Page 8 Install Tower Light 4 Secure the tower light using the two screws. 5 Connect the tower light and system connectors. 6 Replace the front top panel. i7090 System Installation...
-
Page 9: Connect Air Supply And Smema Cables
Connect Air Supply and SMEMA Cables 1 Remove the bottom rear panel. 2 Connect the compressed air supply. Main air supply 3 Use 5-wire SMEMA connections to the upstream and downstream systems. SMEMA Out SMEMA In (behind main power switch) i7090 System Installation... -
Page 10: Connect To Network
Connect to Network Connect to Network If the system will be connected to a network, connect the LAN cable. The LAN port is near the SMEMA Out. i7090 System Installation... -
Page 11: Open Shutters For Board Access
If the optional bypass conveyor is installed, remove the hex screws to remove the shutters on both sides of the system for board access along the bypass conveyor. Shutter for bypass conveyor Shutters for main conveyor i7090 System Installation... -
Page 12: Adjust Conveyor Height And Alignment
Adjust Conveyor Height and Alignment Adjust Conveyor Height and Alignment Conveyor Height Adjust the height of the i7090 system conveyor to the site requirements. All four feet of the system are adjustable. Conveyor Alignment Adjust the conveyor alignment and offset between upstream and downstream systems. -
Page 13: Power Up The System
4 and 6 bar (0.4 to 0.6 MPa). Air regulator knob Air pressure valve 4 Press the Reset button on the control panel. 5 Check that the controller and monitor are on. i7090 System Installation... - Page 14 This information is subject to change without notice. © 2021 Keysight Technologies Edition 1, January 2021 Q3000-96001 www.keysight.com...
Need help?
Do you have a question about the i7090 and is the answer not in the manual?
Questions and answers