
Related Manuals for INIM Electronics Prime060S


Summary of Contents for INIM Electronics Prime060S
- Page 1 Installation manual EN 50131-1 EN 50131-3 EN 50131-6 EN 50131-10 EN 50136-1 EN 50136-2 EN 50130-4 EN 50130-5 CEB T031 Installation manual Anti-intrusion control panels and security systems...
-
Page 2: Warranty
Our authorized dealer, or visit our website for further information regarding this warranty. Limited INIM Electronics s.r.l. shall not be liable to the purchaser or any other person for damage warranty arising from improper storage, handling or use of this product. -
Page 3: Table Of Contents
Installation manual Table of contents Warranty ..........2 Limited warranty . - Page 4 Anti-intrusion control panels...
-
Page 5: About This Manual
Installation manual About this manual MANUAL CODE DCMIINE0PRIMEE REVISION 1.51 Terminology CONTROL PANEL, SYSTEM, DEVICE Refers to the control panel or any device in the Prime security system. LEFT, RIGHT, BEHIND, ABOVE, BELOW Refer to the directions as perceived by the operator when directly in front of the mounted device. -
Page 6: Chapter 1 General Information
Web: www.inim.biz Any persons authorized by the manufacturer to repair or replace the parts of this system have authorization to work only on devices marketed under INIM Electronics trademark. Description of the product and various models DESCRIPTION Intrusion control panel... -
Page 7: Manuals
Installation manual Manuals INSTALLATION AND PROGRAMMING GUIDE This guide, supplied with each control panel, provides all the instructions and illustrations necessary for fast installation and programming of the Prime system. This leaflet provides a quick guide to first startup, together with the wiring diagrams for the necessary connections, a table for the peripheral addresses, a quick guide to system programming as well as the default values of the programming parameters. -
Page 8: Access Levels
Anti-intrusion control panels Each user is associated with a system access code. The code programming process allows you to define the code hierarchy: • User • Manager • Master Depending on its hierarchical level (where “User” is the lowest level), each code can perform the following operations on codes that are hierarchically inferior: ••... -
Page 9: Control Panel And Peripherals
2 screws to secure the front plate of the metal enclosure protected screw with 6mm wall plug for the anti-dislodgement device by security Sticker: “Area protected by INIM Electronics security system” system The control panel data labels are affixed to the outside of the control panel enclosures. 2-1-2... - Page 10 Anti-intrusion control panels Table 2-2: Type SD and distribution of currents Prime control panel models Prime060S Prime060L Prime120L Prime240L Prime500L rated voltage maximum capacity 17Ah 18Ah 17Ah 18Ah 17Ah 18Ah 17Ah 18Ah SD type (backup battery) maximum recharge time 24h (80% charged) maximum internal resistor (R 1.50Ohm...
- Page 11 Installation manual Table 2-4: Number of terminals Prime control panel models Prime060S Prime060L Prime120L Prime240L Prime500L terminals on total expansion available boards Virtual terminals Total terminals total terminals (T1, ..., T10) Outputs on control-panel relay motherboard open collector (OC1, OC2)
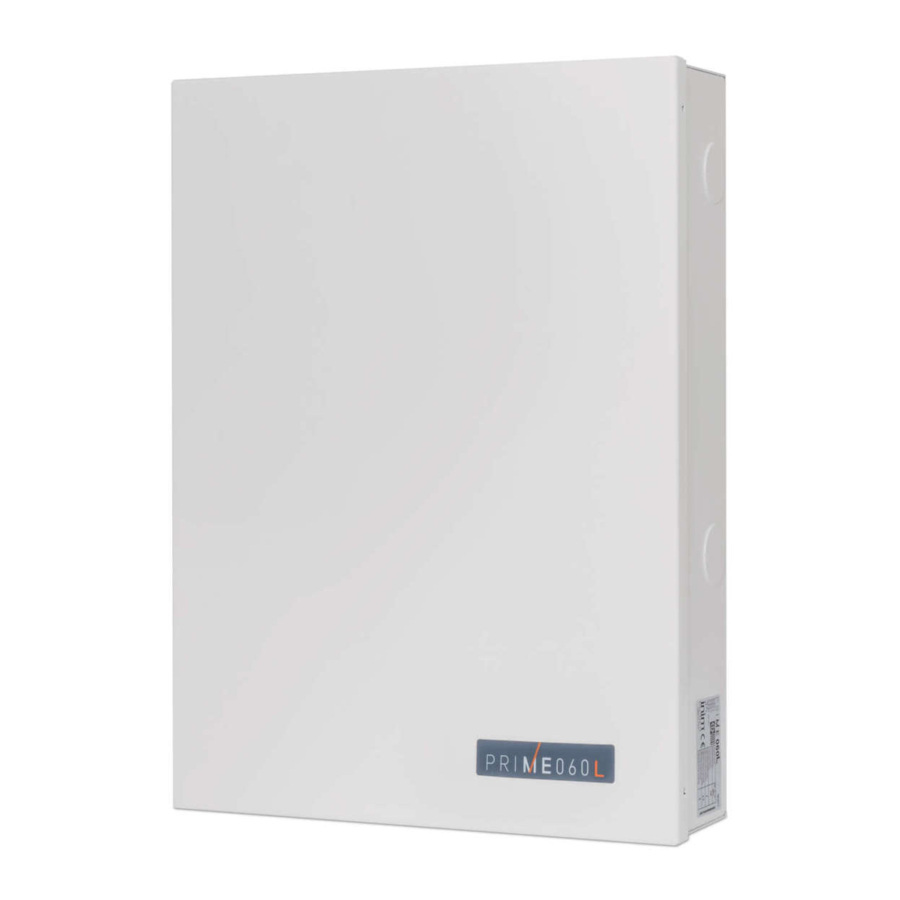
- Page 12 Anti-intrusion control panels Prime060L, Prime120L, Prime240L, Prime500L Table 2-5: Control panels - description of parts Models Prime060S Prime060L, Prime120L, Prime240L, Prime500L Prime Back plate of the metal enclosure Mother board Switching power supply Thermal probe connector Battery connector AC Input...
- Page 13 Installation manual Table 2-5: Control panels - description of parts Models Prime060S Prime060L, Prime120L, Prime240L, Prime500L Prime Earth connection screw Earth wire for front plate Wires between switching-power supply and control panel Mounting holes for the metal enclosure Compartment for backup battery...
- Page 14 Anti-intrusion control panels Table 2-7: Mother board - terminal board icon/identifier function 1-2-3 NO NC COM Voltage-free contacts of relay output 13.8V 350mA ancillary power supply OC1 OC2 Open-collector outputs 7-8-9-10 + D S - I-BUS connection 11-23 AUX1 AUX2 13.8V output terminals +12V 13.8V...
- Page 15 2 data exchange wires, refer to paragraph 3-2-1 Connecting to the I-BUS line). The intellectual property rights regarding the electrical, structural and protocol features of the BUS are the sole property of INIM Electronics s.r.l. The I-BUS is not a RS485 differential BUS. Control panel and peripherals...
-
Page 16: Environmental Conditions
Anti-intrusion control panels COMMUNICATION I-BUS The control panel monitors continuously the traffic on the I-BUS line. If no signals (control panel and peripheral signals) are detected on the I-BUS for over 90 - JOY/MAX - seconds, the keypad screens will show the warning opposite. The screen will show: FW RELEASE X.YZ 1. -
Page 17: Smartlogos30M Voice Memory Board
Installation manual SmartLogos30M voice memory board The SmartLogos30M is an optional board that is necessary if voice functions are required on the control panel: • Voice mailbox, to record, play and delete voice messages. • Voice dialer, to send voice calls to programmed contact numbers. •... -
Page 18: Chapter 3 Installation
Anti-intrusion control panels Installation Chapter Installing the control panel 3-1-1 Wall mounting The control panel should be installed in a place that is out of sight and that does not allow easy access to outsiders. 1. Open the metal enclosure of the control panel by removing the front plate. 2. - Page 19 Installation manual Note The installation must be carried out in accordance with the national regulations governing installations and the power source to be switched to the output must be provided through a bipolar protection device. The wire used for wiring of the product must have an adequate section and comply with the IEC 60332- 1-2 or IEC 60332-2-2 standards.
- Page 20 Connection of the backup battery [I] must be carried out during the phase described in Chapter 4, First power up. The metal enclosure of the Prime060S is capable of housing one lead battery @12V 7Ah or 9Ah. The metal enclosure of the Prime060L, Prime120L, Prime240L and Prime500L is capable of housing one lead battery @ 12V 17Ah 12V 17Ah.
- Page 21 GSM interface (such as SmartLinkAdv) which simulates the analogue land-line. SmartLinkAdv is a telephone dialer manufactured by INIM Electronics and is available in two versions, model G and model GP. Both devices monitor the analogue land line and in the event Smart of line-down conditions (e.g.
- Page 22 Anti-intrusion control panels the SmartLinkAdv. Of particular interest is the possibility of carrying out teleservice maintenance also through the GSM network. Note If an ADSL line is present, it is necessary to connect the control panel downstream of the ADSL filter on the line dedicated to telephone equipment (this line is clearly indicated on the filters).
-
Page 23: Installing Peripherals
Installation manual • Does not require user-code entry to access the sections which correspond to the “Settings” button. • The first parameters shown in the “Settings - Alien” section are the addresses of the Alien keypad and its integrated proximity reader and, only for the Alien/S, the status of tamper enablement on the keypad. - Page 24 Anti-intrusion control panels • Cable type Control The cable section used affects the dispersion of the conductor signals. Table 3-1: Recommended cable Cable n. wires I-BUS terminal Section (mm AF CEI 20-22 II 4 wire cable + shield 0.22 6 wire cable + shield 0.22 0.22 available...
-
Page 25: Addressing The Peripherals
Installation manual It is not recommended to position an isolator immediately after the control panel Each isolator should be positioned in the points where the quality of the BUS drops drastically. Addressing the peripherals In order to allow the control panel to identify the peripherals distinctly, you must assign a different address to each device. -
Page 26: Enrolling Peripherals
Anti-intrusion control panels The first section on the table on the left shows the addresses available for the first 40 expansions, together with the DIP-switch configuration of the expansion board. In the second section at the side of every nBy reader and transceiver address is the combination of the reader LEDs. -
Page 27: Wiring And Balancing Alarm Detectors
Installation manual Wiring and balancing alarm detectors The wiring and respective balancing method depend on the type of detector you are installing, White Gold and the level of protection you wish to achieve. The detectors can be powered through: Orange •... - Page 28 Anti-intrusion control panels 3-5-2 Single balancing In the case of balancing with a single termination resistor, it is possible to detect 3 distinct conditions on the zone: • stand-by • alarm • tamper (short-circuit) For each of these, the control panel reads different resistance values on the terminal, shown below in Ohm.
-
Page 29: Connection And Balancing Of Roller Shutter/Shock Sensors
Installation manual 3-5-5 Double Zone balancing with EOL In the case of a double zone with an EOL resistor, 6 distinct conditions can be detected for the entire terminal: • stand-by on both zones • alarm on zone 1 and stand-by on zone 2 •... -
Page 30: Learn Zone Balancing
Anti-intrusion control panels 3-6-2 Single balancing (N.C. with EOL) In this case, the discriminated conditions are: • stand-by • alarm • tamper (wire cutting) • tamper (short-circuit) For each of these, the control panel reads different resistance values on the terminal, shown below in Ohm. - Page 31 Installation manual Control Control panel External power supply 13.8V Generic device Self-powered sounder/flasher Indoor Generic sounder/ load 12V flasher +12V GND Installation...
-
Page 32: Chapter 4 First Power Up
Anti-intrusion control panels First power up Chapter On first power up, the control panel initializes the parameters at default (factory settings). In addition, the control panel automatically enrolls in the configuration all the peripherals it “finds” on the I-BUS (automatic addressing phase). At the factory, all expansions, keypads and readers are configured at address 1, if a system is equipped with more than one peripheral of each type, it is evident that on first power-up auto- enrolling will not be successful. -
Page 33: First Operational Test
Installation manual First operational test Chapter A procedure is provided for an operational test on the Prime system after installation. The test consists in the violation of a "Delayed" type zone. This procedure must be carried out only after the complete installation of the Prime control panel and of all the components that make up the entire installation. - Page 34 Anti-intrusion control panels • The visual and audible alarm signals will activate • The red LED on the keypad or the red icon on the Alien interface will blink rapidly DIALER TEST 9. The control panel will carry out signalling by means of a voice call to the programmed number.
- Page 35 Installation manual...
- Page 36 Anti-intrusion control panels ISO 9001 Quality Management certified by BSI with certificate number FM530352 Inim Electronics S.r.l. Centobuchi, via Dei Lavoratori 10 63076 Monteprandone (AP), Italy Tel. +39 0735 705007 _ Fax +39 0735 704912 info@inim.biz _ www.inim.biz DCMIINE0PRIMEE-151-20210210...
Need help?
Do you have a question about the Prime060S and is the answer not in the manual?
Questions and answers