
Related Manuals for MshOt MF31 Series


Summary of Contents for MshOt MF31 Series
- Page 1 MF31 Series Fluorescence Microscope User Manual Guangzhou Micro-shot Technology Co., Ltd Tel:86-20-38262481 Fax:86-20-38262491 www.m-shot.com sales@m-shot.com...
- Page 2 Thank you for buying our product! This unit is a precision optical instrument. Our product has been design to provide the highest level of safety, however, improper operation or negligence in following the instructions in this manual may cause personal injuries and property losses. In order to ensure your safety, prolong the life of this unit and maintain it properly, please read this manual carefully before operating this unit.
- Page 3 Safety Reminder 1. Be sure to turn off the power switch and remove the power cord before installing this unit, Warning! replacing the bulb or fuse, plugging and unplugging the power supply. To prevent electric shock or fire, be sure to turn off the power switch and remove the power cord before installing this unit, replacing the bulb or fuse, plugging and unplugging the power supply.
- Page 4 9. Installation of bulb Caution Do not touch the glass surface of the bulb directly with bare hands. When mounting the bulb, wear gloves or wrap it with cotton material. ※ Wipe off any dirt on the surface of the bulb with a clean cotton fabric dipped in alcohol. If the dirt is not thoroughly ※...
-
Page 5: Table Of Contents
Table of Contents I. Characteristics and applications of this unit ................1 II.Structural features of this unit....................1~2 III. Installation of this unit......................2~3 IV.Technical specifications......................4 V. Components Operation.......................4~8 VI. Using Rmind..........................9 VIII. Troubleshooting........................10... -
Page 6: Characteristics And Applications Of This Unit
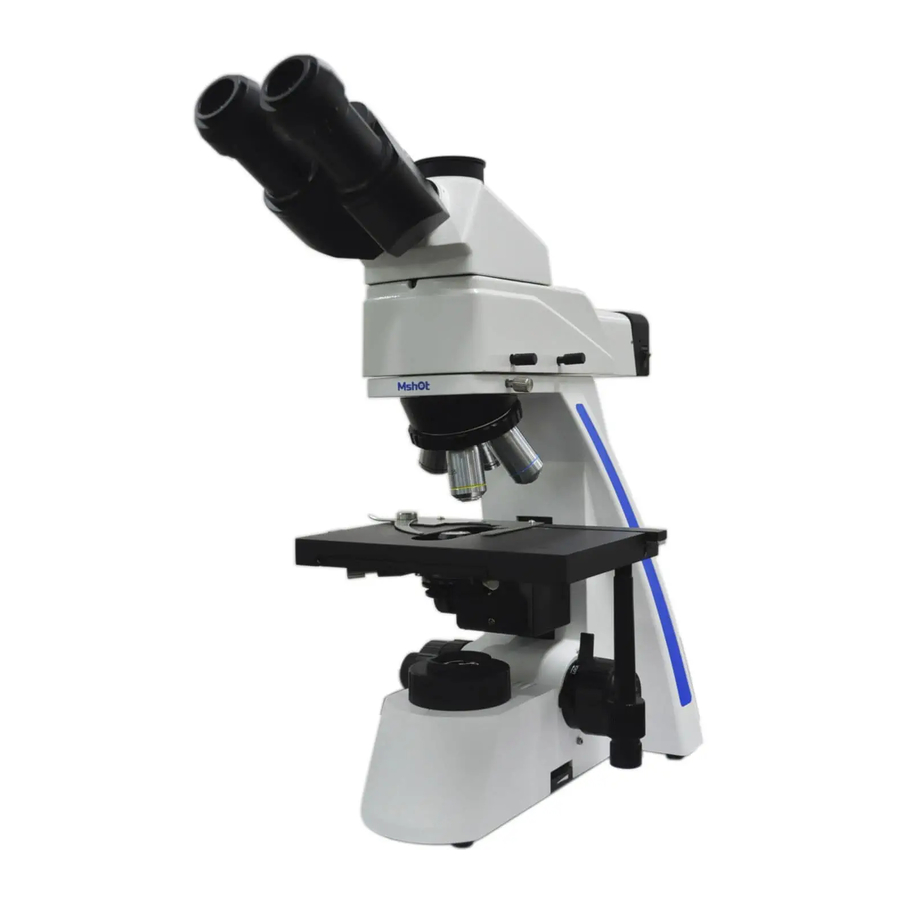
I. Characteristics and applications of this unit MF31 series fluorescence microscope is a multifunctional optical microscope with both of bright field and fluorescence, it equipped with non chromatic aberration plan achromatic fluorescence objective and wide filed eyepiece, provides excellent optical performance and the update of the system. Because of the streamline figure and pastel color, it has more beautiful appearance. -
Page 7: Installation Of This Unit
Figure 02 1.Switch lever 2. Brightness knob 3. Power III. Installation of this unit • Connect observation head 1.Loose screw on the top of host. Step 1 Step 2 Step 3... - Page 8 • Connect eyepiece 1.Standard articulated binocular head, there is jump ring inside the eyepiece tube to fix and rotate eyepiece. 2.Insert in eyepiece • Installation of eyepiece and condenser Objective installation: clockwise rotate in objective from low times to high times until objective is tightly fixed. Note: Condenser under stage has been adjusted well, there is no need to install by users again.
-
Page 9: Iv.technical Specifications
IV.Technical specifications Total Magnification 40X~1000X(standard) Main Parameter Mechanical Tube Length Infinity(∞) Object Conjugate Distance Infinity(∞) Objective Parfocalization Eyepieces Plan Objective in wide field WF 10X FN:Ф22mm Port: Distance: Ф30mm 10mm Trinocular Iinterpupillary Distance: 50~75mm, light pass 0/50%/100% Binocular Optional: Articulated Binocular,30° inclination 4X, 10X, 40X,100X(oil) Infinity Plan Achromatic... - Page 10 1. Connect power line to host back bottom side.Set illumination knob (on the left bottom side of microscope host) to lowest brightness, rotating illumination brightness by need during operation. Exchange fuse: as figure 03, draw out fuse box and take off trouble fuse,set spare fuse to fuse box. Put box back to holder.
- Page 11 4.Condenser adjustment 4.1.1 Abbey condenser lifting wheel(Figure 05): Through rotate abbey condenser lifting wheel to adjust distance between condenser and slider can make brightness even to achieve best brightness and contrast. 4.1.2 Aperture adjustment(Figure 05): Move aperture wheel and change size of aperture to change slider contrast.In common, objective times smaller, aperture is smaller.
- Page 12 4.2.1 Pupil distance adjustment The pupil distance (eye distance) varies from person to person, so before using this instrument, the pupil distance of the binocular should be readjusted. A) transfer the eyepiece on the left and right sides to the 0 pairs of lines according to (Figure 06). B) 10X objective is screwed into the light path, moving specimens to the light path, observing the eyepiece, adjusting the coarse and find hand wheel to make the image clear.
- Page 13 4.5 Oil immersion 4.5.1 Using 100X objective, you need to add oil medium. Move stage to lowest position by coarse focusing knob, drop oil on the observation area of specimen. 4.5.2 Rotate oil immersion objective(100X) to working position (the objective is marked with oil). 4.5.3 Adjust coarse focusing knob to slowly lift stage until the oil on slide touch bottom face of objective.
-
Page 14: Using Rmind
VI. Using remind 1.When moving instrument, please hold the microscope by both hands. 2.Keep all optical components tiny and clear, it is very important. 3.Cover the microscope with dust cover when do not using the microscope. 4.Before wiping dust or dirt, please blow off with air blower. 5.Avoid excessive using solvent lint free cloth, please soak lens paper and cotton swab with solvent before using. -
Page 15: Troubleshooting
VII.Trouble shooting Fault Cause Disposition Electric system The power switch is not turned Turn on the power switch. The halogen lamp is damaged. Replace the halogen lamp. No light shown in the field The fuse is damaged. Replace the fuse. of view using halogen lamp The connector of the electric...
Need help?
Do you have a question about the MF31 Series and is the answer not in the manual?
Questions and answers