Advertisement
Quick Links
Parts included
(1) TORCH Grille - Main
(1) 40" LED - Part #6311271
Stealth
- Part #6311271-BR
(1) 30" LED - Part #6311281
Stealth
- Part #6311281-BR
Hardware included
(1) - Large Bottom Mounting Plate
(6) - #10 Screws
(6) - #10 Flat Nuts
(6) - Flat Washers
(6) - 10/30 Nylon Lock Nuts
(6) - Trim Panel Retainer Clips
Tools Required
- Drill
- 1/8" Drill Bit
- Screwdriver set (Phillips)
- Needle Nose Pliers
- Socket Set
- Ratchet Tool
- 1/2" Plastic Spatula
Page 1
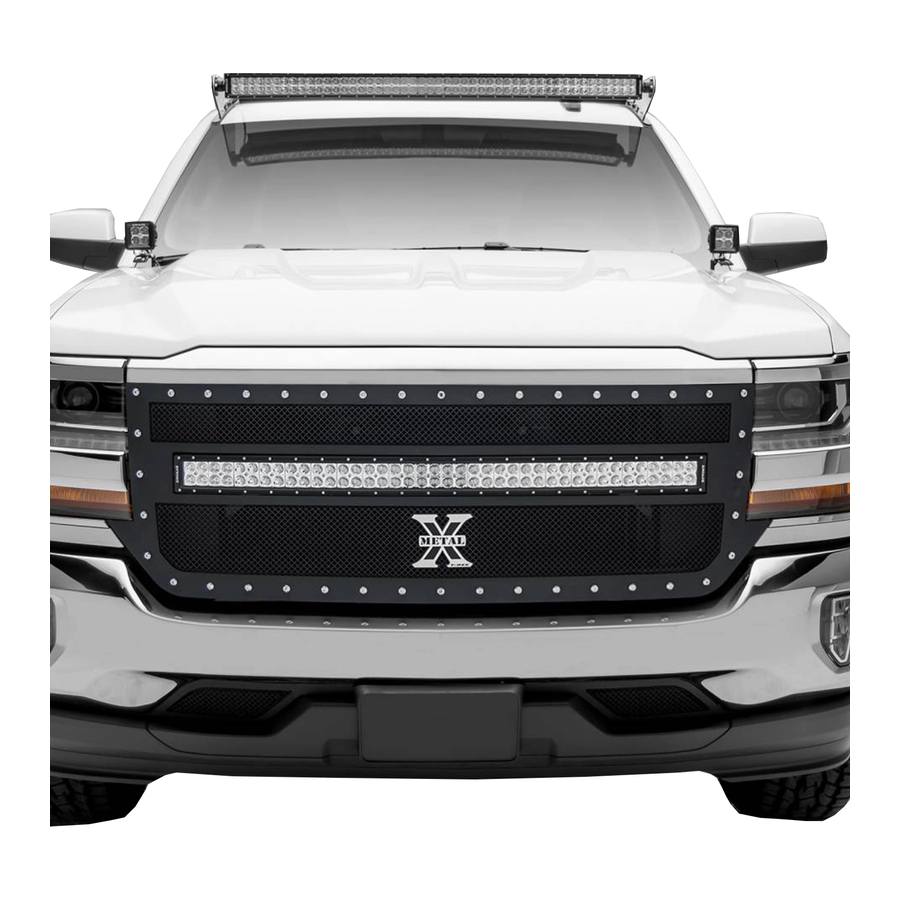
Main grille INSERT - #6311271 / #6311281
2016-2017 Chevrolet Silverado
GRILLE REMOVAL & Grille Installation Guide
START HERE
OR
PLEASE READ AND UNDERSTAND ALL INSTRUCTIONS BEFORE INSTALLATION.
OR
Auto makers offer varied models to each vehicle and occasionally manufacture more
than one body style of the same model. To assure your part is correct; our tech
OR
department can be contacted at tech@trexbillet.com to verify fitment and assist with
technical questions. All other inquires can be directed to info@trexbillet.com. In the
event you do not have internet access please call 1-800-287-5900.
* APPLICATION MODELS VARY. WE RECOMMEND TO VERIFY FITMENT BEFORE BEGINNING INSTALLATION PROCESS.
* IMAGES FEATURED IN THE INSTRUCTION DOCUMENTS MAY NOT ALWAYS EXACTLY MATCH YOUR GRILL.
FRONT BUMPER REMOVAL
STEP 1
1) Turn off engine and chalk tires with
stop block.
Open Hood. Disconnect Battery.
STEP 2
2) Begin by removing all of the
hardware that secures the factory
grille to the vehicle core support.
There should be the (3) 10 MM bolts
across the top near the front grille
shell.
TORCH Main Grille
PRO TIP:
Before you begin, use "3M Painters Tape" to
apply a protective guard around the work areas.
Attend to the fender and bumper valance. This will
help protect the paint and finish of your vehicle.
FIG 1
SEE FIGURE 2
Advertisement

Subscribe to Our Youtube Channel
Related Manuals for T-Rex 6311271


Summary of Contents for T-Rex 6311271
- Page 1 TORCH Main Grille Main grille INSERT - #6311271 / #6311281 2016-2017 Chevrolet Silverado GRILLE REMOVAL & Grille Installation Guide Parts included (1) TORCH Grille - Main START HERE (1) 40” LED - Part #6311271 PLEASE READ AND UNDERSTAND ALL INSTRUCTIONS BEFORE INSTALLATION.
- Page 2 TORCH Main Grille GRILLE INSTALL - Continued Main grille INSERT - #6311271 / #6311281 2016-2017 Chevrolet Silverado FIG 4 FIG 2 FIG 3 STEP 3 SEE FIGURES 4 & 5 3) With the hardware removed the factory grille overlay is now ready to be un-installed off the vehicle.
- Page 3 6) It is now time cut into the factory grille honeycomb pattern and separate the factory 7) Using a 90 degree cutoff wheel, zip saw, sawzall or grille shell to re-purpose and utilize with your new T-REX Grille. something similar, cut along the presented red line.
- Page 4 12) With your grille alignment placed and finalized, use the T-Rex Grilles mounting tabs to determine your drill holes. SEE FIGURE 22 STEP 13 13) Using the provided screws, fasten and secure the T-Rex Grille to the factory shell piece. FIG 22 ASSEMBLE LOWER MOUNTING PLATE SEE FIGURES 23 &...
- Page 5 15) Using a wrench or nut driver, tighten the (6) provided 10 mm nuts down to secure 16) Double check your work and make sure everything the lower mounting plate to the new T-Rex Grille. is good and tight. FIG 27...
- Page 6 22) Re-using the plastic push tabs that were set aside during the grille disassembly, re-insert them into their mounting points which will fully secure the radiator induction shroud to the factory grille shell and complete T-Rex grille assembly . FIG 37...
- Page 7 SEE FIGURES 38 & 40 25) At this point you want to look over your work and examine the gap alignments around all edges and in between the new T-REX Grille and the vehicle components and body lines. Carefully close the hood for a complete visual inspection. If adjustment is needed, you can remove grille and loosen the hardware mounts and shift side to side or up &...
- Page 8 POLISHED FINISH T-REX polished grilles should be waxed at the same time that you wax the vehicle and can be cleaned with soap and water. A polished finish can be cared for in the same fashion that would care for your vehicles factory chrome. Never leave wet water spots as that may leave a blemish.
Need help?
Do you have a question about the 6311271 and is the answer not in the manual?
Questions and answers