Table of Contents
Advertisement
ALI-NVR5332P Embedded Network Video Recorder Quick Setup Guide
This quick setup guide provides instructions to initially setup and use the ALI-NVR5332P network video recorder (NVR). For additional
information on the extensive capabilities of your NVR, refer to the ALIBI™ Embedded Network Video Recorder Firmware V4.21.005 (or
later) User Manual provided by your vendor.
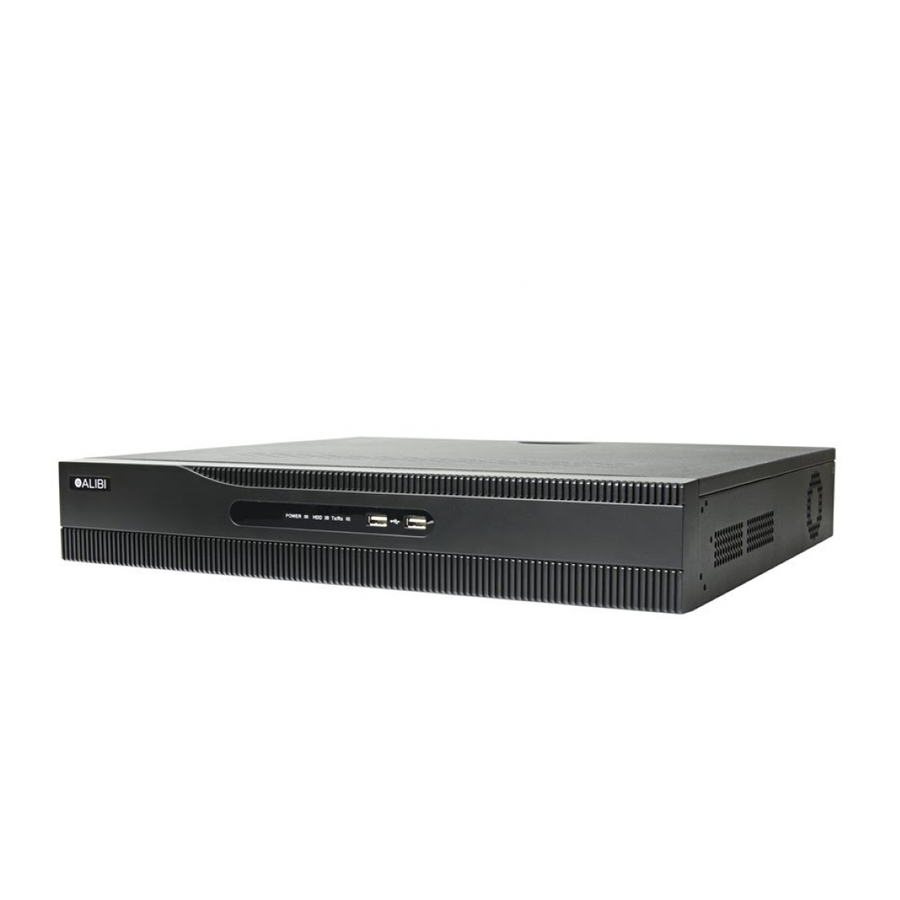
NVR Front Panel
Item
Function / Description
POWER
Indicator is green when the unit is powered on. When the unit is off, the LED is red if power is available.
Status Indicators
HDD
HDD indicator blinks red when data is being read from or written to an HDD.
TX/RX
Blinks green when the network connection is functioning normally.
USB Interfaces
Universal Serial Bus (USB) ports for additional USB devices such as a mouse or Hard Disk Drive (HDD).
NVR Backpanel
RS-485, Alarms IN / OUT
Camera Channels (24, with POE) LAN
Item
Description
RS-232 Interface
DB9 (male) connector for RS-232 devices
VIDEO OUT (VGA, HDMI1, 2),
See Specifications section
eSATA
AUDIO IN / OUT
RCA connector for Line level audio input and output.
RS-485, ALARMS IN/OUT
See below.
POWER CONNECTOR
AC 100 V ~ 240 V power supply.
ON / OFF Switch
Switch for powering the device on or off.
GROUND
Terminal for ground. Connect to earth ground before powering on the NVR.
LAN Interface
10/100/1000BASE-T Ethernet network interface
USB interface
Universal Serial Bus (USB) 3.0 port for additional devices such as USB mouse and USB Hard Disk Drive (HDD).
Internal Ethernet switch ports
24 ports for IP cameras. These ports provide Power over Ethernet (PoE) to the cameras.
1
Status
indicators USB ports (2)
RS-232, Monitor Out (BNC, VGA, HDMI), eSATA
Power connector
USB 3.0
Audio IN / OUT Ground
Fan outlet ON / OFF switch
RS-485, ALARMS IN/OUT
RS-485, Alarm IN / OUT terminations
Item
Description
RS-485 termination switch:
SW ON
Up position is not terminated.
Down position is terminated with 120 Ω resister.
RS-485 (T+, T-, R+. R-)
T+ and T- pins connect to R+ and R- pins of PTZ receiver respectively.
Controller port:
KB
D+, D- pin connects to Ta, Tb pin of controller.
For cascading devices, the first NVR's D+, D- pin should be connected with the D+, D- pin of the next NVR
ALARM IN (1 through 16)
Alarm inputs 1 - 16. Alarm input is tied to ground through the alarm sensor.
ALARM OUT (1-G through 4-G)
Alarm outputs 1 - 4 with ground terminations.
Mouse Control
A standard 3-button (left/right/scroll-wheel) USB mouse can also be used with this NVR. To use a USB mouse:
1.
Plug USB mouse into the either the front panel or backpanel USB connector of the NVR.
2.
The mouse will be automatically detected. If the mouse is not detected, the mouse may not be compatible with the NVR. Please refer
to the recommended device list from your provider.
The operation of the mouse:
Action
Effect
Live view: Show menu.
Right click
Menu: Exit current menu to upper level menu.
Single click: Live view: Select channel and show the quick set menu.
Menu: Select and enter.
Double click: Live view: Switch between single-screen and multi-screen.
Left click
Click and drag: PTZ control: pan, tilt and zoom.
Tamper-proof, privacy mask and motion detection: Select target area.
Digital zoom-in: Drag and select target area.
Live view: Drag channel/time bar
Scroll up: Live view: Previous screen.
Menu: Previous item.
Scroll wheel
Scroll down: Live view: Next screen.
Menu: Next item.
ALI-NVR5332P_SQ
191025
Advertisement
Table of Contents

Related Manuals for ALIBI ALI-NVR5332P


Summary of Contents for ALIBI ALI-NVR5332P
- Page 1 RS-485, ALARMS IN/OUT This quick setup guide provides instructions to initially setup and use the ALI-NVR5332P network video recorder (NVR). For additional information on the extensive capabilities of your NVR, refer to the ALIBI™ Embedded Network Video Recorder Firmware V4.21.005 (or later) User Manual provided by your vendor.
-
Page 2: Soft Keyboard
Step 1. Connecting alarm devices to the NVR Soft keyboard One of two on-screen keyboards appears when you click in a field that accepts a entry, such as a password or name or a numerical value. Wiring alarm inputs to the NVR A third keyboard which includes symbols can also be opened while in the numeric keyboard. -
Page 3: Step 2. Install A Monitor, Mouse, Power
Step 4. System activation Step 2. Install a monitor, mouse, power Power on the NVR. Normally, an Alibi logo splash screen appears within 2 minutes. For the following steps, refer to the back panel photo above for the location of connectors. - Page 4 If you selected options for Reserve E-mail Setting, enter a valid email address in the pop-up window. In the screen above: Click on the Create New Password field, and then enter a unique password using the pop-up virtual keyboard. Follow the guidelines in the Note at the bottom of the screen.
-
Page 5: Step 5. Using The Setup Wizard
Enter your answer to Question 1 in the Answer 1 field. Repeat the same setup for Question 2 and Question 3. Remember or write down the exact answers you entered, and then save it in a secure location. In the screen above: Select the local Time Zone and Date Format using the drop down menus. - Page 6 Wait for the operation to complete (this could take several minutes), and then click Next to continue. Platform Access is used with the Alibi Witness 2 smartphone app to simplify access and control how others can access the system. In the Wizard 4 Camera Setup menu, you can select add cameras discovered on the local network to your surveillance system. Most To enable Platform Access for your recorder, check the Enable box (see the screen above).
-
Page 7: Step 6. Basic Camera Setup
To save your settings and exit the configuration Wizard, click Finish. Click Previous to return to an another Wizard menu. After clicking Finish, the Live View window will open. For detailed information about how to customize the configuration of your NVR and cameras, refer to the ALIBI Firmware User Manual for your recorder. - Page 8 Synchronous Playback 16-ch @ 1080p, 4-ch @ 4K, 2-ch @ 12 MP Video Output 2 × HDMI, VGA, CVBS HDMI Video Output Formats HDMI1: 4K (3840 × 2160) / 60 Hz, 4K (3840 × 2160) / 30 Hz, 2K (2560 × 1440) / 60 Hz, 1920 × 1080 / 60 Hz, 1600 ×...
Need help?
Do you have a question about the ALI-NVR5332P and is the answer not in the manual?
Questions and answers