Advertisement
Table of Contents
Advertisement
Table of Contents

Subscribe to Our Youtube Channel
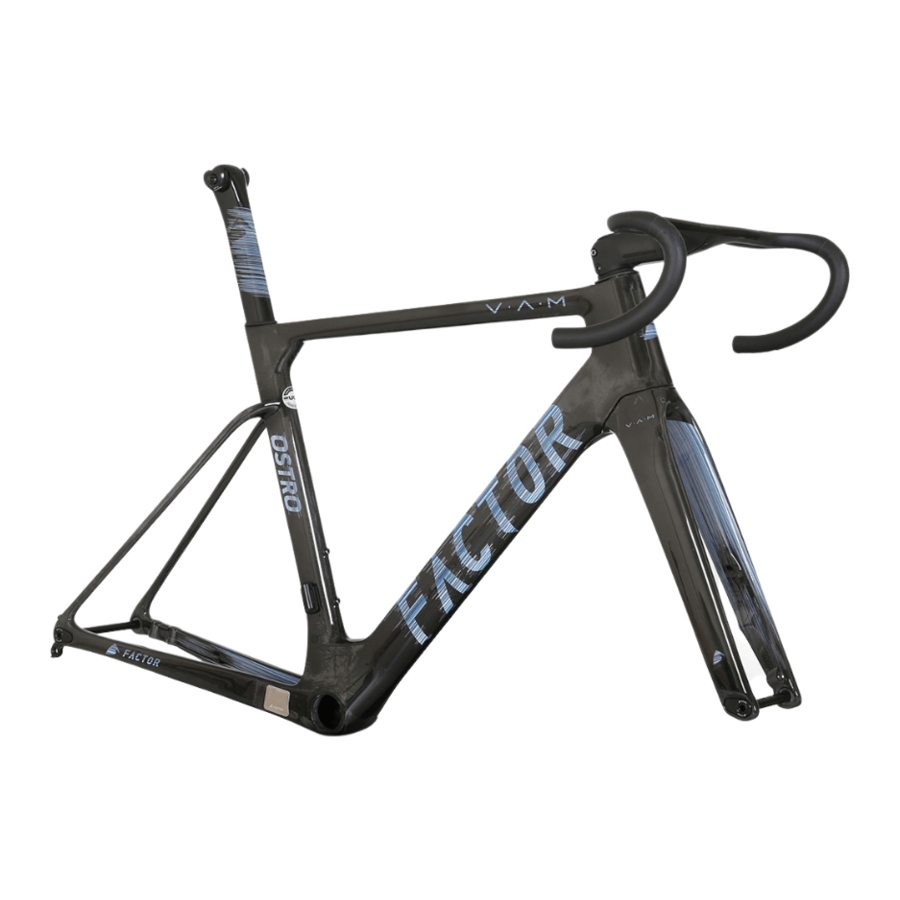
Summary of Contents for Factor OSTRO
- Page 1 FACTORBIKES.COM Assembly Manual V1.05...
-
Page 2: Table Of Contents
Introduction Limited Lifetime Warranty On Bicycles And Framesets Necessary Tools Instructions 1 Seatpost Install the rear brake hose 3 Di2 Cable Routing D-Fork Assembly Instructions 5 Bottom Bracket Installation Instructions 6 Computer mount 7 Bottle cage 8 Thru-Axle Installation 9 Fork nut adjustment Assembly Manual... - Page 3 Factor bicycle. This lifetime limited warranty is not transferable. the lifetime of the original owner of each new Factor bicycle or frameset that the bicycle frame or If the bicycle is purchased as a gift, the original recipient of the gift is considered to be the original frameset is free of defective materials and workmanship.
- Page 4 Miscellaneous: the bicycle in, severe conditions or climates. In the event that Factor prevails in any court action, you agree to reimburse Factor for the expenses, Labour and/or transport charges for full or part replacement, repair, return or changeover. including attorney’s fees and expenses of litigation incurred by Factor in defending against your claim.
-
Page 5: Necessary Tools
Instructions Similar to a Formula 1 car, your Factor OSTRO requires a bit of patience and mechanical skill to achieve a truly impressive result. We recommend that you have your bicycle assembled and maintained by an authorized Factor dealer. Make sure to let... - Page 6 Insert seat post into the frame to the desired height. Note: Your Factor frame set requires a minimum of 90 mm of seat post insertion. The minimum insertion is clearly marked on the seat post. Failure to achieve the minimum insertion could cause damage to the seat post or frame resulting in serious injury or death.
-
Page 7: Install The Rear Brake Hose
Assembly Manual Install the rear brake hose Install the rear brake hose starting at the caliper, and bring the hose out at the upper bearing of the headset, make sure to wrap the hose in the supplied sound dampening tube and leave enough slack... -
Page 8: Di2 Cable Routing
Assembly Manual Di2 Cable Routing Note: Similar to a Formula 1 car your Factor OSTRO requires a bit of patience and mechanical skill to achieve a truly impressive result. We Di2 cable routing overall view recommend that you have your bicycle assembled and maintained by an authorized Factor dealer. - Page 9 Assembly Manual Route the rear derailleur Di2 cable through Connect to the Di2 Junction B Install Di2 cable grommet. the chainstay. Route the front derailleur Di2 cable through the seat tube Install Di2 cable grommet. Connect to the Di2 Junction B hole to the bottom bracket exit port.
-
Page 10: Fork Assembly Instructions
Assembly Manual D-Fork Assembly Instructions... - Page 11 Assembly Manual Pre-cut fork steerer making sure that it is cut 3mm below the top of the stem. We would advise chasing the threads in the steerer tube with a M6x1.0 tap to remove any burs after cutting the steerer. Install rear brake caliper, routing brake hose through downtube exiting from top of headtube.
- Page 12 Assembly Manual Feed Di2 wires through the barstem. Assemble the appropriate top bearing cover, spacers and stem spacer. 4-10 Feed brake hoses through the barstem. Apply assembly compound on the steerer tube and slide the barstem onto the fork steerer.
- Page 13 Assembly Manual 4-11 4-12 4-13 Note that the notch on top cap sits in Install the top cap cover. between the slot on the back of the barstem. Insert anti-compression plug into the gap in front of the fork steerer and the apply assembly compound around it.
-
Page 14: Bottom Bracket Installation Instructions
Assembly Manual Bottom Bracket Installation Instructions Clean the inside of the frame bottom Apply a layer of good quality assembly Thread the cups into the frame and bracket & the bottom bracket cups with paste to the threads of both bottom torque the cups down to 30nm for an isopropyl alcohol. -
Page 15: Computer Mount
Assembly Manual Computer mount Release the bolt and remove the cover. Install the computer mount and tighten the 2 bolts to 2 Nm. Bottle cage Install cages and tighten M5 bolts with T20 Torx to 2 Nm. -
Page 16: Thru-Axle Installation
Assembly Manual Thru-Axle Installation Install a rear hub in the dropout with the free hub on After ensuring the dropout insert is correctly aligned, tighten the dropout bolt to 1 Nm. non-drive side. This will allow better access for the next step. -
Page 17: Fork Nut Adjustment
Assembly Manual Fork nut adjustment Install a front hub in the dropout with the free hub After ensuring the dropout insert is correctly aligned, tighten the dropout bolt to 1 Nm. on non-drive side. This will allow better access for the next step. - Page 18 FACTORBIKES.COM...


Need help?
Do you have a question about the OSTRO and is the answer not in the manual?
Questions and answers