Advertisement
Advertisement
Table of Contents

Related Manuals for Factor ONE Disc


Summary of Contents for Factor ONE Disc
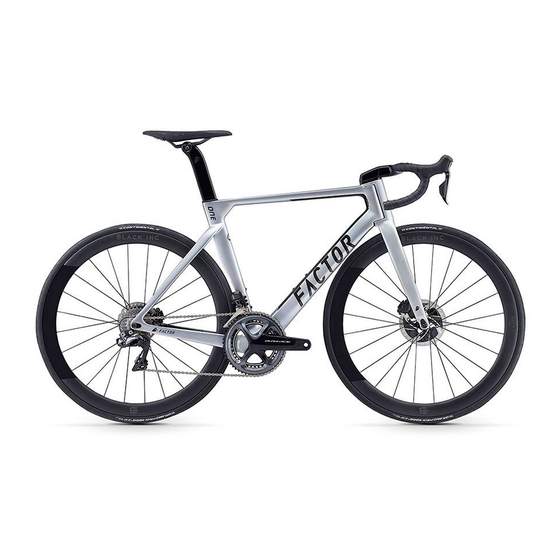
- Page 1 FACTORBIKES.COM Assembly Manual V1.09...
-
Page 2: Table Of Contents
Introduction Limited Lifetime Warranty On Bicycles And Framesets Necessary Tools Instructions 1 Seatpost 2 Seatpost Assembly & Installation 3 Di2 Cable Routing Computer Mount 5 Bottom Bracket 6 Thru-Axle Installation 7 Fork Nut Adjustment 8 Bottle Cage Assembly Manual... - Page 3 Factor bicycle. This lifetime limited warranty is not transferable. the lifetime of the original owner of each new Factor bicycle or frameset that the bicycle frame or If the bicycle is purchased as a gift, the original recipient of the gift is considered to be the original frameset is free of defective materials and workmanship.
- Page 4 Miscellaneous: the bicycle in, severe conditions or climates. In the event that Factor prevails in any court action, you agree to reimburse Factor for the expenses, Labour and/or transport charges for full or part replacement, repair, return or changeover. including attorney’s fees and expenses of litigation incurred by Factor in defending against your claim.
-
Page 5: Necessary Tools
Instructions Similar to a Formula 1 car your Factor ONE requires a bit of patience and mechanical skill to achieve a truly impressive result. We recommend that you have your bicycle assembled and maintained by an authorized Factor dealer. Make sure to let your... -
Page 6: Seatpost Assembly & Installation
Insert seat post into the frame to the desired height. Note: Your Factor frame set requires a minimum of 90 mm of seat post insertion. The minimum insertion is clearly marked on the seat post. Failure to achieve the minimum insertion... -
Page 7: Di2 Cable Routing
DISC Assembly Manual Di2 Cable Routing Di2 cable routing overall view Park Tool offers an excellent internal cable routing kit (Park Tool IR-1) to help you easily route your cables. If you do not have access to this kit you can use a derailleur inner wire and a 5mm metal cable ferrule to route your wires. - Page 8 DISC Assembly Manual 3-2-1 3-2-2 3-2-3 Barstem routing to the left shifter Shimano to Shimano EW-RS910 JC-130 plug to the right shifter to the frame (Shimano JC-200 to the left shifter or EW-WU111) 3-2-4 3-2-5 3-2-6 front brake rear brake Shimano EW-RS910...
- Page 9 DISC Assembly Manual Route the rear derailleur Di2 cable through the chainstay. Install Di2 cable grommet. Connect to the Di2 Junction B. Install Di2 cable grommet. Install Di2 cable grommet. Route the front derailleur Di2 cable through the seat tube hole to the bottom bracket exit port.
- Page 10 DISC Assembly Manual Route the Di2 Shifter cable from the Junction B through the down tube, until it exits the head tube. Cut the cable housing to the correct length 3-10 3-11 3-12 Fork Lightly grease and install upper Lightly grease and install headset Lightly grease and install headset bearing as pictured compression ring.
- Page 11 DISC Assembly Manual 3-13 3-14 3-15 Maneuver fork into position taking care not to damage Di2 cable & brake hose. Install compression nut. Route Di2 cable & brake hose through the largest hole in the compression nut. 3-17 3-18 3-19 Insert the compression rod from below.
- Page 12 DISC Assembly Manual 3-20 3-21 For traditional or continental brake routing, use Park For UK or "moto" brake routing, use Park IR-1 to route Connect Shimano JC 200 to JC 130 and slide barstem into IR-1 to route brake hoses as pictured. brake hoses as pictured.
-
Page 13: Computer Mount
DISC Assembly Manual Computer mount Install the computer mount and Remove the bolt and cover. tighten the 2 bolts to 2 Nm. Bottom Bracket Install the cups into the frame with BRT-002 bearing Install the provided Wheels MFG BBRight adapters if press from Enduro Bearings. -
Page 14: Thru-Axle Installation
DISC Assembly Manual Thru-Axle Installation Install a rear hub in the dropout with the free hub on After ensuring the dropout insert is correctly non-drive side. This will allow better access for the aligned, tighten the dropout bolt to 1 Nm. next step. -
Page 15: Fork Nut Adjustment
DISC Assembly Manual Fork nut adjustment Install a front hub in the dropout with the free hub After ensuring the dropout insert is correctly on non-drive side. This will allow better access for aligned, tighten the dropout bolt to 1 Nm. the next step. -
Page 16: Bottle Cage
DISC Assembly Manual Bottle cage Install cages and tighten M5 bolts with T20 Torx to 2 Nm. - Page 17 FACTORBIKES.COM...
Need help?
Do you have a question about the ONE Disc and is the answer not in the manual?
Questions and answers