Sign In
Upload
Download
Table of Contents
Contents
Add to my manuals
Delete from my manuals
Share
URL of this page:
HTML Link:
Bookmark this page
Add
Manual will be automatically added to "My Manuals"
Print this page
×
Bookmark added
×
Added to my manuals
Manuals
Brands
CDA Manuals
Ventilation Hood
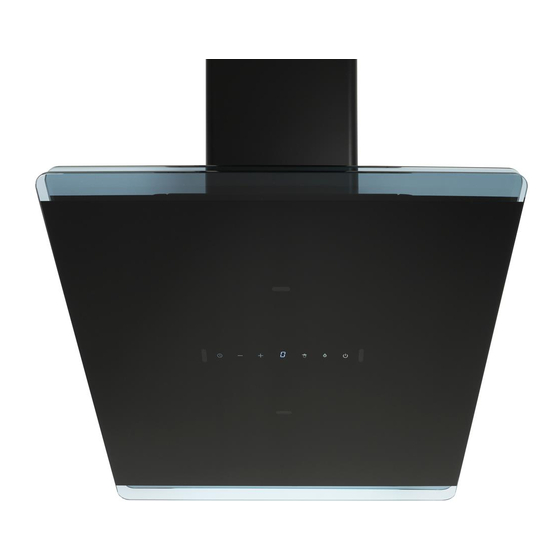
EXG60BL
Use and maintenance
CDA EXG60BL Use And Maintenance
Gesture control extractor hood
Hide thumbs
1
2
3
4
5
6
7
8
9
10
11
12
13
14
15
16
17
18
19
20
Table Of Contents
21
page
of
21
Go
/
21
Contents
Table of Contents
Troubleshooting
Bookmarks
Table of Contents
Using Your Extractor
Touch Controls
Cleaning and Maintenance
Changing the Light
Ducting and Ventilation
Installation
Mounting Your Extractor
Mains Electrical Connection
Troubleshooting
Advertisement
Quick Links
Download this manual
EXG60BL
EXG90BL
Gesture control extractor hood
Use and maintenance
Table of
Contents
Previous
Page
Next
Page
1
2
3
4
5
Advertisement
Table of Contents
Need help?
Do you have a question about the EXG60BL and is the answer not in the manual?
Ask a question
Questions and answers
Related Manuals for CDA EXG60BL
Ventilation Hood CDA EXG90BL Use And Maintenance
Gesture control extractor hood (21 pages)
Ventilation Hood CDA EVB9 User Instructions
(33 pages)
Ventilation Hood CDA ECPK9 Manual For Installation, Use And Maintenance
(13 pages)
Ventilation Hood CDA EVPK90 Installation - Use - Maintenance
Island extractor (20 pages)
Ventilation Hood CDA edd61 Installation & Use Manual
(21 pages)
Ventilation Hood CDA ECN62 Manual For Installation, Use And Maintenance
(20 pages)
Ventilation Hood CDA EVX101 Installation, Use And Maintenance Manual
(28 pages)
Ventilation Hood CDA ECA Installation, Use And Maintenance Manual
(20 pages)
Ventilation Hood CDA EVQ71 Installation, Use And Maintenance Manual
(18 pages)
Ventilation Hood CDA EVS90BL Installation, Use And Maintenance Manual
Ceiling extractor (20 pages)
Ventilation Hood CDA EVPC91 Installation, Use And Maintenance Manual
Corner extractor (24 pages)
Ventilation Hood CDA ECNK90 Installation, Use And Maintenance Manual
Island extractor (20 pages)
Ventilation Hood CDA EVX90SS Use And Maintenance
Ceiling (24 pages)
Ventilation Hood CDA EZTK90BL Installation, Use And Maintenance Manualbook
(20 pages)
Ventilation Hood CDA ECP Series Installation, Use And Maintenance Instruction Manual
Extractors (16 pages)
Ventilation Hood CDA EGA60BL Installation, Use And Maintenance Manual
(20 pages)
This manual is also suitable for:
Exg90bl
Table of Contents
Print
Rename the bookmark
Delete bookmark?
Delete from my manuals?
Login
Sign In
OR
Sign in with Facebook
Sign in with Google
Upload manual
Upload from disk
Upload from URL


Need help?
Do you have a question about the EXG60BL and is the answer not in the manual?
Questions and answers