Table of Contents
Advertisement
Quick Links
Advertisement
Table of Contents

Related Manuals for CDA ECPK9


Summary of Contents for CDA ECPK9
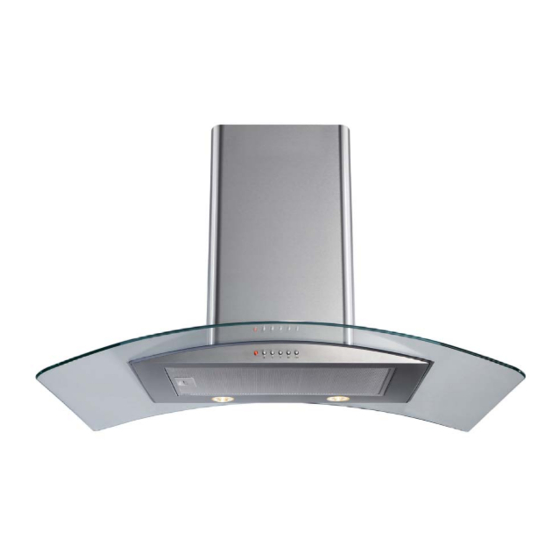
- Page 1 Manual for Installation, Use and Maintenance Passionate about style Customer Care Department • The Group Ltd. • Harby Road • Langar • Nottinghamshire • NG13 9HY T : 01949 862 012 F : 01949 862 003 E : service@cda.eu W : www.cda.eu...
- Page 2 Under no circumstances should any external covers be removed for servicing or maintenance except by suitably qualified personnel. Appliance information: Please enter the details on the appliance rating plate below for reference, to assist CDA Customer Care in the event of a fault with your appliance and to register your appliance for guarantee purposes. Appliance Model...
-
Page 3: Using Your Extractor
Using your Extractor For best performance, you should switch on the extractor 15 minutes before starting to cook and leave it to run for approximately 15 minutes after the end of cooking. Control Panel A – Power indicator light B – Light button C –... -
Page 4: Care And Maintenance
You can clean your extractor effectively by simply using a dilute solution of water and mild detergent and drying to a shine with a clean cloth, for example the CDA E-Cloth. Cleaning the grease filter The grease filter should be kept clean to minimise the risk of fire. -
Page 5: Changing The Light
Only use bulbs recommended for your extractor. Do not fit bulbs of a higher power rating. Bulbs of a lower power rating may be adequate for use, generally last longer and use less energy. Spare bulbs are available from CDA Customer Care or from your local DIY shop. -
Page 6: Mains Electricity Connection
The wire which is coloured brown must be connected to the terminal marked L (Live), or coloured red. • If the mains cable is damaged, it must be replaced by a CDA approved engineer, agent or similarly qualified persons in order to avoid a hazard. NOTE: USE A 3A FUSE Assembly and electrical connection should be carried out by competent personnel. -
Page 7: Electrical Information
2. Check that the fuse in the spur has not blown. Contact CDA Customer Care A : Customer Care Department, The CDA Group Ltd, Harby Road, Langar, Nottinghamshire, NG13 9HY T : 01949 862 012 F : 01949 862 003 E : service@cda.eu W : www.cda.eu... -
Page 8: Mounting Your Extractor
Mounting your Extractor IMPORTANT: We recommend that you seek the help of another individual when installing this product The minimum ceiling height when used with a gas hob min 536 requiring a clearance of 750mm is 2.52m (or 8’3”). When used with an electric hob with clearance of 650mm the minimum ceiling height required is 2.42m (or 8’... - Page 9 Install your extractor To Install your extractor, proceed as follows: - 1. Mark and drill holes in the ceiling for the four support plugs, using either the support section or the dimensions in fig5. as a guide. Fig. 5 2. Work out the required height of the support section, as follows: - Support section height = Ceiling height –...
- Page 10 Install your extractor To Install your extractor, proceed as follows: - 4. Connect the ventilation ducting to the duct pipe in the ceiling void and proceed to secure the support section to the ceiling using appropriate fixings. When secured firmly to the ceiling, slide the decorative chimney sections over the support.
- Page 11 Install your extractor To Install your extractor, proceed as follows: - 6. Locate the lower decorative section in position and slide the upper section up to the ceiling. Using the supplied screws, fix the chimney sections to the upper support using the supplied screws (Fig 11) 2-Ø3.4 x 10 Fig.
- Page 12 Passionate about style Customer Care Department • The Group Ltd. • Harby Road • Langar • Nottinghamshire • NG13 9HY T : 01949 862 012 F : 01949 862 003 E : service@cda.eu W : www.cda.eu...
Need help?
Do you have a question about the ECPK9 and is the answer not in the manual?
Questions and answers