Subscribe to Our Youtube Channel
Summary of Contents for Apera Instruments ZenTest PC60-Z
- Page 1 ™ ZenTest PC60-Z Smart 7-in-1 Tester pH/Cond./TDS/Salinity/Resistivity/ORP/Temp.) User Manual APERA INSTRUMENTS, LLC aperainst.com V1.7 - 1 -...
- Page 2 Contents Introduction - 3 - What’s in the Kit - 4 - Keypad Functions - 4 - Battery Replacement - 5 - Preparation before Use - 5 - pH Calibration - 6 - 6.3 Long press to enter calibration mode (screen turns green); - 6 - pH Measurement - 8 -...
- Page 3 Int rodu ct ion Thank you for choosing Apera Instruments PC60-Z Smart Multi-Parameter Tester. Please carefully read this manual before using the product. 1.1 Search “zentest smart” in Apple App Store or Google Play App Store to download the latest App for your tester.
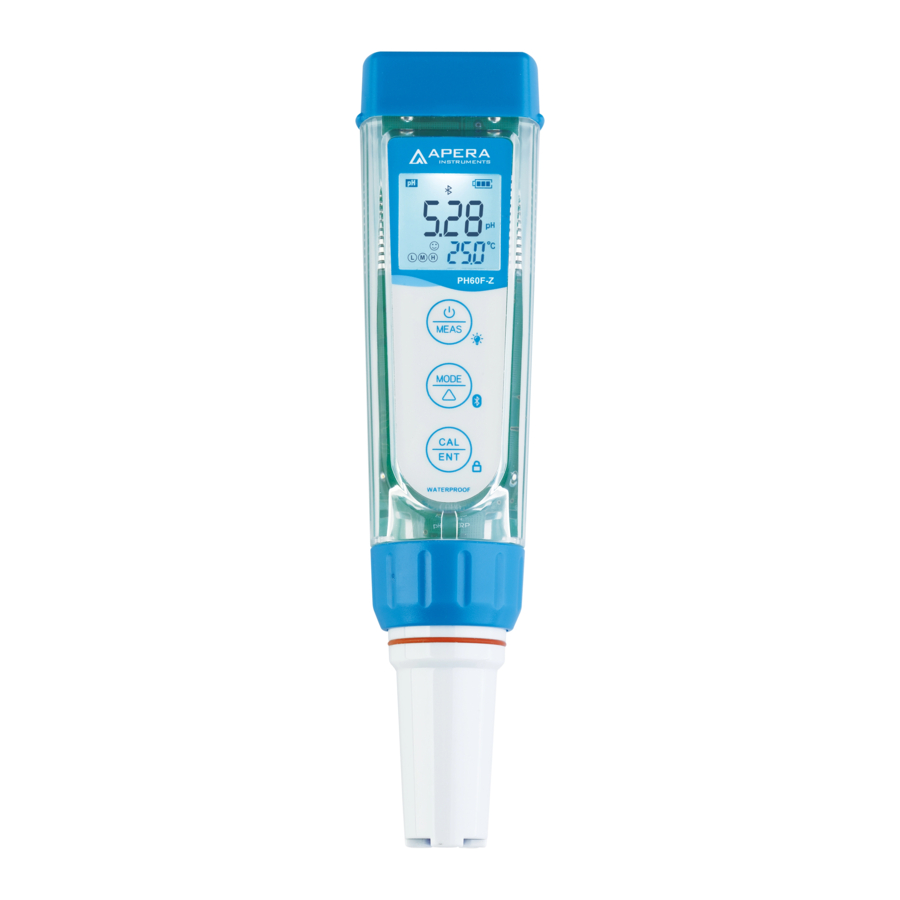
- Page 4 Wh at ’s in t h e Kit pH Calibration Vials PC60-Z Tester Conductivity Calibration Vials Ke yp ad Fun ct ion s ■ Short press------ < 2 seconds ,Long press------- > 2 seconds Battery Cap 1. When turned off, short press to turn on the tester; long press to enter parameter setting.
- Page 5 B at t er y R epl a ce m en t Please install batteries according to the following steps. *Please note the correct direction of battery installation: The Positive Side (“+”) OF EVERY SINGLE Battery MUST FACE UP. (WRONG INSTALLATION OF BATTERIES WILL CAUSE DAMAGE TO THE TESTER AND POTENTIAL HAZARDS!) P re pa r at i on bef or e U se Pull out the battery insulation slip, and take off the probe cap.
- Page 6 pH Ca li br at ion 6.1 Short press to turn on the meter; rinse the probe in pure water. Shake off excess water. 6.2 Pour pH 7.00 and pH 4.00 buffer solution in the corresponding calibration vials (to about half volume of the vials).
- Page 7 pt: 7.00 pH pt: 6.86 pH 3-pt pt: 4.00 or 1.68 pH pt: 4.01 or 1.68 pH Range: 0 to 14.00 pH pt: 10.01 or 12.45 pH pt: 9.18 pH or 12.45 pH 6.8 For the self-diagnosis information, please refer to the table below: Symbol Self-Diagnosis information Potential problems and how to fix...
-
Page 8: How To Calibrate
pH M ea su r em ent 7.1 How to take pH measurements Short press to power on the tester. Rinse the probe in pure water, shake off excess water. Insert the probe in your sample solution, make a quick stir and hold still. Record the reading when it is stabilized appears and stays on screen). - Page 9 Conductivity Calibration Notes The tester can calibrate 84μS, 1413 μS/cm and 12.88 mS/cm conductivity calibration solution. User can conduct 1 to 3 points calibration. Refer to the table below. Usually calibrating the tester with 1413 μS/cm conductivity buffer solution alone shall meet the testing requirement. Calibration Indication Icon Calibration Standards Measuring Range...
- Page 10 Condu ct iv it y M ea su r em ent How to Measure Conductivity, TDS, Salinity, and Resistivity Short press to turn on the tester. Rinse the probe in distilled water and dry it. Dip the probe into your sample solution, make a quick stir, and hold still. Record the reading after it is fully stabilized ( comes up and stays).
- Page 11 O RP M e as ur e men t ORP stands for Oxidation-Reduction Potential, measured in mV. It’s also called redox. ORP is a measure of the cleanliness of water & its ability to break down contaminants. A separate ORP probe (ORP60-DA) needs to be installed to be able to measure ORP.
-
Page 12: Parameter Settings
P ar am et e r S et t i ng s Table of Settings Symbol Parameter Setting Contents Content Factory Default ˚C – ˚F ˚F Temperature Unit 5-20 seconds – Off Select automatic lock 1-8 minutes – Off Automatic Backlight Off 10-20 minutes –... - Page 13 Auto. Power off (P04) ─ The auto. power off time can be set to 10 to 20 minutes. For example, if 15 minutes is set, the meter will automatically shut down after 15 minutes if no operation; when “Off” is set, the auto.
- Page 14 Ico ns and Fun ct i on s Calibrated points Self-Diagnosis Symbol Er1, Er2, Er3, Er4, Er5, Er6 Stable reading indicator Waterproof Rating IP67, floats on water Reading Lock HOLD Power DC3V, AAA batteries*4 Bluetooth Signal >200 Hours Battery Life White: Measurement;Green: Calibration;...
- Page 15 Tr oub le sho ot i ng G ui de - 15 -...
- Page 16 We warrant this instrument to be free from defects in material and workmanship and agree to repair or replace free of charge, at option of APERA INSTRUMENTS, LLC, any malfunctioned or damaged product attributable to responsibility of APERA INSTRUMENTS, LLC for a period of TWO YEARS (SIX MONTHS for the probe) from the delivery.


Need help?
Do you have a question about the ZenTest PC60-Z and is the answer not in the manual?
Questions and answers