Sign In
Upload
Download
Table of Contents
Contents
Add to my manuals
Delete from my manuals
Share
URL of this page:
HTML Link:
Bookmark this page
Add
Manual will be automatically added to "My Manuals"
Print this page
×
Bookmark added
×
Added to my manuals
Manuals
Brands
Silverline Manuals
Hob
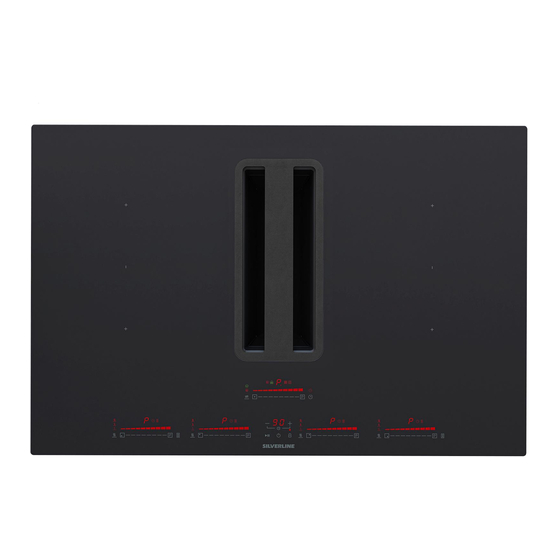
FLOW-IN PRO
User manual
Silverline FLOW-IN PRO User Manual
Hide thumbs
1
2
Table Of Contents
3
4
5
6
7
8
9
10
11
12
13
14
15
16
17
18
19
20
21
22
23
24
25
26
27
28
29
30
31
32
33
34
35
36
37
38
39
40
41
42
43
44
45
46
47
48
49
50
page
of
50
Go
/
50
Contents
Table of Contents
Bookmarks
Table of Contents
Table of Contents
1 Preface
2 Warnings
3 Technical Data
4 Product Perspectives
5 Product Overview
6 Control Panel
Symbols
Segment Screens
Stove Hood Usage Type
7 Active Carbon Filter Replacement
8 Cleaning and Preventive Maintenance
Cleaning of the Metal Oil Filter and Water Tank
9 Induction Cooking System Working Principles
Cookware
10 Packing
11 Installation and Assembly
12 Assembly
13 Connection Scheme
14 Use of Product
Hood Panel
Automatic Ventilation
Timer
Metal Oil Filter
Active Carbon Filter
Starting the Countdown of the Active Carbon Filter
Stopping the Countdown of the Active Carbon Filter
Metal Oil Filter and Active Carbon Filter
Stove Panel
Level Temperature Mode
Child Lock
Power Boost Cooking Mode Selection
Bridge Selection
Timer
15 Power Levels
16 Process Plate
17 Accessories and Spare Parts
Accessory
18 Authorized Service
Advertisement
Quick Links
1
Technical Data
2
Product Perspectives
3
Symbols
4
Cleaning and Preventive Maintenance
5
Installation and Assembly
6
Accessories and Spare Parts
Download this manual
FLOW-IN PRO USER MANUAL
EN
MODELS
IM7110
PE905 FIP
Table of
Contents
Previous
Page
Next
Page
1
2
3
4
5
Advertisement
Table of Contents
Need help?
Do you have a question about the FLOW-IN PRO and is the answer not in the manual?
Ask a question
Questions and answers
Related Manuals for Silverline FLOW-IN PRO
Hob Silverline FLAK 810 ESK Manual
Flow-in advanced (44 pages)
Hob Silverline FLHK 800 ESK Operating And Assembly Instructions Manual
Flow-in hilight (32 pages)
Hob Silverline FLGK 920 ESK Manual
(44 pages)
Hob Silverline Luna Flow-in Instructions For Use Manual
Hood & hob (22 pages)
Hob Silverline AS 5443 X01 User Manual
(88 pages)
Hob Silverline IH5445B01 Operating Manual
(52 pages)
Hob Silverline PEK1001 Instruction Manual
(20 pages)
Hob Silverline PEK1000 Instruction And Installation Manual
(22 pages)
Hob Silverline CS 5222 User Manual
(88 pages)
Hob Silverline CS 5222 User Manual
(183 pages)
Hob Silverline PEI3084 Instruction And Installation Manual
(24 pages)
Hob Silverline PIK 80 S Manual
Electric (44 pages)
Hob Silverline RS5322B01 User Manual
(108 pages)
Hob Silverline AS 5255 User Manual
Built-in hob (64 pages)
This manual is also suitable for:
Im7110
Table of Contents
Print
Rename the bookmark
Delete bookmark?
Delete from my manuals?
Login
Sign In
OR
Sign in with Facebook
Sign in with Google
Upload manual
Upload from disk
Upload from URL


Need help?
Do you have a question about the FLOW-IN PRO and is the answer not in the manual?
Questions and answers