Campbell Sierra Wireless Airlink RV50 Quick Deploy Manual
4g lte cellular modem for private dynamic ip addresses
Hide thumbs
Also See for Sierra Wireless Airlink RV50:
- Product manual (58 pages) ,
- Quick deploy manual (4 pages) ,
- Quick manual (2 pages)
Table of Contents
Advertisement
Quick Links
Part Number 35782
Revision: 03/2021
1. Introduction
NOTE:
This Quick Deploy Guide is a general reference to give the
installer an overview of the steps required to make this
system operational. The Product Manual is the definitive
source for detailed installation instructions and
information.
For best results, update to the latest data logger
operating system and version of Device Configuration
Utility.
You should have received two Quick Deploy Guides with your
RV50(X) module. The one you follow will depend on whether
your module was configured with a private dynamic or public
static IP address.
The Provisioning Report received with your Cellular Data
Service shows whether the module was configured with a
private dynamic or public static IP address. See the following
figure for an example of a Campbell Scientific Provisioning
Report. Other cellular providers should provide similar
information.
USE THIS GUIDE if your module has a private dynamic IP
address.
Sierra Wireless Airlink®
4G LTE Cellular Modem
For Private Dynamic IP Addresses
www.campbellsci.com/rv50
FIGURE 1-1. Private dynamic IP provisioning report
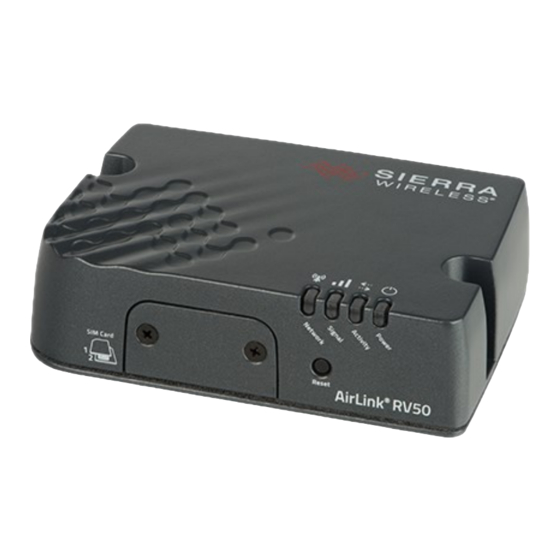
Additionally, Campbell Scientific cellular modules configured
with a private dynamic IP address will have one sticker on the
module, as shown in the following figure. It will show the
module phone number and data plan. USE THIS GUIDE.
Campbell Scientific cellular modules configured with a public
static IP address will have two stickers on the module. One
sticker will show the module phone number and data plan. The
second sticker will show the static IP address. USE THE OTHER
GUIDE.
FIGURE 1-2. Module with private dynamic IP address
2. Campbell Scientific cellular data
service
Campbell Scientific can provide subscriptions to cellular
service through Verizon, AT&T, T-Mobile, Vodafone, Telstra,
and over 600 other providers worldwide. When this cellular
service is purchased with the module, the module will come
pre-provisioned with the required SIM card and APN. If you
have already purchased the RV50(X), call Campbell Scientific
to set up service.
3. Install the SIM card
NOTE:
If you purchased cellular service from Campbell Scientific
with the module, it will come with the SIM (Subscriber
Identity Module) card already installed.
1
Advertisement
Table of Contents

Related Manuals for Campbell Sierra Wireless Airlink RV50


Summary of Contents for Campbell Sierra Wireless Airlink RV50
- Page 1 3. Install the SIM card Service shows whether the module was configured with a private dynamic or public static IP address. See the following figure for an example of a Campbell Scientific Provisioning NOTE: Report. Other cellular providers should provide similar If you purchased cellular service from Campbell Scientific information.
- Page 2 1. Remove the SIM card cover. 2. Note the location of the notched corner for correct alignment. The gold contact points of the SIM face down when inserting the SIM card as shown in the following figure. Gently slide the card into the slot until it stops and locks into place.
- Page 3 NOTE: If Campbell Scientific did not provision the RV50(X) or it does not automatically connect to the network, you may need to to confirm or enter your APN information. Follow steps 6 through 8 to WAN/Cellular > SIM Slot 1 Configuration >...
- Page 4 RS-232. Change the Baud Rate to 115200 Fixed. 10. Click the Template button in the ACEmanager toolbar. A template application window will appear. Browse to and upload one of the configuration templates downloaded from Campbell Scientific. Template Files Template File Description Name Default configuration with RS-232 RV50_115200.xml...
- Page 5 5. Leave the default settings for the PakBusPort. PakBus 7. Set up LoggerNet Port Always Open should not be checked. In the TCP Password field enter the TCP Password; this must match The LoggerNet Network Map is configured from the the value entered in the Konect PakBus Router setup LoggerNet Setup screen.
- Page 6 8. Test the connection Use the Connect screen to test the connection. Click on the appropriate station and click Connect to initiate a call to the data logger. The data logger must have 12 V power. TIP: The connection time is subject to many external factors. It is often less than 30 seconds but could be up to 15 minutes.
Need help?
Do you have a question about the Sierra Wireless Airlink RV50 and is the answer not in the manual?
Questions and answers