Campbell Sierra Wireless AirLink RV50 Quick Manual
Quick deploy guide
Hide thumbs
Also See for Sierra Wireless AirLink RV50:
- Product manual (58 pages) ,
- Quick deploy manual (7 pages) ,
- Quick deploy manual (4 pages)
Advertisement
Quick Links
Sierra Wireless
Part Number 31887
IMPORTANT NOTE:
This Quick Deploy Guide is meant to be a general
reference to give the installer an overview of the steps required to
make this system operational. The Instruction Manual is the definitive
source for detailed installation instructions and information.
!
1
Caution!
Do not operate the Sierra Wireless modem in areas where blasting is in
progress, near medical equipment, near life support equipment, or any
equipment which may be susceptible to any form of radio interference. In
such areas, the Sierra Wireless modem MUST BE POWERED OFF. The Sierra
Wireless modem can transmit signals that could interfere with this equip-
ment.
2
Required Hardware/Software
• SIM card from provider (mini-SIM)
• APN information from provider
• #1 Phillips (pn 6290) or 2.5 mm flat (pn 8125) screwdriver
• Computer with Ethernet port
• Ethernet cable (supplied)
• DevConfig version 2.10 or greater.
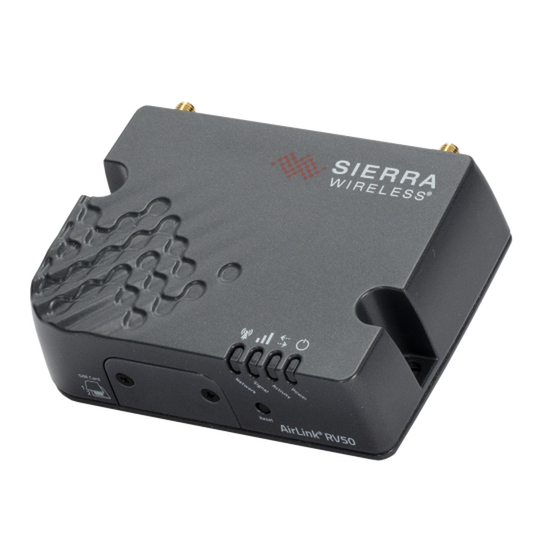
QUICK DEPLOY GUIDE
AirLink RV50
Wireless Modem
Info
Link
03/2016
https://www.campbellsci.com/devconfig
3
Install the SIM Cards
1. Use a #1 Phillips (pn 6290) or 2.5 mm flat (pn 8125) screwdriver to remove the
SIM card cover.
2. Slide the mini-SIM (2FF) card into the upper SIM card slot until it clicks into
place.
By default, the SIM card in the upper slot is the primary SIM. Note the location
of the notched corner for correct alignment. The gold contact points of the SIM
face down when inserting into the upper slot. They face up when inserting into
the lower slot. To eject a SIM card, press it in slightly and release.
3. Reattach the cover.
4
Set Up and Power the RV50
1. Connect the Cellular antenna.
2. Connect the Diversity antenna, if used.
Note: If a Diversity antenna is used, use ACEmanager to enable WAN/
Cellular | RX Diversity.
3. Connect the power cable leads to the power supply.
Lead Color Function
Black
Ground
White
Enabled (On/Off)
Red
Power (7–36 V)
4. Connect the power cable to the RV50 DC Power input.
When the RV50 is properly set up and powered, the status LEDs will turn
on. The RV50 will begin the activation/provisioning process and attempt to
connect to the mobile network. This process typically takes 5-10 minutes. A
successful connection is indicated by a solid green Network LED. If the RV50
does not automatically connect to the network, proceed to Configuration (Step
5) to confirm or enter the WAN/Cellular APN information.
Connect To
G
12V (or SW12V or C- or U- for control)
12V
Advertisement

Related Manuals for Campbell Sierra Wireless AirLink RV50


Summary of Contents for Campbell Sierra Wireless AirLink RV50
- Page 1 QUICK DEPLOY GUIDE Install the SIM Cards 1. Use a #1 Phillips (pn 6290) or 2.5 mm flat (pn 8125) screwdriver to remove the SIM card cover. 2. Slide the mini-SIM (2FF) card into the upper SIM card slot until it clicks into Sierra Wireless place.
- Page 2 4. Log in using User Name = user and Password = 12345 the datalogger: 5. Click the Template menu button in the ACEmanager toolbar. A template 1. Connect to the datalogger using Campbell Scientific’s Device Configuration application window will appear. Browse to and upload one of the configuration Utility (DevConfig).
Need help?
Do you have a question about the Sierra Wireless AirLink RV50 and is the answer not in the manual?
Questions and answers