Summary of Contents for Cerio DT-300N V2
- Page 1 CERIO Corporation DT-300N V2 eXtreme Power 11n 2.4Ghz 2x2 Wireless Access Point (1000mW) Quick Start Guide...
-
Page 2: Table Of Contents
Table of Contents Product Outward Appearance ....................... 3 Panel Function Description ......................3 Mounting Installation ........................4 Installation for Mounting kit ......................5 Software Configuration ........................5... -
Page 3: Product Outward Appearance
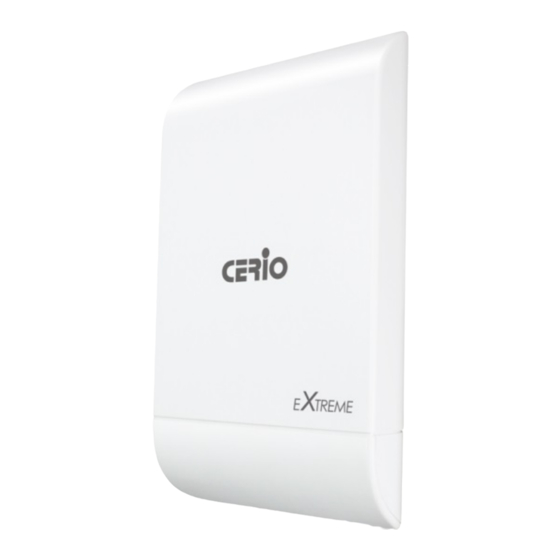
1. Product Outward Appearance Bottom Product Front Side Product Product 2. Panel Function Description (1) The Ethernet connect of ETH2 Port (2) The LED indicator of ETH2 Port (3) Reset button (4) The Ethernet connect of ETH1 / PoE Port (5) The LED indicator of ETH1 Port (6) Power LED (7) Ground connection... -
Page 4: Mounting Installation
(8) When use Client Bridge + Repeater AP and WISP + Repeater AP modes the 3 LED’s is represent bridge signal for strong or weakly indicator. 3. Mounting Installation Install Ethernet Cable Install Grounding Cable... -
Page 5: Installation For Mounting Kit
Set the IP segment of the administrator's computer to be in the same range as DT-300N v2 for accessing the system. Do not duplicate the IP Address used here with IP Address of DT-300N v2 or any other device within the network. - Page 6 Step 1 : Please click on the computer icon in the bottom right window, and click “Open Network and Sharing Center” Step 2 : In the Network and Sharing Center page, Please click on the left side of “Change adapter setting” button...
- Page 7 Step 3 : In “Change adapter setting” Page. Please find Local LAN and Click the right button on the mouse and Click “Properties” Step 4 : In “Properties” page, please Click “Properties” button to TCP/IP setting...
- Page 8 Step 5 : In Properties page to setting IP address, please find “Internet Protocol Version 4 (TCP/IPv4)” and double click or click “Install” button. Double click Or click Install button Step 6 : Select “Use the following IP address”, and fix in IP Address : 192.168.2.# ex.
- Page 9 Launch as web browser to access the web management interface of system by entering the default IP Address, http://192.168.2.254, in the URL field, and then press Enter. Browser will pop up "login" page. Please key in username and password into the system on DT-300N v2. The system manager Login Page then appears.


Need help?
Do you have a question about the DT-300N V2 and is the answer not in the manual?
Questions and answers