
Related Manuals for Cerio WP-300N


Summary of Contents for Cerio WP-300N
- Page 1 CERIO Corporation WP-300N eXtreme Power 11n 2.4Ghz 2x2 Wall-Plate PoE Access Point (500mW) Quick Start Guide...
-
Page 2: Table Of Contents
Table of Contents Overview.............................. 3 Package Content ..........................4 Hardware Specifications ......................... 4 Product Outward Appearance ....................... 6 Product Outward Appearance and Function Description ............7 Product with Bracket Variations (U.S.A Type & E.U Type) ............. 8 Wall Plate and Device Installation ....................8 Product and Outlet Box Interlocking Schematics.............. -
Page 3: Overview
WP-300N focuses on customers looking for a modern and aesthetically appealing way to improve their network. Strategic placement of WP-300N can replace unaesthetic RJ-45 wall ports and add a sense of modernism to a room or hallway. -
Page 4: Package Content
Power Adapter CD Manual Quick Installation Guide Warranty Card 3. Hardware Specifications Application Software OS System Compatible Cerio CenOS 3.0/4.0 Software Core edition Specifications Network Standards IEEE 802.11 b/g/n compliant Conformance IEEE 802.3 / IEEE 802.3u Fast Ethernet IEEE 802.3af/at Power over Ethernet IEEE 802.11i Preauth (PMKSA Cache ) - Page 5 Data Transfer Rate IEEE802.11b : 1 / 2 / 5.5 / 11Mbps (auto sensing) IEEE801.11g : 6/ 9/ 12/ 18/ 24/ 36/ 48/ 54Mbps (auto sensing) IEEE802.11n : 300Mbps (Tx), 300Mbps (Rx) Frequency Range 2.412 ~ 2.462GHz (USA) 2.412 ~ 2.484GHz (Japan) 2.412 ~ 2.472GHz (Europe ETSI) 2.457 ~ 2.462 GHz (Spain) 2.457 ~ 2.472 GHz (France)
-
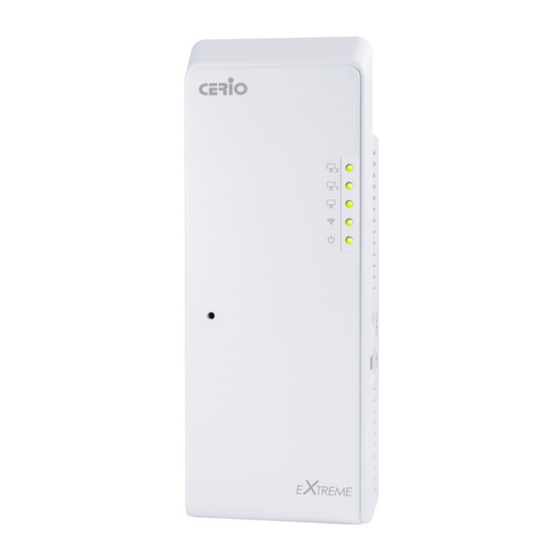
Page 6: Product Outward Appearance
Unit Weight Certifications CE ,FCC,NCC、BSMI 、ROHS compliant 4. Product Outward Appearance Side Panel Side Top Panel Front Panel Bottom Panel... -
Page 7: Product Outward Appearance And Function Description
5. Product Outward Appearance and Function Description (1) The three LED indicator of LAN Port. (2) The LED indicator of Wi-Fi. (3) The LED indicator of Power. (4) Reset default button. (Hold the reset button for more than 15 sec. to system default configuration) (5) The Ethernet(RJ-45) port for LAN1 (6) The Ethernet (RJ-45) port for LAN2 and PoE Bridge function. -
Page 8: Product With Bracket Variations (U.s.a Type & E.u Type)
6. Product with Bracket Variations (U.S.A Type & E.U Type) 7. Wall Plate and Device Installation U.S.A Type Outlet Box E.U Type Outlet Box (Used in Europe & China) (Used in U.S.A, Japan, & Taiwan) -
Page 9: Product And Outlet Box Interlocking Schematics
Set the IP segment of the administrator's computer to be in the same range as WP-300N for accessing the system. Do not duplicate the IP Address used here with IP Address of WP-300N or any other device within the network. - Page 10 Step 2 : In the Network and Sharing Center page, Please click on the left side of “Change adapter setting” button Step 3 : In “Change adapter setting” Page. Please find Local LAN and Click the right button on the mouse and Click “Properties”...
- Page 11 Step 4 : In “Properties” page, please Click “Properties” button to TCP/IP setting Step 5 : In Properties page to setting IP address, please find “Internet Protocol Version 4 (TCP/IPv4)” and double click or click “Install” button. Double click Or click Install button...
- Page 12 Launch as web browser to access the web management interface of system by entering the default IP Address, http://192.168.2.254, in the URL field, and then press Enter. Browser will pop up "login" page. Please key in username and password into the system on WP-300N.
- Page 13 The system manager Login Page then appears. Enter “root” as User name and “default” as Password, and then click “OK” to login to the system. Login information By CenOS3.0 Software Router / AP / WDS/Client Bridge + Repeater AP/ WISP+ Repeater AP mode Default IP Address 192.168.2.254...
Need help?
Do you have a question about the WP-300N and is the answer not in the manual?
Questions and answers