Advertisement
Quick Links
Advertisement

Subscribe to Our Youtube Channel
Related Manuals for Weber mt CF 2


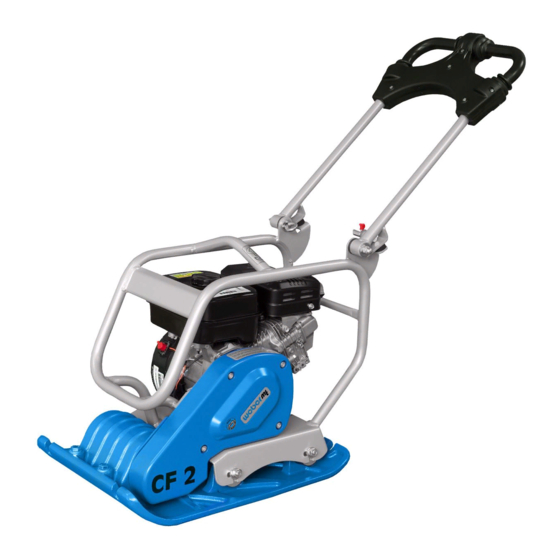
Summary of Contents for Weber mt CF 2
- Page 1 SERVICE INFORMATION Repair manual CF 2 + CF 3 VKD/10/2016...
- Page 2 SERVICE INFORMATION Repair manual CF 2 + CF 3 Introduction Carefully read the repair manual all the way through before starting work. Carefully follow all instructions and always execute the described activities in the specified sequence. The safety requirements prescribed for repair tasks must be complied with to prevent personal injury and / or material damage.
- Page 3 SERVICE INFORMATION Repair manual CF 2 + CF 3 DISMANTLING Unscrew the fastening screws (1) of the V-belt guard and take off the V-belt guard. Remove the V-belt (1). Crushing hazard due to V-belt! Unscrew the fastening nuts (1) of the engine bracket.
- Page 4 SERVICE INFORMATION Repair manual CF 2 + CF 3 Lift off the top section. Remove the oil drain screw. Drain oil. Select a collection vessel that is large enough to pre- vent oil from spilling on the ground. Dispose of waste oil in an environmentally friendly manner (regulation on waste oils).
- Page 5 SERVICE INFORMATION Repair manual CF 2 + CF 3 Remove the screw of the V-belt pulley. Mount the screw (1) into the eccentric shaft (2). Pull the V-belt pulley (1) off using a puller (2).
- Page 6 SERVICE INFORMATION Repair manual CF 2 + CF 3 Screw the screws (1) into the threaded holes of the housing cover and push the housing cover out of the housing. Take the eccentric shaft (1) out of the exciter housing.
- Page 7 SERVICE INFORMATION Repair manual CF 2 + CF 3 Use a drift punch to drive / knock the bearing out of the eccentric housing. Clamp the eccentric shaft into a vise and remove the inner bearing ring (1). Remove the O-ring from the housing cover.
- Page 8 SERVICE INFORMATION Repair manual CF 2 + CF 3 Remove the shaft seal ring (1). Place a socket (30 mm) behind the bearing (1). Remove the bearing from the housing cover. ASSEMBLY Install the bearing (1) in the eccentric housing using...
- Page 9 SERVICE INFORMATION Repair manual CF 2 + CF 3 Place the paper seal (1) onto the housing cover (2). Knock on the bearing until it is flush with the housing cover. Fit the housing cover. Use a soft face hammer to drive the bearing (1)
- Page 10 SERVICE INFORMATION Repair manual CF 2 + CF 3 Mount the O-ring (1). Apply grease to the O-ring. Apply grease to the shaft seal ring. Install the shaft seal into the housing cover. Apply grease to the shaft seal ring.
- Page 11 SERVICE INFORMATION Repair manual CF 2 + CF 3 Mount the inner bearing ring (1) onto the eccentric shaft (2). Insert the eccentric into the exciter housing. Use the fastening screws to arrange the housing cover such that the drill holes line up on top of each other.
- Page 12 SERVICE INFORMATION Repair manual CF 2 + CF 3 Place the V-belt pulley (1) onto the eccentric shaft – fix in place with screw (2) on washer. Install the V-belt guard (2) – tighten the fastening screws (1). Install the countersunk screw (1) – as shown.
- Page 13 SERVICE INFORMATION Repair manual CF 2 + CF 3 Lift the top section (1) of the machine onto the base plate (2). Slide the top portion of the V-belt (1) into the slotted holes in the specified direction. Fit and tighten the V-belt.
- Page 14 SERVICE INFORMATION Repair manual CF 2 + CF 3 Fix the V-belt guard in place.
Need help?
Do you have a question about the CF 2 and is the answer not in the manual?
Questions and answers