Table of Contents
Advertisement
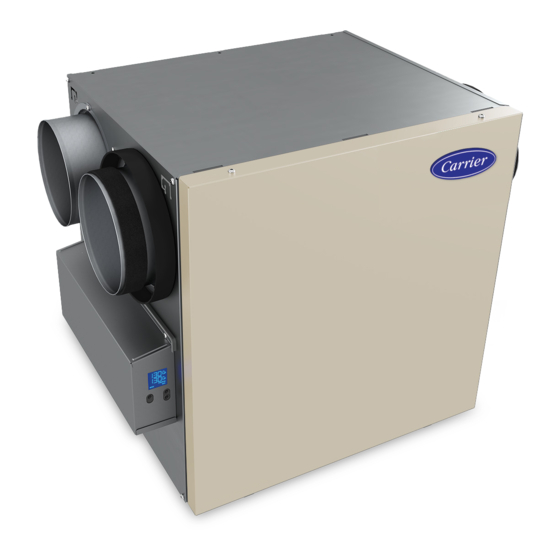
ERV & HRV
Fresh Air Systems
ERVXXSHA1130, ERVXXSVA1130, HRVXXSHA1130, HRVXXSVA1130
ERVXXSHA1150, ERVXXSVA1150, ERVXXSHB1145, ERVXXSVB1145
HRVXXSHA1160, HRVXXSVA1160, HRVXXSHB1160, HRVXXSVB1160
INSTALLER: READ THESE INSTRUCTIONS BEFORE INSTALLING UNIT.
REGISTER YOUR PRODUCT ONLINE AT: www.cac-bdp-all.com
65% SRE ERV Models are not ENERGY STAR certified
Consumer Information
A. To ensure quiet operation of the ENERGY STAR certified H/ERV, each product model must be installed using sound attenuation techniques
appropriate for the installation.
B. The way your heat/energy-recovery ventilator is installed can make a significant difference to the electrical energy you use. To minimize the
electricity use of the heat/energy-recovery ventilator, a stand-alone fully ducted installation is recommended. If you choose a simplified installation
that operates your furnace air handler for room-to-room ventilation, an electrically efficient furnace that has an electronically commutated (EC)
variable speed blower motor will minimize your electrical energy consumption and operating cost.
User and Installer Manual
SAVE THEM FOR THE USER.
RESIDENTIAL USE ONLY
For additional information, https://www.hvacpartners.com/
A200557
A200637
Advertisement
Table of Contents
Troubleshooting


Need help?
Do you have a question about the ERVXXSHA1130 and is the answer not in the manual?
Questions and answers