Table of Contents
Advertisement
Quick Links
Content
1
Product introduction
1.1 Dimensions
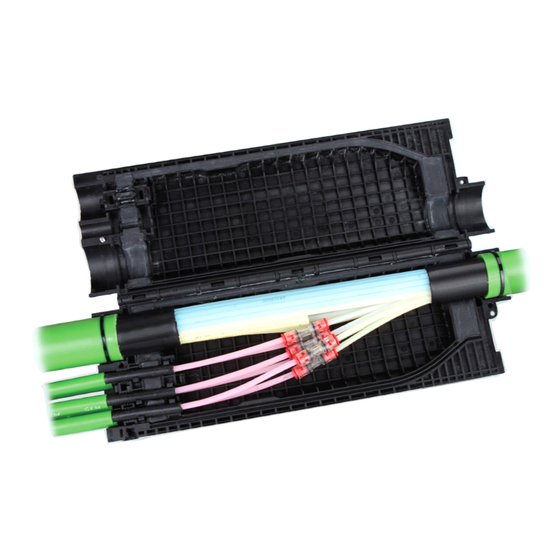
Closure external dimension 370×135×50mm
Cable outer diameter
1W (1-way) cable: 7.2mm and 9.0mm
12W (12-way) cable: 23mm
26W (26-way) cable: 36mm
4W (4-way) cable: 14.8mm
7W (7-way) cable: 18mm
1.2 Kit content
1
2
4-Way kit
1
Product introduction
2
3
3.1
3.2
3.3
3.4
26W cable installation
4
5
3
4
9
5
6
10
11
7-way kit
MDCC
I N S T A L L A T I O N
Micro Duct Cable Closure
1.
Closure body
2.
Wedge
3.
Dummy rods
4.
6-port gel block
5.
12W drop gel block
6.
6-port gel block cover
7
7.
12W adapter (left)
8.
12W adapter (right)
8
9.
Tie wraps
10. Cleaning tissue
12. Installation instruction
I N S T R U C T I O N
Advertisement
Table of Contents

Related Manuals for CommScope MDCC


Summary of Contents for CommScope MDCC
-
Page 1: Table Of Contents
MDCC I N S T A L L A T I O N I N S T R U C T I O N Micro Duct Cable Closure Content Product introduction Cable preparation Closure installation 1W cable installation 4W/7W cable installation... -
Page 2: Cable Preparation
1.3 Product application Cable preparation 2.1 Remove the cable sheath and cut the micro ducts for Application 1 2×26 way micro duct cable in - 6x1way micro duct cable each cable type as indicated below. 1-way feeder side 2.1.1 1-way cable 9mm drop port 2.1.2 1-way cable 7.2mm... -
Page 3: Closure Installation
Closure installation 4-way, 7-way and 12 way cable 2.1.4 4-way, 7-way cable and 12W cable used in 3.1 Push the clip and then use the screw driver to open Application 3, drop port. the closure ① 50mm 150mm 26-way cable 2.1.5 For 26W cable used in Application 1. -
Page 4: 7W Cable Installation
3.2.2 Install the 6-port gel block assembly onto the 3.2.4 Install the 6-port gel block cover. Click in as closure with hooking the gel block two sides as shown shown. 3.2.3 Install the top 3pcs 1W cables (or dummy rods) 3.3 4W/7W cable installation. -
Page 5: Cable Installation
3.3.3 Install the top 1pc 1W cables (or dummy rods) 3.4 12W cable installation and 4W/7W cable. 12W cable in drop cable port 3.4.1 Install the 12W drop gel block with click two snaps. 3.4.2 Position the cable onto the closure. Note: For dummy rod installation, fit the dummy rod end Note: Always make sure the outer jacket end meets the at the slots as shown. -
Page 6: Micro Duct Connections
3.5 26W cable on main cable port installation 4.4 Cut the micro ducts at the mark. 3.5.1 Position the cable onto the closure. Note: Make sure the outer jacket end meets the port end- face as shown. 4.5 Connect the micro ducts with connectors. Micro Duct Connections 4.1 Install connectors from bottom side micro ducts. -
Page 7: Closing Of The Closure
Closing of the closure 4.7 Release the left and right 12W adapters to install the continuity strap. 5.1 Close the closure and check if the screws are in the Note: Make sure the PVC tape has no contact with gel right position. - Page 8 Users should rely on their own judgment to evaluate the suitability of a product for a certain purpose and test each product for its intended application. CommScope's only obligations are those stated in CommScope’s Standard © 2017 CommScope, Inc.
Need help?
Do you have a question about the MDCC and is the answer not in the manual?
Questions and answers