
Related Manuals for Vanderbilt ACT365-ACU


Summary of Contents for Vanderbilt ACT365-ACU
- Page 1 ACT365-ACU / ACT365-ACU2A / ACT365-ACUPoE Installation Instructions Document ID: A-100521-c Edition date: 15.03.2019...
- Page 2 ACT365-ACU & ACT365-ACUPoE Hereby, Vanderbilt International (IRL) Ltd declares that this equipment type is in compliance with the following EU Directives for CE marking: • Directive 2014/30/EU (Electromagnetic Compatibility Directive) •...
-
Page 3: Table Of Contents
4.1 Factory default the Controller (DIP switch 2) 4.2 DHCP/static IP addressing (DIP switch 1) 4.3 Defaulting the static IP address 4.4 Changing static IP address on the ACT365-ACU 5 Door Controller Status Indicators 5.1 ACT365-ACU 5.2 ACT365-ACU2A and ACT365-ACUPoE ©... -
Page 4: Overview
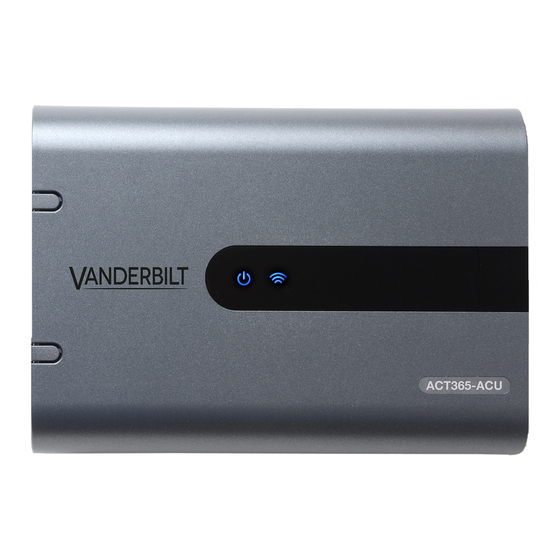
1 Overview This guide describes the installation of the ACT365-ACU controller. The ACT365-ACU Controller is a single door IP controller that requires an external 12V or 24V power supply. The ACT365-ACU2A Controller is a single door IP controller with a 12V DC 2A PSU. -
Page 5: Relay Load
ACT365-ACU / ACT365-ACU2A / ACT365-ACUPoE – Installation Instructions Overview ACT365-ACU ACT365-ACU2A ACT365-ACUPoE PoE 802.3af input (PoE) 13.8V at 0.3A output + 0.5A battery charge Battery charging Standby Battery 12V 7Ah Battery 12V 7Ah Battery Battery Deep Discharge Protection Input: Voltage Rated 100–240V AC... -
Page 6: Monitoring
1.3 Monitoring All faults including Mains Present and Tamper are reported on the ACT365 portal. Mains present For the ACT365-ACU, the PSU MAINS PRESENT output is pre-wired to the AC MON input. Output Voltage For the ACT365-ACU, the PSU output voltage level is reported to the ACT365 portal. -
Page 7: Installation
The unit should be installed in a ventilated area that allows for accessibility after installation. 2.1.2 Power supply The ACT365-ACU requires an external 12V DC or 24V DC power supply. The supply should be connected to the +12/24V DC and 0V/GND connections. -
Page 8: Mounting
2.2.4 Standby Battery Note: Ensure batteries being fitted to this unit are in good condition 1. Connect battery leads to battery, ensuring correct polarity of battery connections. Vanderbilt recommend using a 7Ah battery. 2. Apply mains power and check that the green Mains LED is on. -
Page 9: Tamper
ACT365-ACU / ACT365-ACU2A / ACT365-ACUPoE – Installation Instructions Installation Note: Batteries must have sufficient charge to supply the load. 6. Reconnect mains power. Green LED should be on. 7. Remove Load fuse and check that the red Fault LED is on (dependent on model). -
Page 10: Troubleshooting
ACT365-ACU / ACT365-ACU2A / ACT365-ACUPoE – Installation Instructions Installation 5. Observe Green LED is ON when PoE is present. 6. Observe Load equipment indicates power is present. 7. Remove POE IN cable and observe load equipment continues to indicate power is present. -
Page 11: Wiring
3 Wiring This sections describes the following. 3.1 Typical wiring of ACT365-ACU 3.1.1 Wiring exit readers 3.2 Fire override configuration 3.3 Interlock/airlock configuration 3.4 Intruder panel wiring 3.1 Typical wiring of ACT365-ACU Label Description Label Description Door contact, normally closed Ethernet: RJ45 Note: All IP device must have a valid IP Address. -
Page 12: Wiring Exit Readers
For clock and data readers, wire exit readers in parallel but leave the sense line unconnected. For Wiegand readers, wire the DATA 0 of the exit reader to the SENSE pin on the ACT365-ACU and DATA 1 to the CLOCK/D1 pin on the ACT365-ACU. -
Page 13: Intruder Panel Wiring
2. Wire the door from which the system will be armed/disarmed. 3. On the ACT365 customer portal, select the site from the site picker. 4. On the ACT365 customer portal, program the ACT365-ACU: a. Click Access Control > Doors > <Door Name>. - Page 14 ACT365-ACU / ACT365-ACU2A / ACT365-ACUPoE – Installation Instructions Wiring will lock. 7. To disarm the system, a user with arm/disarm rights should press the tick key on the keypad then present their card. If multiple doors should lock when the intruder panel is armed then each door must monitor the alarm status.
-
Page 15: Defaulting The Controller And Ip Address Configuration
9. Re-apply power. 4.2 DHCP/static IP addressing (DIP switch 1) The ACT365-ACU Controller is shipped with the DHCP enabled and can be configured to obtain an IP address from a DHCP server or use a static IP address. 1. Power down the ACT365-ACU Controller. -
Page 16: Defaulting The Static Ip Address
Note: The static IP address can be changed via the web interface. 4.4 Changing static IP address on the ACT365-ACU 1. Connect the ACT365-ACU Controller to the IP network. 2. Open a web browser on a PC (for example, Microsoft Internet Explorer, Google Chrome, etc.). -
Page 17: Door Controller Status Indicators
BG/EDR input. The fault LED will illuminate if the Emergency break glass switch is activated. Mains Fault: ACT365-ACU will accept a mains present signal from a PSU. This is wired into AC MON input on the PCB. When the PSU has no mains supply the fault is active. - Page 18 © Vanderbilt 2019 Data and design subject to change without notice. Supply subject to availability. Document ID: A-100521-c Edition date: 15.03.2019 Issued by Vanderbilt International Ltd. Clonshaugh Business and Technology Park vanderbiltindustries.com Clonshaugh, Dublin D17 KV 84, Ireland @VanderbiltInd Vanderbilt Industries...
Need help?
Do you have a question about the ACT365-ACU and is the answer not in the manual?
Questions and answers