
Related Manuals for Horizon Hobby HobbyZone AeroScout S 2 1.1m Trainer


Summary of Contents for Horizon Hobby HobbyZone AeroScout S 2 1.1m Trainer
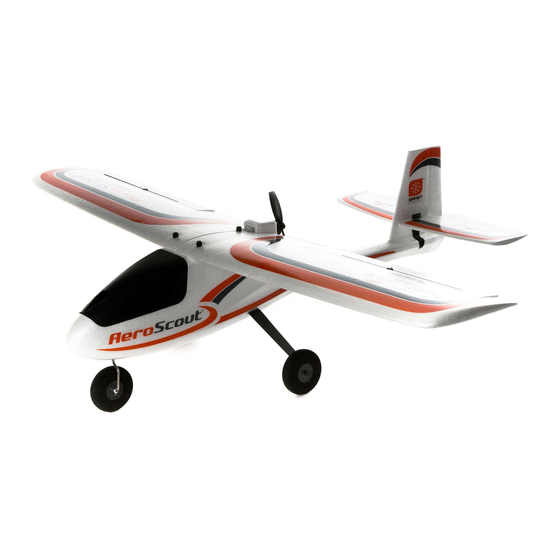
- Page 1 Instruction Manual Bedienungsanleitung Manuel d’utilisation Manuale di Istruzioni 1 . 1 m T r a i n e r...
- Page 2 NOTICE All instructions, warranties and other collateral documents are subject to change at the sole discretion of Horizon Hobby, LLC. For up-to-date product literature, visit www.horizonhobby.com or www.towerhobbies.com and click on the support or resources tab for this product. Meaning of Special Language:...
-
Page 3: Table Of Contents
Box Contents Table of Contents Specifications ....................3 Flying ......................14 Charging Warnings..................4 Trimming the Aircraft ..................15 Charge the Flight Battery ................4 Post Flight Checklist ..................16 Transmitter Setup ................... 5 Factory Settings for the Control Horns and Servo Arms ......... 16 Included DXS Transmitter (RTF Version) ............ -
Page 4: Charging Warnings
FIRE, and ultimately injury and charges. property damage. • Always charge in a well-ventilated area. • Always terminate all processes and contact Horizon Hobby if the product • NEVER LEAVE CHARGING BATTERIES UNATTENDED. malfunctions. • NEVER CHARGE BATTERIES OVERNIGHT. -
Page 5: Transmitter Setup
WARNING: Before proceeding further, remove the propeller and spinner from the motor shaft. Never attempt to program the radio components, assemble the aircraft or perform maintenance of any kind without removing the propeller. Serious injury could result if the motor starts inadvertently with the propeller still attached. 1. -
Page 6: Included Dxs Transmitter (Rtf Version)
Included DXS Transmitter (RTF Version) Installing the Transmitter Batteries Remove the battery cover, install the four included batteries (noting proper polarity) and reinstall the battery cover. Low Battery Alarm The LED indicator flashes and the transmitter beeps progressively faster as the battery voltage drops. -
Page 7: Assemble The Aircraft
Assemble the Aircraft Install the Landing Gear 1. Slide the main gear into the slots in the fuselage until they lock into place. 2. Insert the nose gear into the wheel collar as shown and tighten the setscrew against the flat in the gear wire using a Phillips screwdriver. Install the Horizontal Tail 1. - Page 8 Assemble and Install the Wing 1. Slide the carbon fiber wing spar fully into a wing panel as shown. Ensure the aileron servo lead exits through the slot in the bottom of the wing. 2. Slide the opposite wing panel over the wing spar until the root of the wing panels are tight and the rear mounting hole is correctly aligned.
-
Page 9: Transmitter And Receiver Binding
Transmitter and Receiver Binding CAUTION: Connecting the battery to the ESC with reversed polarity Binding Procedure will cause damage to the ESC, the battery or both. Damage caused by 1. Make sure the transmitter is powered off. incorrectly connecting the battery is not covered under warranty. 2. -
Page 10: Center Of Gravity (Cg)
If the control surfaces do not respond as shown, DO NOT FLY. Refer to the Troubleshooting Guide for more information. If you need more assistance, contact the appropriate Horizon Hobby Product Support department. If the aircraft responds as shown, continue on to the Flight Control section. -
Page 11: Choose A Flying Field
7. If control issues exist, do not attempt to fly. Refer to the contact table at the end of the this manual to contact Horizon Hobby product support. Also, see the Spektrum website for more information. 8. When the range check is successfully completed, release the bind button to exit range check mode. -
Page 12: Install The Propeller
Install the Propeller WARNING: Do not install the propeller until the aircraft has been completely assembled, all systems have been checked thoroughly and you are located at a suitable flying site. Follow the instructions below to install the propeller and spinner: 1. -
Page 13: Flight Control
Flight Control IMPORTANT: Even though SAFE technology is a very helpful tool, the aircraft Transmitter command Aircraft Response still needs to be flown manually. If incorrect input is given at lower altitudes or at slower speeds, the aircraft can crash. Study these control inputs and the aircraft response to each carefully before attempting your first flight. -
Page 14: Preflight Checklist
Preflight Checklist 1. Find a safe and open flying area. 6. Perform a range check. 2. Charge flight battery. 7. Plan flight for flying field conditions. 3. Install fully charged flight battery in aircraft. 8. Set a flight timer for 5–6 min. 4. -
Page 15: Trimming The Aircraft
Landing 1. Reduce the throttle to around 50% to slow the airspeed. 2. Fly the aircraft downwind past the end of the runway. 3. Turn the aircraft into the wind and line the aircraft up with the runway center line. 4. -
Page 16: Post Flight Checklist
Post Flight Checklist 1. Activate Throttle Cut. 5. Inspect the airframe for loose or damaged parts. 2. While avoiding the area of the propeller and prop arc, 6. Repair or replace all damaged parts. disconnect and remove the flight battery from the aircraft. 7. -
Page 17: System Trouble Shooting Guide
AS3X System Trouble Shooting Guide ® Problem Possible Cause Solution If you need to adjust the trim more than 8 clicks, return the trim to Trim is not at neutral neutral and manually adjust the clevis to center the trim Trim change when flight mode is switched Sub-Trim is not at neutral Do not use Sub-Trim. -
Page 18: Replacement Parts List
Product, (iv) attempted service by support or service. Once assembly, setup or use of the Product has been anyone other than a Horizon Hobby authorized service center, (v) Product not started, you must contact your local distributor or Horizon directly. This will... -
Page 19: Contact Information
Horizon Technischer Service service@horizonhobby.eu Hanskampring 9 European Union D 22885 Barsbüttel, Germany Sales: Horizon Hobby GmbH +49 (0) 4121 2655 100 FCC Information Contains FCC ID: BRWKATY1T tions, may cause harmful interference to radio communications. However, there FCC ID: BRWSPMSR6200A is no guarantee that interference will not occur in a particular installation. -
Page 20: Compliance Information For The European Union
Compliance Information for the European Union EU Compliance Statement: EU Manufacturer of Record: HBZ AeroScout S 1.1m BNF-B (HBZ3850) Hereby, Horizon Hobby, Horizon Hobby, LLC LLC declares that the device is in compliance with the following: 2904 Research Road EU Radio Equipment Directive 2014/53/EU. - Page 21 © 2020 Horizon Hobby, LLC HobbyZone, the HobbyZone logo, E-flite, SAFE, the SAFE logo, DSM, DSM2, DSMX, IC3, Bind-N-Fly, the BNF logo, and the Horizon Hobby logo are trademarks or registered trademarks of Horizon Hobby, LLC. The Spektrum trademark is used with permission of Bachmann Industries, Inc.
Need help?
Do you have a question about the HobbyZone AeroScout S 2 1.1m Trainer and is the answer not in the manual?
Questions and answers