Advertisement
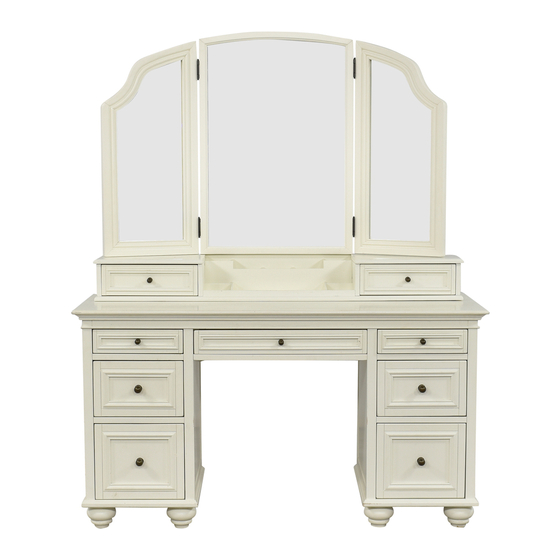
Chelsea Desk Vanity
PRE-ASSEMBLY:
•
Please read all instructions before beginning assembly.
•
Two-adult assembly is recommended.
•
Save all packing materials until assembly is complete to avoid accidentally discarding smaller parts or
hardware.
•
Avoid the use of a power drill as it may cause cracking.
PARTS INCLUDED:
A- Left Pedestal (1pc)
D- Desk Top (1pc)
G- Right Mirror (1pc)
J- Legs (8pcs)
HARDWARE INCLUDED:
K- Hex Bolt: 35mm (36pcs)
N- Allen Key (1pc)
B- Right Pedestal (1pc)
E- Smart Hutch (1pc)
H- Center Mirror (1pc)
L- Spring Washer (36pcs)
O- Wood Screw: 16mm (8pcs)
www.pbteen.com
1/6
C- Center Drawer (1pc)
F- Left Mirror (1pc)
I- Wood Cleat (2pcs)
M- Flat Washer (36pcs)
P- Knob Bolt: 30mm (9pcs)
Advertisement
Table of Contents

Related Manuals for PB TEEN Chelsea Desk Vanity


Summary of Contents for PB TEEN Chelsea Desk Vanity
- Page 1 Chelsea Desk Vanity PRE-ASSEMBLY: • Please read all instructions before beginning assembly. • Two-adult assembly is recommended. • Save all packing materials until assembly is complete to avoid accidentally discarding smaller parts or hardware. • Avoid the use of a power drill as it may cause cracking.
- Page 2 Q- Large Metal Knob (4pcs) R- Small Metal Knob (5pcs) TOOLS REQUIRED (but not included): • Phillips Head Screwdriver ASSEMBLY INSTRUCTIONS: 1. On a soft, scratch-free surface, such as a carpet or rug, remove all the parts from the boxes. Determine the desired location of the piece and prepare all parts there before beginning assembly.
- Page 3 4. Place the Desk Top (D) onto the top of the assembled piece aligning the pre-drilled holes of the Left/Right Pedestals (A&B) with the pre-drilled holes of the Desk Top (D). Insert a Flat Washer (M), Spring Washer (L) and Hex Bolt (K) through the pre-drilled holes of the two pedestals and into the pre-drilled hole of the Desk Top (D), as shown below.
- Page 4 6. With the help of a second adult align the top six pre-drilled holes of the Wood Cleats (I) to the pre-drilled holes on the back of the Center Mirror (H) as shown below. Insert a Flat Washer (M), Spring Washer (L) and Hex Bolt (K) through the pre-drilled holes on the Wood Cleat (I) and into the pre-drilled holes on the back of the Center Mirror (H).
- Page 5 8. With the help of a second adult align the top four pre-drilled holes of the Wood Cleats (I) to the pre-drilled holes on the back of the Center Mirror (H) as shown below. Insert a Flat Washer (M), Spring Washer (L) and Hex Bolt (K) through the pre-drilled holes on the Wood Cleat (I) and into the pre-drilled holes on the back of the Center Mirror (H).
- Page 6 10. Attach the Small Metal Knobs (R) to the drawers on the Smart Hutch (E) and the top drawer of the Left and Right Pedestal (A&B) and Center Drawer (C) by holding the Small Metal Knob (R) over the pre-drilled hole in the drawer front and inserting Knob Bolt (P) through the pre-drilled hole on the interior of the drawer and into the Small Metal Knob (M).
Need help?
Do you have a question about the Chelsea Desk Vanity and is the answer not in the manual?
Questions and answers