Advertisement
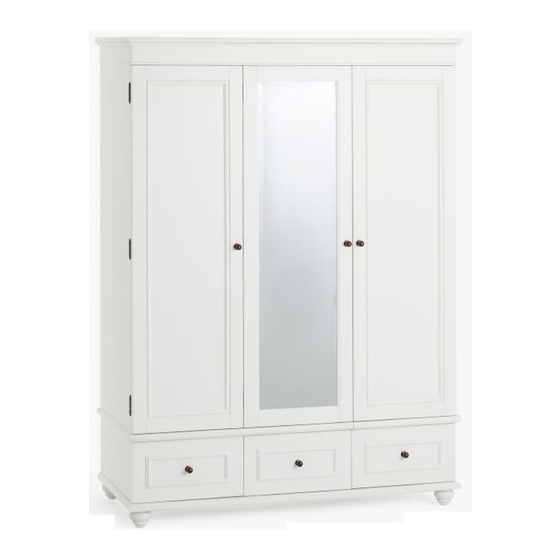
Chelsea Armoire
Pre-assembly :
•
Please read all instructions before
beginning assembly.
•
Two-adult assembly is recommended.
•
Save all packing materials until assembly
complete to avoid accidentally discarding
smaller parts or hardware.
Parts included:
A – Left Storage 1 pc
D – Top Panel 1 pc
G – Clothes Rod - 1 pc
B – Right Storage 1 pc
E – Large Adjustable Shelf - 2 pcs.
H – Leg - 4 pcs.
www.pbteen.com
C – Base - 1 pc
F – Small Adjustable Shelf - 2 pcs.
I – Top Front Molding 1 pc
Advertisement
Table of Contents

Subscribe to Our Youtube Channel
Related Manuals for PB TEEN Chelsea Armoire


Summary of Contents for PB TEEN Chelsea Armoire
- Page 1 Chelsea Armoire Pre-assembly : • Please read all instructions before beginning assembly. • Two-adult assembly is recommended. • Save all packing materials until assembly complete to avoid accidentally discarding smaller parts or hardware. Parts included: C – Base - 1 pc A –...
- Page 2 Hardware Included: K – Spring Washer - 6 pcs L – Flat Washer - 6 pcs J – Short Bolts - 6 pcs M – Shelf Pin - 16 pcs N – Allen Key - 1 pc O – Long Bolts - 19 pcs P –...
- Page 3 4. Place the Left Storage (A) onto the Left side of the Base(C) Aligning the Pre-drilled hole of the top of the base(C) to pre-drilled hole of the Left Storage (A). Insert a Short Bolt (J) Spring Washer (K) and Flat Washer (L) through the 4 pre-drilled holes of the top of the base(C) to pre-drilled hole on the bottom of the Left Storage (A), as shown below.
- Page 4 6. Align the pre-drilled holes on the side of Left Storage (A) to the pre-drilled holes of the Right Storage (B). Insert a Long Bolt (O) through the pre-drilled holes of the Right Storage (B) to pre-drilled hole of the Left Storage (A), as shown below. Tighten with the Allen Key (N) 7.
- Page 5 8. Place the Top Front Molding (I) on to the Top front of both storage (A,B) Aligning the Pre-drilled hole of the Top Front Molding (I) to the pre-drilled hole of the top front of both storage (A,B). Insert a Long Bolt (O) through the pre-drilled holes inside the top front of both Storage (A,B) to pre-drilled hole of the Top Front Molding (I), as shown below.
- Page 6 10 . Put the Shelf pins (M) into the pre-drilled holes inside the Left Storage (A). Place the Large adjustable Shelf (E) and Put the Shelf pins (M) into the pre-drilled holes inside the Right Storage (B). Place Small Adjustable Shelf (F) on to the Shelf Pins (M). Place the Clothes rod (G) onto the rod holder attached to the side of the Storage (A).
- Page 7 Furniture Tipping Restraint Young children may be injured by tipping furniture. The use of a tipping restraint is highly recommended. When properly installed, this restraint could provide protection against the unexpected tipping of furniture due to small tremors, bumping or climbing. We recommend mounting this restraint to a wall stud. WARNING: This product is only a deterrent.
Need help?
Do you have a question about the Chelsea Armoire and is the answer not in the manual?
Questions and answers