Advertisement
Quick Links
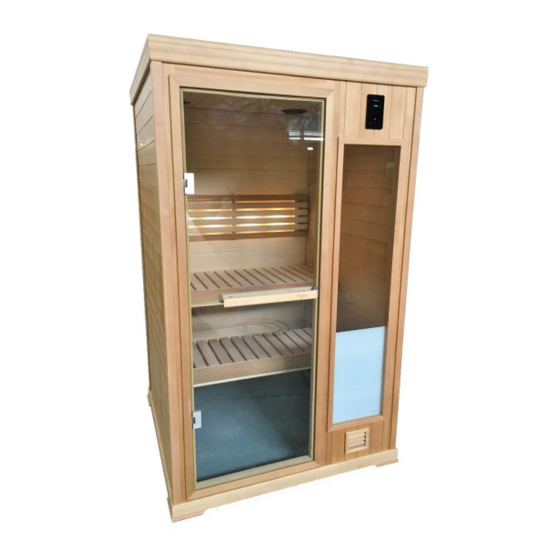
Hallmark V3 Series Owner's Manual
and Bluetooth Sound System
Read Before Installation
Precautions Before Use
Room Assembly
Electrical / Heater Assembly
Bench / Interior Assembly
SL2 Control Operations
Bluetooth Sound System Operation
User Maintenance Instructions
710-0148 HM 44
Rev. 01
HM with SL2 Control
Page 1 of 11
2
2
3
6
8
10
11
11
08/06/19
Advertisement

Related Manuals for Finnleo Hallmark V3 Series


Summary of Contents for Finnleo Hallmark V3 Series
- Page 1 Hallmark V3 Series Owner’s Manual HM with SL2 Control and Bluetooth Sound System Read Before Installation Precautions Before Use Room Assembly Electrical / Heater Assembly Bench / Interior Assembly SL2 Control Operations Bluetooth Sound System Operation User Maintenance Instructions 710-0148 HM 44...
- Page 2 Read all instruction carefully before installation including instructions packaged separately with the sauna heater. Please leave all instructions and warranty with the owner. WARNING: When using electrical sauna heaters and associated sauna products, basic precautions must be followed, including the following: 1.
- Page 3 Read Before Installation The portable sauna unit comes with an option of two heater sizes; 1.7kW or 2.2kW. The 1.7kw can be used on all 15 amp or 20 amp household outlets (the standard 120 volt outlet found in all homes). A dedicated circuit is advisable to avoid unnecessary tripping of the breaker.
- Page 4 Room Assembly INSTALLATION OF SAUNA ROOM 1. Place the floor panel in the desired location on a level surface (Note: The floor panel must be level before installing wall and ceiling panels. If the surface is not level you may need to shim the bottom panel to get it level.) Place the back panel in the slot of the floor...
- Page 5 4. Place the left wall in slot of the floor panel and latch to the back wall. Place the front panel in the slot of floor panel. 6. Place the ceiling panel on the four wall panels. *Make sure trim of the top panel fits completely around the four side panels.
- Page 6 ELECTRICAL / HEATER ASSEMBLY 8. Place CB Box on the floor for easy access. Remove the cover to access the electrical connections. Connect all the quick connections according to the picture and installation manual into the CB Box. Note: All the low voltage connections have unique connectors.
- Page 7 12. Mount the CB Box to the right wall with 4 screws provided by locating the lower left corner of the box to wood corner trim on wall. Place cover on CB Box with the four screws provided. Heater Screws Hang heater on front wall.
- Page 8 20. Rinse the rocks of dirt and dust. Install the rocks into the heater. Place small or flat rocks around the outer perimeter of heat chamber, including the ends. Place larger rocks loosely in middle of heater. Fill the heater until flush with the top of the outer shroud.
- Page 9 Install the backrests above the upper benches according to the predrilled holes, using the 1 1/8” Philips screws provided. Note: Be sure to install at the same level to ensure a well-balanced look. 710-0148 HM 44 Page 9 of 11 08/06/19 Rev.
- Page 10 SL2 (SaunaLogic 2) Control Operation Operating Instructions for Heater Default settings for temperature are preset to 194°F, the bath time is set to 60 minutes and 0-minute delay to start to heat. These settings are adjustable (as described below) from 119°F to 194°F. Length of sauna can be set from 0 to 60 minutes.
- Page 11 AUDIO OPERATION Audio Power On • Press icon to toggle On or Off the Bluetooth System. Note: The control does not have to be active for Sound System to operate. Pairing • Refer to your mobile device to pair to the unit. •...
Need help?
Do you have a question about the Hallmark V3 Series and is the answer not in the manual?
Questions and answers