Advertisement
Quick Links
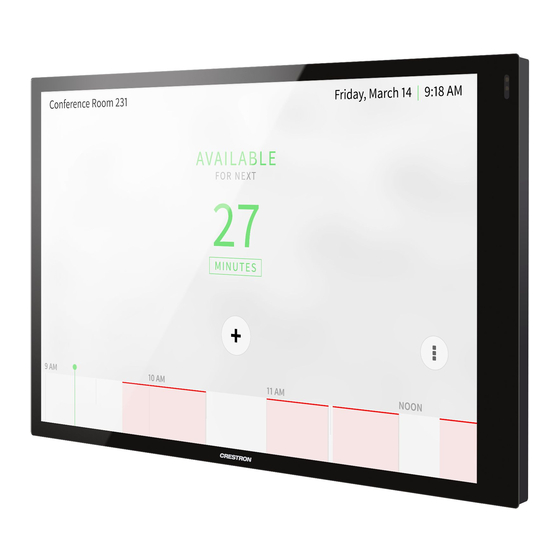
TSW-770-GV and TSW-1070-GV
7 in. and 10.1 in. Wall Mount Touch Screens, Government Version
The Crestron®
TSW-770-GV
and
screens that feature web browsing, Smart Graphics® software and
HTML5 UI technology, custom-programmable virtual buttons,
H.265/H.264 streaming video, and PoE+ (Power over Ethernet
Plus) network power. The touch screens also provide built-in applications
for room scheduling, conferencing, and home control.
The TSW-770-GV and TSW-1070-GV are modified versions of the
TSW-770 and TSW-1070 series touch screens, which eliminate the
microphone, the Bluetooth® communications beacon, and Wi-Fi® network
connectivity to comply with government applications demanding extra
privacy and security.
NOTE: The TSW-770-GV and TSW-1070-GV are functionally similar.
For simplicity within this guide, the term "touch screen" is used except
where otherwise noted.
In the Box
TSW-770-GV or TSW-1070-GV*, Wall Mount Touch Screens
1
Additional Items
1
Bracket, Mounting (2055453)
4
Screw, 6-32 x 3/4 in., Undercut Head, Phillips (2033247)
4
Screw, M3 x 16 mm, Flat Head, Phillips (2013788)
2
Screw, M3.5 x 25 mm, Flat Head, Phillips (2023756)
1
Bracket, Security (2055451)
2
Screw, M2 x 0.4 mm, Security (2055454)
1
Key, Security Bracket Release (2055452)
* Refer to the TSW-770-GV-B-S and TSW-1070-GV-B-S product pages at
www.crestron.com
for a complete list of color variations.
TSW-1070-GV
are wall mount touch
Install the Mounting Bracket
The TSW-770-GV and TSW-1070-GV install over a standard 2-gang or
3-gang U.S. electrical box, a 2-gang European electrical box, or a 2-gang
U.K. electrical box.
NOTES:
Additional mounting options are possible using the following
l
mounting accessories. For more information, refer to the product
pages at www.crestron.com.
TSW-UMB-70 universal mounting bracket
o
TSW-UMB-70-PMK preconstruction mounting kit
o
TSW-UMB-70-BBI wall mount back box
o
TSW-770/1070-MSMK series multisurface mounting kits
o
TS-770/1070-MUMK mullion mounting kit
o
TSW-770/1070-RMB series retrofit mounting brackets
o
TSW-770/1070-RMK series rack mount kits
o
Installing the mounting bracket to an electrical box is required only if
l
one of the mounting solutions above is not used. Refer to the
mounting solution documentation at www.crestron.com/manuals.
To mount the touch screen into an electrical box, use the appropriate
screws (four 6-32 x 3/4 in. screws, four M3 x 16 mm screws, or two
M3.5 x 25 mm screws) to attach the mounting bracket to the electrical
box as shown in the following illustrations:
NOTE: For U.S. installations, use a #2 Phillips screwdriver. For European
or U.K. installations, use a #1 Phillips screwdriver.
Quick Start
1
Advertisement

Related Manuals for Crestron TSW-770-GV


Summary of Contents for Crestron TSW-770-GV
- Page 1 HTML5 UI technology, custom-programmable virtual buttons, H.265/H.264 streaming video, and PoE+ (Power over Ethernet The TSW-770-GV and TSW-1070-GV install over a standard 2-gang or Plus) network power. The touch screens also provide built-in applications 3-gang U.S. electrical box, a 2-gang European electrical box, or a 2-gang for room scheduling, conferencing, and home control.
- Page 2 Quick Start TSW-770-GV and TSW-1070-GV 7 in. and 10.1 in. Wall Mount Touch Screens, Government Version For U.S. installations, use the four 6-32 x 3/4 in. screws. Install the Security Bracket (Optional) The included security bracket may be attached to the touch screen to prevent unauthorized removal after installation.
- Page 3 The USB ports are used to connect compatible Crestron LED accessories to the touch screen. NOTE: The TSW-770-GV may use either PoE or PoE+ to supply power to compatible LED accessories over USB; the TSW-1070-GV must use only PoE+ to supply power to LED accessories over USB.
-
Page 4: Configure The Touch Screen
Quick Start TSW-770-GV and TSW-1070-GV 7 in. and 10.1 in. Wall Mount Touch Screens, Government Version Mount the Touch Screen Configure the Touch Screen After all connections have been made, push the touch screen gently into When power is applied for the first time, the following screen is displayed. - Page 5 Access the Device Setup Screens the Cloud Services tab in Crestron Toolbox software (Functions > Device Info > Cloud Services). For details, refer to the Crestron Toolbox To access the built-in setup screens, place five fingers on the display and help file.
-
Page 6: Set The Time Zone
2. Do either of the following: displayed asking the user to create an admin account. A similar message is displayed when connecting to the device in Crestron Toolbox software if For existing accounts, access the XiO Cloud service at an admin account has not already been created. -
Page 7: Select An Application
Quick Start TSW-770-GV and TSW-1070-GV 7 in. and 10.1 in. Wall Mount Touch Screens, Government Version If a custom user project will be used, tap User Project. Custom user projects can be uploaded using the web configuration interface or Crestron Toolbox software. - Page 8 Development Tools License Agreement. Crestron product operating system software is licensed to Crestron dealers, CSPs, and end-users under a separate End-User License Agreement. Both of these Agreements can be found on the Crestron website at www.crestron.com/legal/software_license_agreement. The product warranty can be found at www.crestron.com/warranty.
Need help?
Do you have a question about the TSW-770-GV and is the answer not in the manual?
Questions and answers