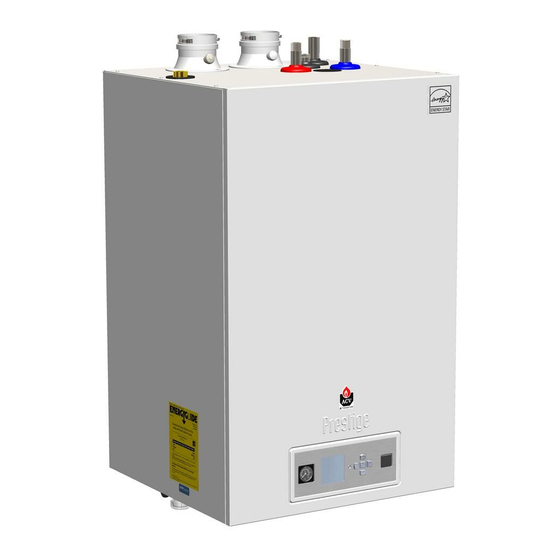
Advertisement
Propane to Natural Gas Instructions
Kit Part Number: CCRKIT02
Kit Includes:
-
Rating Label
-
(3) Natural Gas Orifices
-
T-15 Torx Wrench
WARNING
Indicates a potentially hazardous situation which, if
ignored, can result in serious
property damage.
WARNING
This conversion kit shall be installed by a qualified ser-
vice agency in accordance with the manufacturer's
instructions and all applicable codes and requirements
of the authority having jurisdiction. If the information in
these instructions is not followed exactly, a fire, an explo-
sion or production of carbon monoxide may result caus-
ing property damage, personal injury or loss of life. The
qualified service agency is responsible for the proper
installation of this kit. This installation is not proper and
complete until the operation of the converted appliance
is checked as specified in the manufacturer's instruc-
tions supplied with the kit.
WARNING
Failure to follow instructions below can result in severe
personal injury or damage if ignored:
-
Instructions are for a qualified installer / service
technician.
-
Read all instructions before proceeding.
-
Follow instructions in the proper order.
CHALLENGER
injury or substantial
Recommended Tools:
-
Phillips-Head Screwdriver
-
Standard Adjustable Wrenches
-
Calibrated Combustion Analyzer
NOTICE
Indicates special instructions on installation, operation
or maintenance, which are important to equipment but
not related to personal injury hazards.
CAUTION
The gas supply shall be shut off prior to disconnecting
the electrical power, before proceeding with the conver-
sion.
WARNING
For your safety, turn off electrical power supply at ser-
vice panel and allow appliance to cool before proceeding.
Failure to do so can cause severe personal injury or
death.
NOTICE
Upon completion of the conversion from Propane to
Natural Gas, affix the new rating label included in the kit
to the appliance just below the existing rating label on
the right side jacket panel. DO NOT affix the new label
over the existing rating label. Remove propane conver-
sion labeling from the gas valve. Complete the
Installation Record by recording the combustion reading
in the CHALLENGER Installation and Maintenance
Manual.
1
Advertisement
Table of Contents

Subscribe to Our Youtube Channel
Summary of Contents for TriangleTube CHALLENGER CC50s
- Page 1 CHALLENGER Propane to Natural Gas Instructions Kit Part Number: CCRKIT02 Recommended Tools: Kit Includes: Phillips-Head Screwdriver Rating Label Standard Adjustable Wrenches (3) Natural Gas Orifices Calibrated Combustion Analyzer T-15 Torx Wrench NOTICE WARNING Indicates a potentially hazardous situation which, if Indicates special instructions on installation, operation ignored, can result in serious injury or substantial...
- Page 2 CHALLENGER Propane to Natural Gas Instructions Installation of the Natural Gas Orifice 1. Close the manual gas shut off valve to the appli- ance. 2. Turn off the electrical power supply to the appliance. 3. Remove the front panel by flipping down the control panel and loosening the two Phillips head mounting screw(s) at the control panel.
- Page 3 CHALLENGER Propane to Natural Gas Instructions 8. Open the manual gas shut off valve. Before placing 0.12 [ 3 mm] the CHALLENGER back into operation check and test all gas connections for leaks. Repair leaks if found. WARNING Do not check for gas leaks with an open flame. Use a bub- ble test.
- Page 4 CHALLENGER Propane to Natural Gas Instructions Table 2: Recommended Combustion Levels 3. If the combustion levels during high fire are outside the recommended combustion settings, adjust the Combustion Levels Natural Gas Propane Gas THROTTLE SCREW (see Figs. 3 and 4 on page 5) using a T15 Torx wrench as follows: CO 2 Range 9% to 10.1%...
- Page 5 CHALLENGER Propane to Natural Gas Instructions 6. Confirm the combustion levels at both high fire and Throttle Screw low fire meet the requirements listed in Table 2 on page 4. Offset Pressure 7. Press the “+” and “-” button simultaneously to cancel Cover Screw high or low fire mode.


Need help?
Do you have a question about the CHALLENGER CC50s and is the answer not in the manual?
Questions and answers