EtherWAN EL100 Series Installation Manual
Hide thumbs
Also See for EL100 Series:
- User manual (12 pages) ,
- Installation manual (2 pages) ,
- User manual (9 pages)
Advertisement
Quick Links
E L 100 Series Media C onverter
Installation Guide
1
Unpacking
Open the carton and unpack the items. Your
package should include an EL100 media
converter and this Quick Install Guide. If items
are missing or damaged, notify your EtherWAN
representative.
The full manual can be downloaded at:
https://www.etherwan.com/support/product/el
100-el110-series
2
Select Installation Location
Place the equipment where it will not be
subjected to extreme temperatures, humidity, or
electromagnetic interference. Specifically, the
site you select should meet the following
requirements:
The ambient temperature should be between
32 and 113 degrees Fahrenheit (0 to 45
degrees Celsius).
The relative humidity should be less than 95
percent, non-condensing.
Surrounding electrical devices should not
exceed the electromagnetic field (RFC)
standards for IEC 801-3, Level 2 (3V/M) field
strength.
Make sure that the equipment receives
adequate ventilation. Do not block the
ventilation holes on each side of the
equipment.
The power outlet should be within 1.8 meters
of the product.
EL100
12/05/2018
3
Connect Power
This Converter is a plug-and-play device.
Connect the supplied AC to DC power adaptor
to the receptacle on the rear panel of the
converter, and then attach the plug into a
standard AC outlet.
Chassis Installation
The converter can be installed into any of the
expansion slots in a compatible chassis.
Install the converter onto a carrier supplied
with the chassis:
Unscrew the carrier from the desired
expansion slot on the chassis.
Fit the converter onto the carrier, and insert
the carrier to the guide rails of the expansion
slot.
Tighten the retaining screws to fix the
carrier in the chassis.
Copyright 2018 EtherWAN Systems, Inc.
All Rights Reserved
4
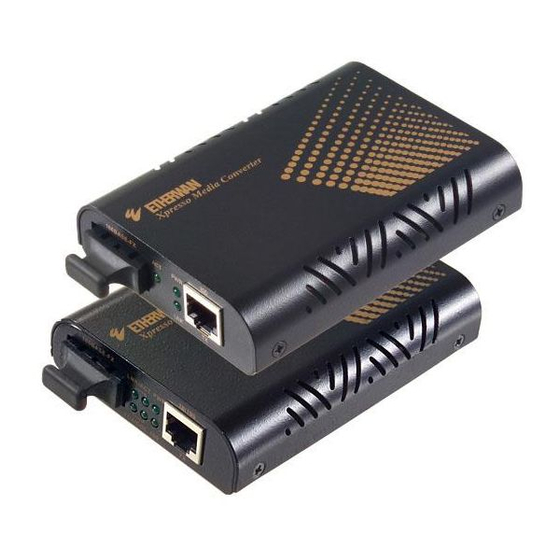
Ports and Port Settings
The Converter provides one TX port and one
FX/BX port. For the FX/BX port, it provides
options of:
Multi-mode fiber using SC, ST, VF-45, MT-RJ or
LC connector or
Single-mode fiber using SC or ST connector
The TX port uses RJ-45 connector and auto
senses the speed of 10/100Mbps.
Port settings are made by means of a DIP (Dual
Inline Package) switch at the rear panel of the
module.
4
DIP Switches
There are six pins on the DIP switch for port
settings. Refer to the table below for more
details.
Page 1
W70G-EL100Q1
Advertisement

Related Manuals for EtherWAN EL100 Series


Summary of Contents for EtherWAN EL100 Series
- Page 1 Quick Install Guide. If items to the receptacle on the rear panel of the options of: are missing or damaged, notify your EtherWAN converter, and then attach the plug into a Multi-mode fiber using SC, ST, VF-45, MT-RJ or representative.
- Page 2 Flashing Collision occurred Connection in half-duplex mode Manufacturer information: ETHERWAN SYSTEMS, INC. 4F-7, No. 79, Sec. 1, Xintai 5th Road, Xizhi District, New Taipei City 221, Taiwan Page 2 EL100 Copyright 2018 EtherWAN Systems, Inc. 12/05/2018 All Rights Reserved W70G-EL100Q1...
Need help?
Do you have a question about the EL100 Series and is the answer not in the manual?
Questions and answers