Table of Contents
Advertisement
Available languages
Available languages
Quick Links
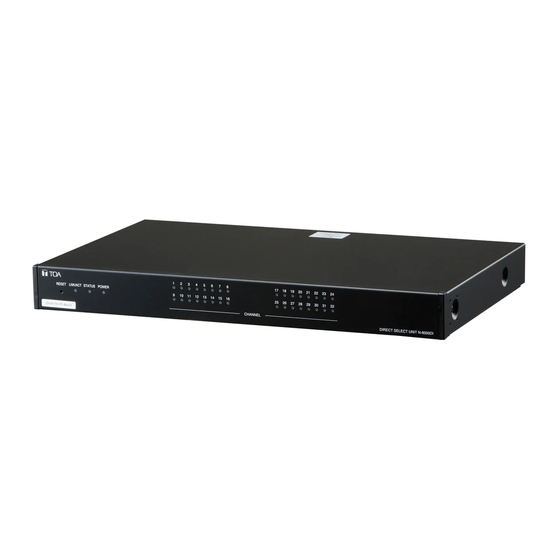
DIRECT SELECT UNIT
TABLE OF CONTENTS
1. SAFETY PRECAUTIONS ............................. 2
2. GENERAL DESCRIPTION ........................... 4
3. FEATURES ................................................... 4
4. NOMENCLATURE AND FUNCTIONS ......... 5
Front .............................................................. 5
Rear ............................................................... 5
5. INSTALLATION ............................................ 6
5.1. Equipment Rack Mounting ...................... 6
5.1.1. Setting space ................................. 6
5.1.3. Mounting on the rack .................... 7
Thank you for purchasing TOA's Direct Select Unit.
Please carefully follow the instructions in this manual to ensure long, trouble-free use of your equipment.
INSTALLATION MANUAL
5.2. Desk-Top Installation .............................. 7
5.3. Wall Mounting ......................................... 8
6. WIRING ......................................................... 9
6.1. Type of Cable .......................................... 9
6.3. Connection Diagram ............................ 10
7. ACCESSORIES .......................................... 12
8. OPTIONAL PRODUCT ............................... 12
N-8000DI
Advertisement
Table of Contents

Related Manuals for Toa N-8000DI


Summary of Contents for Toa N-8000DI
-
Page 1: Table Of Contents
5.1.1. Setting space ......... 6 5.1.2. Caution when installing the unit ..7 5.1.3. Mounting on the rack ....7 Thank you for purchasing TOA’s Direct Select Unit. Please carefully follow the instructions in this manual to ensure long, trouble-free use of your equipment. -
Page 2: Safety Precautions
· The supplied rack-mounting screws can be used • Should the following irregularity be found during for the TOA equipment rack only. Do not use them use, immediately disconnect the power supply plug for other racks. - Page 3 · Installer le bâti sur un sol stable. Le fixer à l’aide fiche du cordon d’alimentation de la prise secteur de boulons d’ancrage ou prendre des mesures et contacter le représentant TOA le plus proche. pour empêcher qu’il ne chute. Ne pas essayer pas d’utiliser l’appareil dans ces ·...
-
Page 4: General Description
DESCRIPTION GÉNÉRALE L'unité N-8000DI de TOA est le sélecteur direct utilisé pour le système de paquet intercom des séries N-8000 (intercom compatible avec un réseau IP) utilisant une technologie de paquet audio*. -
Page 5: Nomenclature And Functions
4. NOMENCLATURE AND FUNCTIONS [Front] 1 2 3 4 5 1. Reset key [RESET] 5. MAC address Pressing this key reactivates this unit. This is the address* used by the unit. Since the relationship of each exchange location to its MAC 2. -
Page 6: Installation
5. INSTALLATION The N-8000DI can be installed in any of three ways: Equipment rack mounting, Desk-top installation, and Wall mounting. 5.1. Equipment Rack Mounting A) Elevated Operating Ambient - If installed in a closed or multi-unit rack assembly, the operating ambient temperature of the rack environment may be greater than room ambient. -
Page 7: Caution When Installing The Unit
Étape 1. Installez la patte de montage en bâti sur l’unité N-8000DI. Étape 2. Montez l’unité N-8000DI en bâti. 5.2. Desk-Top Installation When installing the N-8000DI on a desk, secure the supplied plastic feet to the unit’s bottom using the supplied machine screws. Installation sur un bureau Pour installer l’unité... -
Page 8: Wall Mounting
Montage mural The N-8000DI can be mounted on a wall using an optional YC-850 Wall-mounting bracket. L’unité N-8000DI peut être montée au mur à l’aide d’une patte de montage mural YC-850. Step 1. Install the YC-850 to the N-8000DI. Étape 1. Installez l’unité YC-850 sur l’unité N-8000DI. -
Page 9: Wiring
• Tug lightly on the cable to be sure that it does not pull free. If the cable pulls free, loosen the terminal screw again and reconnect from Step 2. • Use the screwdriver appropriate to the screws tightened into the terminal plug. Step 4. Insert the wired terminal plug into the terminal block of the N-8000DI. N-8000DI rear panel Tighten... -
Page 10: Connection Diagram
About power supply cord handling Open-circuit voltage: 24 V The supplied power supply cord is designed for exclusive use with the N-8000DI. Use the supplied power supply cord only with the N-8000DI. * Select an appropriate UPS taking into consideration the total power consumption of all system components and the required backup time, and also the requirement that the UPS should employ the on-line power system. - Page 11 N-8000DI Direct select unit RJ-45 connector To network Contact output signals Contact output signals 16P removable terminal plug (supplied with the N-8000DI) Contact output signals Contact output signals 3. Contact output terminal connection 4. Network connection Contact output terminals have no polarity.
-
Page 12: Accessories
Wall mounting bracket: YC-850 Version update information • Download our TOA Products Data, web site (https://www.toa-products.com/international/) to get the up-to-date version for N-8000 software, firmware, and Instruction manuals. • The software version number can be confirmed using the Help menu.
Need help?
Do you have a question about the N-8000DI and is the answer not in the manual?
Questions and answers