Table of Contents
Advertisement
Quick Links
INSTRUCTIONS FOR MODELS
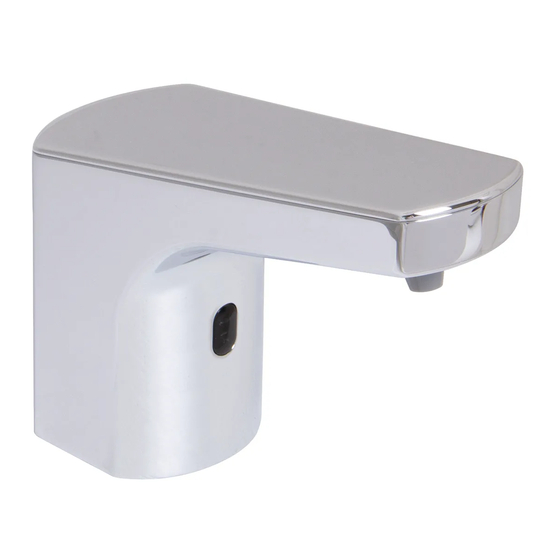
SFS-8000
Classic Sensor Soap Dispenser
SFS-9000
Designer Sensor Soap Dispenser
For additional assistance or service please contact:
SPEAKMAN
®
800-537-2107
customerservice@speakman.com
www.speakman.com
92-SFS-8000-01
5
Place the Control Box (1) against the desired mounting surface while ensuring adequate
clearance for servicing of all connections. If using the optional A/C Adapter, consider the
distance to the nearest electrical outlet. Control Box should be mounted so the Soap and Air
Outlet Ports are facing up.
OPTIONAL AC ADAPTER
8
Open the Soap Bottle Lid by pulling the
C Clip away.
TOOLS AND SUPPLIES
Extended Phillips
Adjustable
Pencil
Screwdriver
Wrench
Scissors
Drill
HELPFUL TOOLS & SUPPLIES:
Liquid
Foam
Safety
Soap
Soap
Glasses
IMPORTANT
• Do not over-tighten any connections or damage
may occur.
• Be sure to read instructions thoroughly before
beginning installation.
• This installation manual covers several models.
While the appearance of your model may vary, the
installation steps required are the same as shown in
this manual.
SAFETY TIPS
Cover your drain to prevent loss of parts. Be sure to
wear eye protection while cutting pipe.
FINISH MAINTENANCE
Your new Speakman Product is designed for years of
trouble-free performance. Keep it looking new by
cleaning it periodically with a soft cloth. Pay special
attention to the nozzle area. Periodically clean the
nozzle area to avoid soap residue build up. The use of
harsh chemicals and abrasives may damage the finish
and void the product warranty. Please be sure to only
use approved cleaners. Please contact Speakman for any
clarification of acceptable cleaners.
WARRANTY
Warranty information can be found at:
www.speakman.com
6
A X
N S
1 4 " M
E C T IO
L D IR
IN A L
FILL/REFILLING SOAP
9
Lift the Cap to access soap bottle.
1
Remove the Rubber Washer (1), Metal Washer
(2) and Mounting Nut (3) from the threaded
Shank.
3
Place all hoses, sensor wire and threaded shank
through the mounting hole one at a time. Take
extra precautions to avoid pinching any wires.
Lower Sensor Soap Dispenser into position.
Mark Screw Hole mounting locations (X4) using a Mounting Screw
(included) and an extended Phillips Screw Driver. Mount the Control
Box onto the previously marked locations. If mounting on drywall and
not to stud, use the appropriate anchors and fasteners for
application. Recommend screw in EZ anchor or equal for drywall.
X
10
Pour Soap into the Soap Container. This Soap
Dispenser will work with both Liquid Hand Soap
and Foaming Hand Soap with a viscosity
of < 2000cP.
OR
LIQUID
FOAM
2
Verify that the Rubber Gasket is in position and
aligned to the base of the Faucet.
4
From beneath, reinstall the Rubber Washer (1),
Metal Washer (2) and Mounting Nut (3) to
secure the Sensor Soap Dispenser. Align the
Sensor Soap Dispenser to desired position and
wrench tighten Mounting Nut (3). Verify that the
wires are not pinched.
OR
7
Align the SOAP and AIR tubes to the Control
Box. Cut to length and press tubing over barbed
fittings on Control Box.
X
X
X
WARNING: Running excessive tubing may lead to decrease
in performance. Always keep tube length to minimum.
11
• After filling the soap bottle, align the cutout of
the cap and close the bottle cap. Make sure the
feed tube reaches all the way to the bottom of the
bottle.
• Secure the Cap with the C Clip.
SOAP
AIR
Advertisement
Table of Contents

Subscribe to Our Youtube Channel
Related Manuals for Speakman Speakman SFS-8000


Summary of Contents for Speakman Speakman SFS-8000
- Page 1 ® wear eye protection while cutting pipe. FINISH MAINTENANCE 800-537-2107 Your new Speakman Product is designed for years of trouble-free performance. Keep it looking new by customerservice@speakman.com cleaning it periodically with a soft cloth. Pay special attention to the nozzle area. Periodically clean the nozzle area to avoid soap residue build up.
- Page 2 FILL/REFILLING SOAP Make electrical connections from the Sensor Eye to the Control Box. Connect the Blue Male Ended Wire to the Blue Female Connection. Connect the Green Male Ended Wire to the Green Female Connection. To further aid proper alignment, there are white alignment lines on the connector ends. These alignment lines should face Align the UNLOCK Symbol of the Soap Bottle to Select the proper Mode of the Sensor Soap forward when properly installed.
- Page 3 Q. If I call a plumber to come and install this Faucet, will they know enough to hook it up? A. Our installation diagrams are very easy to follow. SPEAKMAN SFS-8000 / SFS-9000 BELOW COUNTER ROUGH-IN DIAGRAM ®...
- Page 4 SPEAKMAN SFS-8000 ROUGH-IN DIAGRAM ® LAVATORY ROUGH-IN " 143mm 3 13 " " 2" 57mm 97mm " " 51mm 32mm 32mm MIN. TO WALL 2" 51mm MIN. TO LEDGE " 115mm 15.00° " 27mm AIR TUBE 30" SOAP TUBE 12"...
Need help?
Do you have a question about the Speakman SFS-8000 and is the answer not in the manual?
Questions and answers