Table of Contents
Advertisement
Advertisement
Table of Contents

Subscribe to Our Youtube Channel
Summary of Contents for Cambium Networks XIRRUS XD2-240
- Page 1 XD2-240 and XD4-240 Installation Guide November 2019...
-
Page 2: Contacting Cambium Networks
Accuracy While reasonable efforts have been made to assure the accuracy of this document, Cambium Networks assumes no liability resulting from any inaccuracies or omissions in this document, or from use of the information obtained herein. Cambium reserves the right to make changes to any products described herein to improve reliability, function, or design, and reserves the right to revise this document and to make changes from time to time in content hereof with no obligation to notify any person of revisions or changes. -
Page 3: Problems And Warranty
Cambium Networks warrants that hardware will conform to the relevant published specifications and will be free from material defects in material and workmanship under normal use and service. Cambium Networks shall within this time, at its own option, either repair or replace the defective product within thirty (30) days of receipt of the defective product. -
Page 4: Caring For The Environment
Note text. Caring for the environment The following information describes national or regional requirements for the disposal of Cambium Networks supplied equipment and for the approved disposal of surplus packaging. In EU countries The following information is provided to enable regulatory compliance with the European Union (EU) directives identified and any amendments made to these directives when using Cambium Networks equipment in EU countries. -
Page 5: You Need The Following Items
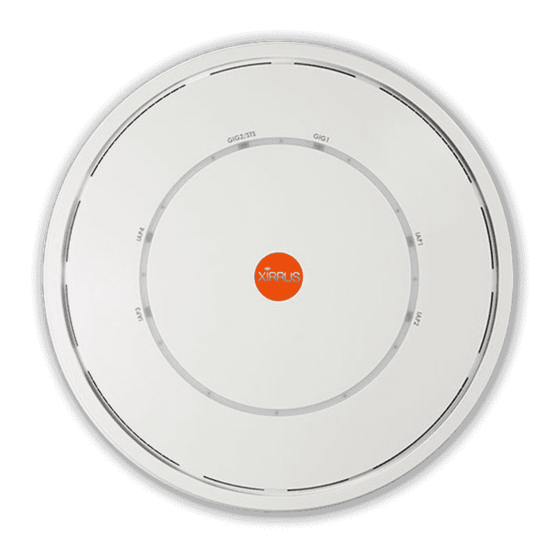
XD2-240 and XD4-240 Installation Guide Quick Installation Guide For XD2-240 and XD4-240 Models XD2-240 (XD2240) and XD4-240 (XD4240) High Density Access Points (APs) are zero touch APs within the Cambium Xirrus wireless portfolio. With four directional 802.11ac 4x4 Wave 2 radios on the XD4-240 and two on the XD2-240, a powerful integrated controller, application-level intelligence, automated provisioning, and optional cloud management, the APs deliver robust wireless connectivity in areas of medium to high user density. -
Page 6: Choose A Suitable Location
XD2-240 and XD4-240 Installation Guide Cambium Xirrus XD2 APs are Type 2, Class 4 POE-802.3at devices. If your switch vendor provides a setting for the type of powered-device detection with options such as Legacy, 4-Point, or BOTH, set the port to BOTH or 4-Point. -
Page 7: Install Mounting Hardware
XD2-240 and XD4-240 Installation Guide Install Mounting Hardware If the mounting plate is attached to the back of the AP, remove it by pushing it down and rotating it to the left. There are three standard mounting techniques for the XD2-240 and XD4-240, listed below. ... - Page 8 XD2-240 and XD4-240 Installation Guide 3B—Direct Ceiling Mount without Mounting Plate To attach the AP directly to the ceiling, use the keyhole slots on the back of the AP, indicated in red in the photo. NOTE: The AP must not be disassembled - do not remove the back of the AP to tighten the screws after mounting.
-
Page 9: Connect Cables And Install Ap
XD2-240 and XD4-240 Installation Guide Connect Cables and Install AP NOTE: Once you connect GIG1/POE, an automatic upgrade typically starts soon after the AP has Internet connectivity. Do not unplug this port during the upgrade or the AP may become inoperable. The upgrade should take 10 minutes or less. Connect the cable that carries power and data to GIG1/PoE (shown in red). -
Page 10: Using The Reset Button
Using the Reset Button The reset button returns the AP to factory default settings while rebooting. It is located on the bottom of the unit. Use the reset button as follows: Unplug the cable from the GIG1/PoE port. Press the reset button all the way (there should be a faint click) and hold it.


Need help?
Do you have a question about the XIRRUS XD2-240 and is the answer not in the manual?
Questions and answers