Table of Contents
Advertisement
Advertisement
Table of Contents
Troubleshooting

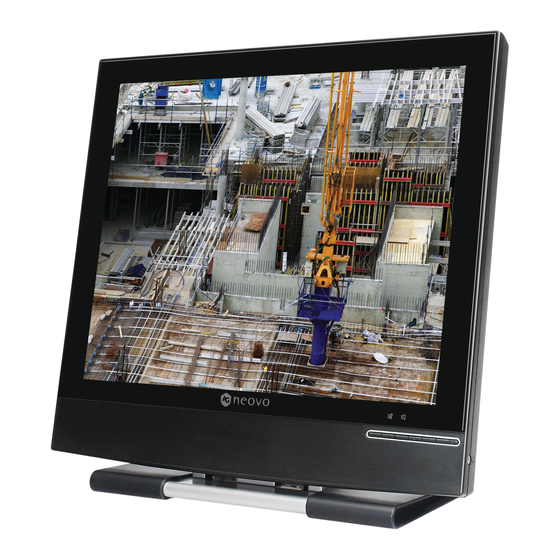
Summary of Contents for AG Neovo E-19A
-
Page 2: Table Of Contents
Table of Contents Precautions... 2 Notice ... 2 Installation ... 2 Warning on power connection ... 2 Maintenance ... 2 Transportation ... 3 Adjusting Your LCD display Viewing Angle ... 3 Wall mounting... 4 Getting Started... 5 Unpacking Your LCD Display ... 5 Control Buttons... -
Page 3: Precautions
Notice • The product specifications and other information provided in this Users Manual are for reference only. Provided information was correct at time of print. All information is subject to change without notice. Updated content can be downloaded from our web site at http://www.agneova.com. -
Page 4: Transportation
Transportation When you transport this monitor for repair or shipment, use the original carton and packing materials. Retracting the base stand If you want to bend up the base to 90 degrees for transportation, please push the 2 metal pillars on the bottom of base and fold to 90 degrees as shown in the illustration below. -
Page 5: Wall Mounting
Insert a coin or flat screwdriver into the rear cover slot and pull out the rear cover. Second, unlock base assembly Unlock two screws Remove base assembly Third, mount arm or wall mount kit on the rear side. AG Neovo wall-mountable products (wall mount kit, WMK series) are recommended. -
Page 6: Getting Started
Unpacking Your LCD Display After you have unpacked your LCD display, make sure that the following items are included in the package. • LCD display • Adaptor E-17: Must use one of the following adaptors: Linearity LAD6019AB4, LAD6019AB5 or Li Shin LSE9901B1260, 0217B1250. -
Page 7: Control Buttons
Control Buttons Front View ON/OFF Button Push once to turn your LCD display ON and push again to turn it OFF. Power LED The power LED will turn to green under normal operation and orange when in standby mode. The auto adjustment function will automatically tune your LCD display to the optimal performance, including screen size, color, brightness and contrast. -
Page 8: Installation
Installation Connecting LCD Display to PC (Analog)— Remove all the packages from the panel. Place your LCD display in a suitable place. Make sure that there is enough space for adjustment, especially the rear of the panel. Turn off your PC and connect the D-sub 15-pin VGA cable included in the package to the VGA port on your PC. -
Page 9: Adjusting Your Lcd Display
Adjusting Your LCD Display In the OSD menu, you will find all kinds of features to help you adjust your LCD display to the optimal performance. Important! Though manual adjustment of the LCD display is available, we strongly recommend that you use the panel’s auto adjustment function. This will automatically tune your LCD display to the optimal performance. -
Page 10: Color Temperature
OSD Transparency • Select Transparency OSD in the OSD Adjust menu to adjust the transparency of OSD window. • Push button to adjust value between 0 and 100. Phase & Clock • Select Clock and Phase in the Display Adjust menu to modify the distortion of video signal. •... - Page 11 Recall • Select Recall to reset all features to default settings. • Push button to Recall. Language • Select Language in the OSD Adjust menu to choose a desired language for the OSD. • Push button to select; options are displayed at the bottom of the OSD window. Auto and Input Select •...
-
Page 12: Warning Messages And Troubleshooting
Warning Messages and Troubleshooting Warning Messages When a warning message appears on the screen, check the following items to locate the problem affecting your LCD display. NO SIGNAL INPUT NO VIDEO SIGNAL FROM ANALOG INPUT NO VIDEO SIGNAL FROM DIGITAL INPUT When no input signal is detected from any input ports. -
Page 13: Troubleshooting Guide
Troubleshooting Guide Symptoms • No display • Power LED is off • No display • Power LED is amber • Blurred text display • No center screen • Missing lines • Red, green, blue or black spots on the screen •... -
Page 14: Specification
Specification Panel Input Signal Connector Swivel Range Weight Power Panel Input Signal Connector Swivel Range Weight Power *The above specifications are subject to change without notice. 19” Size 19’’ (480 mm) diagonal Resolution (max.) 1280 x 1024 Horizontal: 24kHz – 80kHz, Frequency Vertical: 49Hz - 75Hz Pixel Clock (max.) -
Page 15: Regulations
This FCC Class-B compliant digital device complies with the Interference-Causing Equipment Regulations of Canada. FCC Declaimers This device complies with Section 15 of the FCC listing. The operation procedures must meet the following conditions: (1) this device must not cause any damaging interference; and (2) this device must accept any received interference, including any unpredictable interference that may possibly occur. -
Page 16: Weee
WEEE Information for users applicable in European Union countries The symbol on the product or its packaging signifies that this product has to be disposed separately from ordinary household wastes at its end of life. Please kindly be aware that this is your responsibility to dispose electronic equipment at recycling centers so as to help conserve natural resources.


Need help?
Do you have a question about the E-19A and is the answer not in the manual?
Questions and answers