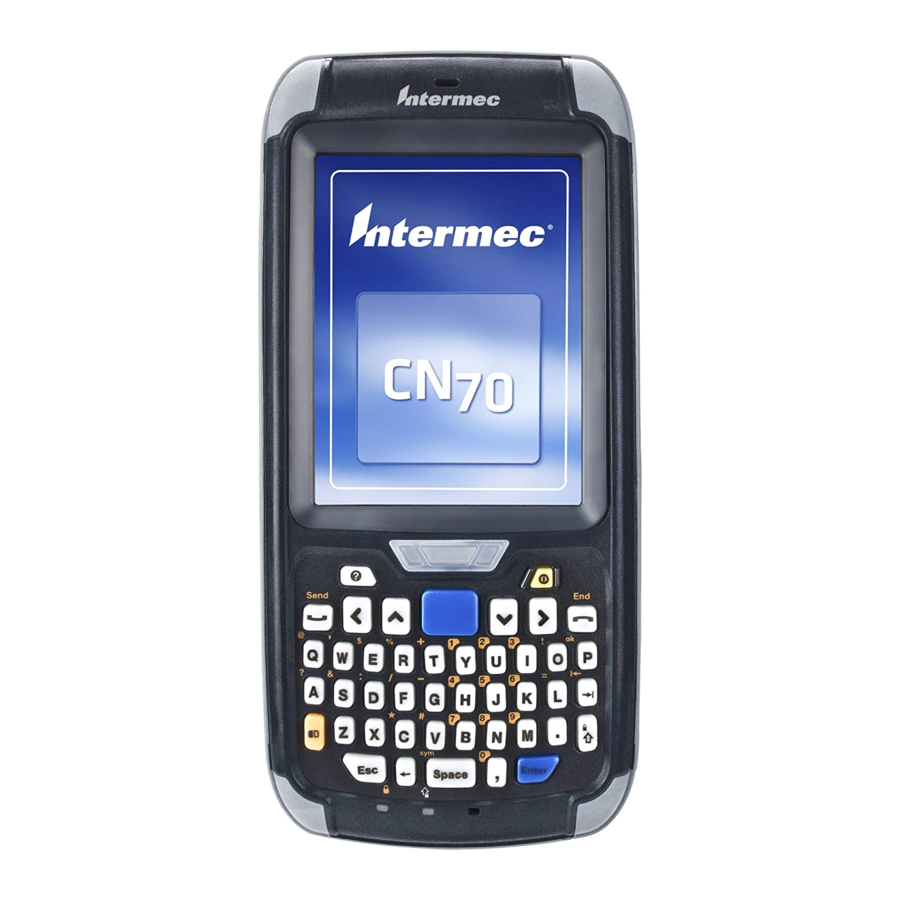
Intermec CN70 Manual
Asts training guide
Hide thumbs
Also See for CN70:
- Instructions manual (32 pages) ,
- Quick start manual (2 pages) ,
- User manual (208 pages)
Advertisement
Quick Links
Advertisement

Subscribe to Our Youtube Channel
Related Manuals for Intermec CN70


Summary of Contents for Intermec CN70
- Page 1 CN70 Barcode Scanner Guide Version 1.0 ASTS CN70 Barcode Scanner Training Guide January 28, 2016...
-
Page 2: Install / Setup
Connect power cord from Intermec CN70 dock to power outlet. Connect USB cable from Intermec CN70 dock to PC. Insert the battery into the CN70 scanner and wait until the scanner fully boots. Use the stylus wand to select/open the time/date clock on the scanner’s desktop and correctly set the date/time. - Page 3 Knowledge Guide Download (From ASTS) To Scanner To perform an inventory utilizing the CN70 barcode scanner, the desired (hand receipt) data (resident in ASTS) must first be downloaded into the scanner. Ensure the Intermec CN70 is connected securely on the dock, dock connected to computer via USB cable, and powered on.
- Page 4 “Program Files” folder and then open the “ASTSInventory” folder. Right click inside this folder (blank area) and select “Paste”. The CN70 scanner is now ready for scanning inventory. Remove the scanner from dock, and proceed to the Conducting...
- Page 5 After using the barcode scanner to capture inventory information, you will need to upload the results (“Out.XML” file) from the scanner into the ASTS system. Ensure the Intermec CN70 is connected securely on the dock, dock connected to computer via USB cable, and powered on.
- Page 6 CN70 Barcode Scanner Knowledge Guide Click the “Upload Tab” (under the “Upload/Download Scanner” header). Select “MAT/CN3-Version 4.01” from the drop down list, and click “Browse”. Note: Before clicking “browse”, be sure that the check boxes to overwrite the Building, Room, and Users are checked if you want to overwrite these database fields with this information from the scanner.
- Page 7 (generated from the ASTS database), proceed by removing the scanner from the docking station. Power on the CN70 Scanner by pressing the yellow button on the top right side of the scanner keypad. Once the unit powers on and displays the desktop screen, press the “Start”...
- Page 8 CN70 Barcode Scanner Knowledge Guide On the “Choose Process” screen, press the “Full Inventory” button. Enter the appropriate location information for the items. This information is where the scanner operator is currently located and is preparing to scan. Toggle between fields by pressing the “Enter”...
- Page 9 CN70 Barcode Scanner Knowledge Guide From the “Barcode Search” screen, manually enter the barcode number into the ”Barcode” field, or scan (utilizing scan button on keypad) the barcode number with the scanner’s laser imager. The barcode number, once captured, will appear in the Barcode Search field.
- Page 10 CN70 Barcode Scanner Knowledge Guide b. Select the “Add Inv. Notes” button to enter an Inventory Note for the item just scanned. c. Select the “Assignment Change” button to create a Sub Hand Receipt Assignment Alert (on the ASTS home page). This facilitates a Sub HR assignment change after the scanner inventory file has been uploaded.
- Page 11 CN70 Barcode Scanner Knowledge Guide After scanning the last item of the inventory (prior to uploading the data from the scanner), click the “Main Menu” button to navigate the ASTS scanner software back to the Main Menu page. Click the “Export Outfile” button. This compiles the file necessary for upload into ASTS.
- Page 12 (generated from the ASTS database), proceed by removing the scanner from the docking station. Power on the CN70 Scanner by pressing the yellow button on the top right side of the scanner keypad. Once the unit powers on and displays the desktop screen, press the “Start”...
- Page 13 CN70 Barcode Scanner Knowledge Guide Enter the appropriate location information for the items. This information is where the scanner operator is currently located and is preparing to scan. Note: It is important to understand the “Installation”, “Building”, “Room”, and “User (POC)” fields shown below will always be overwritten within the ASTS database.
- Page 14 CN70 Barcode Scanner Knowledge Guide When the barcode number searched is found, the Search Result screen displays the item information. The found item has been successfully inventoried/scanned and tagged with a new Inventory Date based on the actual date scanned. Once the scanner...
- Page 15 CN70 Barcode Scanner Knowledge Guide Click the “Export Outfile” button. This compiles the file necessary for upload into ASTS. Click the “Close Application” button. Now, proceed to the “Upload (From Scanner) To ASTS” section of this guide to upload the scanner OUT_### file from the scanner to the ASTS database.
- Page 16 (generated from the ASTS database), proceed by removing the scanner from the docking station. Power on the CN70 Scanner by pressing the yellow button on the top right side of the scanner keypad. Once the unit powers on and displays the desktop screen, (using the Stylus wand) press the “Start”...
- Page 17 CN70 Barcode Scanner Knowledge Guide From the “Search” screen, manually enter the Barcode/Serial Number/UII into the search field, or scan (utilizing scan button on keypad) the barcode number with the scanner’s laser imager. The barcode number, once captured, will appear in the Barcode Search field.
- Page 18 CN70 Barcode Scanner Knowledge Guide When the barcode number searched is found, the Search Result screen displays the item information. Note: If the barcode is not found, refer to the Item section of this guide. a. The information fields on the “Search Results”...
- Page 19 CN70 Barcode Scanner Knowledge Guide Click the “Export Outfile” button. This compiles the file necessary for upload into ASTS. Click the “Close Application” button. Now, proceed to the “Upload (From Scanner) To ASTS” section of this guide to upload the scanner OUT_### file from the scanner to the ASTS database.
- Page 20 CN70 Barcode Scanner Knowledge Guide Add Items (via Scanner) Power on the CN70 Scanner by pressing the yellow button on the top right side of the scanner keypad. Once the unit powers on and displays the “Start” menu, (utilizing the Stylus wand) press the “Windows”...
- Page 21 CN70 Barcode Scanner Knowledge Guide Enter the appropriate location information for the items to be scanned using the scanner keypad and Stylus wand. Toggle between fields by pressing the “Enter” button on the keypad (blue button on bottom right hand side), or by selecting (using the Stylus wand) the desired field via the touch screen.
- Page 22 CN70 Barcode Scanner Knowledge Guide Note: The HR must be entered exactly as seen in ASTS on the left navigation column of the homepage). The “Add Like Items” screen will be displayed. Select the “Y (YES)” button and change the “Number of additional items (1- 10)”...
- Page 23 Windows XP computer. ActiveSync allows the CN70 to connect and also allows the user to browse the scanner files, etc. Problem 2: PC running Windows 7 (or Vista) will not recognize the Intermec CN70 scanner.
- Page 24 CN70 Barcode Scanner Knowledge Guide Next, manually install the Windows driver by following the below steps. This is necessary for Windows to recognize the CN70 scanner. Connect the scanner to the PC using a standard USB cable On the PC screen, select “Start” on the desktop ...
- Page 25 CN70 Barcode Scanner Knowledge Guide Right click this icon and select “Update Driver Software”. On the next screen select “Search Automatically” for updated driver software”. The PC will now begin to search for the correct driver software.
- Page 26 Perform a Reboot on the scanner user’s PC also. Firmly seat the CN70 on the docking station ensuring the USB cable is firmly connected from the docking station to the PC and the docking station power cord is connected to power outlet.
Need help?
Do you have a question about the CN70 and is the answer not in the manual?
Questions and answers