Table of Contents
Advertisement
Quick Links
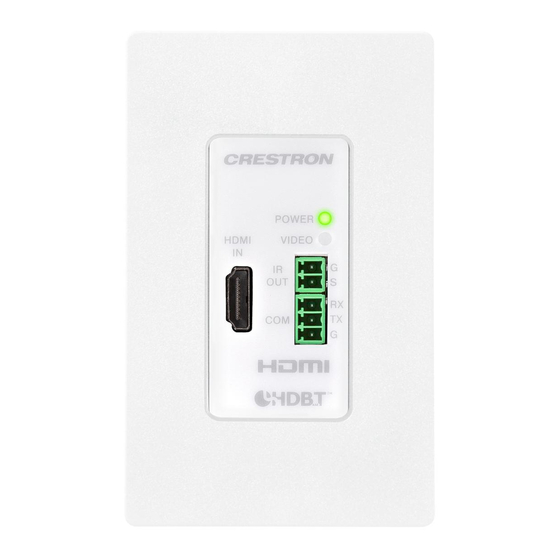
DM-TX-4KZ-100-C-1G
The Crestron®
DM-TX-4KZ-100-C-1G
transmitter that supports 4K60 4:4:4 and HDR (High Dynamic Range)
video. The transmitter provides a cost-effective solution for a single AV
source as part of a complete Crestron DigitalMedia™ system.
In the Box
1
DM-TX-4KZ-100-C-1G DigitalMedia 8G+® Wall Plate
Transmitter
Additional Items
1
Bracket, Surface Mount (2016054)
1
Power Pack, 24 VDC 0.75 A, 100-240 VAC (2045866)
1
Connector, 2-Pin (2003574)
1
Connector, 3-Pin (2003575)
2
Screw, 6-32 x 3/4 in., Truss Head, Combo (2009211)
2
Screw, 6-32 x 1/4 in., Pan Head, SEMS (2007218)
DM-TX-4KZ-100-C-1G-B-T Only
1
Faceplate Assembly, 1 Gang, Textured Black (4523149)
1 Front Faceplate, Plastic (2043449)
1 Rear Faceplate, Plastic (2043453)
2 Screw, 6-32 x 1/4 in., Flat Head, Phillips (2007211)
DM-TX-4KZ-100-C-1G-W-T Only
1
Faceplate Assembly, 1 Gang, Textured White (4522347)
1 Front Faceplate, Plastic (2043379)
1 Rear Faceplate, Plastic (2043380)
2 Screw, 6-32 x 1/4 in., Flat Head, Phillips (2007211)
is a DigitalMedia 8G+® wall plate
Install the Transmitter
Mount the transmitter into an electrical box, onto a flat surface, or onto a
rack rail. Connect the rear of the transmitter before mounting it into an
electrical box. If the transmitter is to be mounted onto a flat surface or
rack rail, connect the rear of the unit after it is mounted.
Connecting the Rear of the Transmitter
The DM OUT port on the rear of the transmitter is a PoDM (Power over
DM) and HDBaseT® PoE powered device (PD) port. To receive PoDM, the
port requires connection to a DigitalMedia switcher or other DigitalMedia
equipment that has a PoDM power sourcing equipment (PSE) port. To
receive HDBaseT PoE, the port requires connection to equipment that has
an HDBaseT PoE PSE port. Wiring that connects to a PoDM or HDBaseT
PoE port is for intrabuilding use only.
Connection of the transmitter to the included power pack is not required
when PoDM or HDBaseT PoE is used to power the transmitter.
Connections to Rear of Transmitter
Quick Start
1
Advertisement
Table of Contents

Subscribe to Our Youtube Channel
Related Manuals for Crestron DM-TX-4KZ-100-C-1G


Summary of Contents for Crestron DM-TX-4KZ-100-C-1G
- Page 1 Install the Transmitter video. The transmitter provides a cost-effective solution for a single AV source as part of a complete Crestron DigitalMedia™ system. Mount the transmitter into an electrical box, onto a flat surface, or onto a rack rail. Connect the rear of the transmitter before mounting it into an electrical box.
- Page 2 Quick Start DM-TX-4KZ-100-C-1G Mounting into an Electrical Box Mounting onto a Flat Surface The transmitter mounts into a 1-gang electrical box (not included). Mount the transmitter onto a suitable flat surface such as the underside of a table. 1. Using a Phillips screwdriver and the two included 6-32 x 3/4-inch truss combo head screws, attach the transmitter to the electrical box.
- Page 3 (not included). transmitter connects to an Ethernet-enabled DigitalMedia Mounting onto a Rack Rail switcher or receiver that is addressable from a Crestron control system. Pass-through mode for RS-232 and CEC is supported. For additional information, refer to Online Help Answer ID 1000497 on the Crestron website (www.crestron.com).
- Page 4 Quick Start DM-TX-4KZ-100-C-1G Refer to the following table for information about the LED indicators. Observe the LED Indicators Color Meaning Indicator POWER Green Indicates that operating power is being supplied via LED indicators are provided on the front of the transmitter. The DM OUT...
- Page 5 Crestron disclaims any proprietary interest in the marks and names of others. Crestron is not responsible for errors in typography or photography.
Need help?
Do you have a question about the DM-TX-4KZ-100-C-1G and is the answer not in the manual?
Questions and answers