Advertisement
Quick Links
Advertisement

Related Manuals for Dahua Technology DHI-ITC237-PU1B-IR-PAX


Summary of Contents for Dahua Technology DHI-ITC237-PU1B-IR-PAX
- Page 1 Dahua ANPR Camera Quick Setup Guide For Paxton Access Control Controller...
- Page 2 Revision Revision History Release note Revisor Date Version 1.0 First Edition Bibu Chen 11/03/2019...
-
Page 3: Table Of Contents
Content OVERVIEW ........................ 4 PRODUCT ........................4 SETUP ON ANPR CAMERA ..................5 CONNECTION WITH NET2 PLUS .................. 8 OPERATION ....................... 9 APPENDIX ....................... 13... -
Page 4: Overview
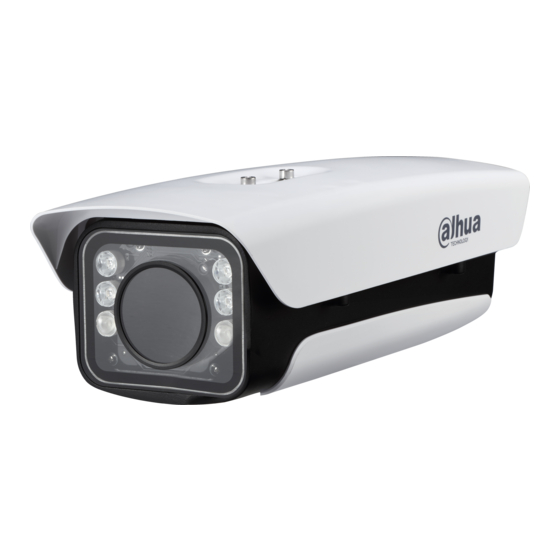
Dahua Contact Information Email: overseas@dahuatech.com Tel: +86 571 8768 8883 Website: http://www.dahuasecurity.com/ 2. Product a) Dahua ANPR Camera: Model Name: DHI-ITC237-PU1B-IR-PAX Firmware Version: 2.401.003.0.R, build: 2018-3-19 Specification: -Super Starlight -H.265 -5-50mm vari-focal lens,... -
Page 5: Setup On Anpr Camera
3. Setup on ANPR Camera a) Put IP address in your web browser and login (The default IP address should be 192.168.1.108) b) Click the button “Config” on the webpage and adjust the lens so that the width of the number plate is close to 150 pixels c) Set up the recognition and capture rules The Recognition area shall be less than 2/3 of the whole view... - Page 6 d) Set up the image parameters to make the effect of number plate in night and daytime as below e) Set up Image Quality Parameter – WDR f) Setup - Set up Image Quality Parameter – Light Brightness...
- Page 7 g) ANPR Camera captured the plate numbers h) Also you can use the Quick Guide to do the quick setup...
-
Page 8: Connection With Net2 Plus
4. Connection with Net2 Plus a) To connect the ANPR Camera with Net2 Plus Reader port, using a Belden reader cable (as per Paxton specification). wire: D1 at ANPR –Clock/D1 on Net2 Plus Reader Port Black wire: D0 at ANPR –Clock/D0 on Net2 Plus Reader Port Brown wire: GND at ANPR –0V on Net2 Plus Reader Port... -
Page 9: Operation
5. Operation a) Login to Net 2 Access Control b) Linking a Door to the ANPR Camera Click the ‘Door’> ‘Detect’, to detect the Door Reader of Net2 Plus which be connected before; If ‘Detect’ doesn’t work, please try the‘Net2 Configuration Utility’... - Page 10 After that, the door setting for the ACU should be as follows and apply:...
- Page 11 c) Add a new user, and select the ‘Tokens’ > ‘New Token’ to open the ‘Add new token’ window. Then, select ‘Vehicle number plate’ and enter the license plate number which belongs to the user. ( e.g. MA64XFN) After clicking ‘OK’, the plate numbers display on the window; then click ‘Apply’...
- Page 12 Plate number recognition (from ANPR Camera Web): Events result (from Net2 Access Control):...
-
Page 13: Appendix
6. Appendix a) ANPR Installation Vertical angle< 30 Degree Horizontal angle< 30 Degree Number plate width: more than 130pxel Number plate angle< 5 Degree...
Need help?
Do you have a question about the DHI-ITC237-PU1B-IR-PAX and is the answer not in the manual?
Questions and answers