Advertisement
Quick Links
Advertisement

Subscribe to Our Youtube Channel
Related Manuals for Dormakaba The Grange


Summary of Contents for Dormakaba The Grange
- Page 1 The Grange User‘s Guide...
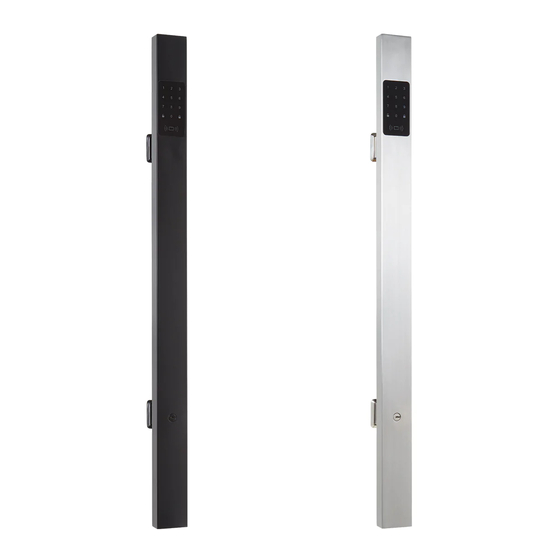
- Page 2 Programming door handing Adjust Direction -(lock handing) The Grange is suitable for left hand or right hand opening doors. As a default, it is set as a right hand. If you have a left hand opening door, please adjust the direction of the door to correct the icons.
- Page 3 Managing Users (100, combination of cards, fobs or codes) Add a new user with an access code: USER CODE a. Press the “M” button for 3 seconds. A beep is heard and a green symbol is shown on the screen. b.
- Page 4 One Time Code This allows a user to unlock the door once. After the code is used, it cannot be reused. This may be useful if you are expecting visitors or a delivery. The handle will take a maximum of 10 codes at any one time. To add One Time Code: USER CODE...
- Page 5 Using the dormakaba Smart Lock app Download and Install the app iOS Apple Store Google Play 1. Enable your mobile to scan QR Code above to download app installation package. 2. Enable the app and login after successfully downloading and installing.
- Page 6 Bind Devices D button Bind icon M button 1. Enter the device interface and click the binding icon “+” on the bottom; 2. On the device binding interface, click the code scanning icon ” “, Scan the Device Number QR code which you will find on the back of the battery pack and enter the mobile phone number and click “start binding”.
- Page 7 View the Device Information Click the binding device after bound with the smart lock successfully. Enter the “Device Information” Interface, view and modify the smart lock name and view the smart lock user list, capacity, binding list, current time, power capacity, product model, firmware version number and device number (scroll view on the device information interface).
- Page 8 Bluetooth Key Sharing Enter device management interface and press a binding device until a selection menu pops up. Then click “Bluetooth Key Sharing”. Choose the start date, time and valid period, and click “generates key”. Click the sharing icon “ ”to share the new key to other users via email, WhatsApp, SMS, WeChat, QQ, etc.
-
Page 9: Language Setting
Lock Management through Mobile After installing the app in your mobile successfully, enable your mobile Bluetooth, login, bind your mobile with the lock and enter lock management: Unlock Lock Refresh Hold on to the selected Refresh device information lock name information Unbind Hold on to the selected... - Page 10 Trouble shooting If the lock and unlock icons are reversed, see the information on page 2. Please check the Grange Installation manual for more technical information. Cleaning and maintenance For general cleaning, regularly remove dust and dirt with a soft cloth. For persistent marks use a soft damp cloth with a touch of water only and wipe in the direction of the grain to prevent any cross scratching.
-
Page 11: Warranty Claims
Australia Pty Ltd (ABN 14 067 969 466) trading as dormakaba of 12-13 Dansu Ct, Hallam, Victoria 3803 (dormakaba) provides the following warranty in relation to its “The Grange”... - Page 12 (which are the responsibility of the purchaser); (m) Products installed, maintained or operated other than in accordance with dormakaba’s instructions; and (n) overhaul, replacement or repair works undertaken prior to approval from dormakaba of any warranty claim. LIMITATIONS dormakaba makes no express warranties or representations other than set out in this warranty.
Need help?
Do you have a question about the The Grange and is the answer not in the manual?
Questions and answers