HWAM Autopilot I 40/55 Installation Instructions Manual
Hide thumbs
Also See for Autopilot I 40/55:
- Installation instructions manual (20 pages) ,
- User manual (12 pages) ,
- User manual (12 pages)
Table of Contents
Advertisement
Quick Links
Advertisement
Table of Contents

Related Manuals for HWAM Autopilot I 40/55


Summary of Contents for HWAM Autopilot I 40/55
- Page 1 Installation instructions I 40/55 14.10.2020 / 97-9693 www.hwam.com...
-
Page 3: Table Of Contents
TABLE OF CONTENTS TECHNICAL DATA .......................4 In general ..........................4 Safety ............................4 Room requirements .......................4 Technical measures and data ....................4 Type plate and serial number ....................5 Floor plate ..........................5 Requirements for chimney and flue duct ................5 INSTALLATION AND CONNECTION ................6 In general ..........................6 Installation in rooms with non-combustible material .............6 Installation in rooms with combustible material ..............6 Built-in example ........................7... -
Page 4: Technical Data
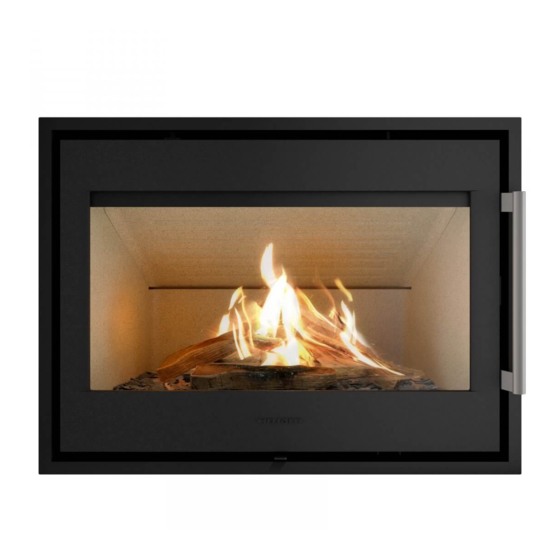
In general Congratulations on your new HWAM insert. We are pleased that you have chosen a HWAM insert and confident that it will give you much pleasure. To ensure optimum operation and safety, we recommend that the installation should be carried out by an authorised HWAM retailer or a fitter recommended by the retailer. -
Page 5: Type Plate And Serial Number
T400 and be CE marked. Furthermore, it must have obtained the classification of G in soot fire testing. The required distance to combustible material must be complied with in accordance with the brand label. Ask your HWAM retailer for further information. -
Page 6: Installation And Connection
In general HWAM I 40/55 consists of a separate outer casing as well as a separate insert that is pushed into place and connected when the outer casing has been properly installed. We recommend installing a fresh air system that provides external air directly to the combustion (may be purchased separately as an accessory). -
Page 7: Built-In Example
Scale: Created by: Item: 27-05-2019 Created date: 3891.81 Weight: Tolerance: Configuration name: UK - Hwam I40-55 sikkerh Material: Model: Sheet1 Distance from furniture to glass pane Hollow spaces must not be filled with insulating materials SECTION E-E Ceiling Brændbart materiale Convection opening Brandmur - min. - Page 8 1:15 Scale: Created by: Item: 27-05-2019 Created date: 3891.81 Weight: Tolerance: Configuration name: UK - Hwam I40-55 sikkerh Material: Model: Sheet1 Hollow spaces must not be filled Ceiling with insulating materials Convection opening min. 563 cm² 25 mm insulated chimney...
- Page 9 Fax (+45) 86 92 22 18 1:15 Scale: Created by: Item: 27-05-2019 Created date: 3891.81 Weight: Tolerance: Configuration name: UK - Hwam I40-55 sikkerh Material: Model: Sheet1 Min. 934 Min. 50 Min. 50 Min. 185 Distance from furniture to glass pane Com-Released Rev.
-
Page 10: Installation Instructions
Installation instructions Install the outer casing and the insert as shown in the following illustrations. Before mounting, any preliminary steps before the installation of fans and fresh air system must have been completed. Polystyrene from packaging may be placed on the floor and serve as protection for the insert when it is lifted out of the casing. Note: It is VERY important to secure the outer casing to the support with screws.
Need help?
Do you have a question about the Autopilot I 40/55 and is the answer not in the manual?
Questions and answers