Table of Contents
Advertisement
Quick Links
READ INSTRUCTIONS CAREFULLY FOR SAFE
For customer support, please contact:
Tel: +1 (949) 800 8488
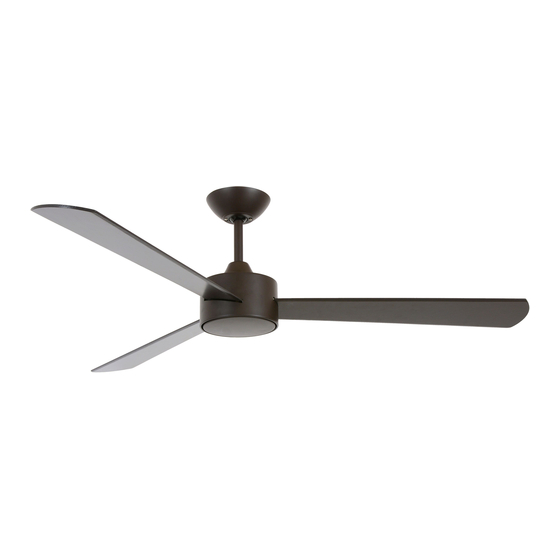
CLIMATE III
DC CEILING FAN
⚫ INSTALLATION
⚫ OPERATION
⚫ MAINTENANCE
⚫ WARRANTY INFORMATION
CAUTION
INSTALLATION AND FAN OPERATION.
Email: support@beaconlighting.us
LUCCI
www.beaconlighting.us.
v 1 . 0 ( 4 / 2 0 2 0
)
Advertisement
Table of Contents

Related Manuals for LUCCI Air CLIMATE III


Summary of Contents for LUCCI Air CLIMATE III
- Page 1 LUCCI CLIMATE III DC CEILING FAN ⚫ INSTALLATION ⚫ OPERATION ⚫ MAINTENANCE ⚫ WARRANTY INFORMATION CAUTION READ INSTRUCTIONS CAREFULLY FOR SAFE INSTALLATION AND FAN OPERATION. For customer support, please contact: Tel: +1 (949) 800 8488 Email: support@beaconlighting.us www.beaconlighting.us. v 1 . 0 ( 4 / 2 0 2 0...
-
Page 2: Congratulations On Your Purchase
Climate III Installation Instructions CONGRATULATIONS ON YOUR PURCHASE Congratulations on purchasing the latest in energy saving ceiling fans. This fan runs on DC (direct current) power which gives it the benefit of being super energy efficient whilst still maintaining high volume air- movement and silent operation. -
Page 3: Parts List
Climate III Installation Instructions PARTS LIST • Unpack your ceiling fan and carefully. Remove all parts and hardware. • Lay out all the components on a smooth surface and make sure there are no components missing before assembling. If parts are missing, return the complete product to the place of purchase for inspection or replacement. -
Page 4: Installing The Mounting Bracket
Climate III Installation Instructions Canopy x 1 Blades x 3 Mounting bracket x 1 Remote control set x 1 Decorative Cover x 1 Remote receiver x 1set Down rod x 1 set 10 Balancing kit x 1 set Fan motor & Downrod coupling housing x 1 Screws and washer for mounting bracket &... -
Page 5: Installation Of The Fan
Climate III Installation Instructions INSTALLATION OF THE FAN INSTALLATION OF THE DOWN ROD (Fig.6) 1. Remove the ball joint and dowel pin by loosening the set screw. Remove the lock pin by removing the hitch pin. Do not discard keep these parts, they are required to reassemble later. - Page 6 Climate III Installation Instructions INSTALLATION OF THE HANGER (Fig.7) 1. Install the decorative cover onto the down rod and cover the coupling parts. Carefully slide the canopy onto the down rod. 2. Reinstall the ball joint and dowel pin back to the down rod and secure by tightening the set screw.
-
Page 7: Hanging The Fan
Climate III Installation Instructions INSTALLATION OF LIGHT KIT (Optional and sold separately) (Fig.9) • NOTE: The light kit must be installed by a licensed electrician. • The light kit is sold separately. • Connect the wires of the light kit to the motor part via the quick connector. -
Page 8: Electrical Wiring Diagram
Climate III Installation Instructions ELECTRICAL WIRING DIAGRAM WARNING: To avoid possible electrical shock, be sure you have turned off the power at the main circuit panel. Follow the steps below to connect the fan to your household wiring. Use the wire connecting nuts supplied with your fan. - Page 9 Climate III Installation Instructions Fig. 12 8 | P a g e...
-
Page 10: Finishing The Installation
Climate III Installation Instructions FINISHING THE INSTALLATION INSTALLATION OF THE CANOPY (Fig.13) • Loosen the 2 screws at the bottom of the mouthing bracket. • Slide the canopy up to the mounting bracket and align the key holes on the canopy with the screws on the mounting bracket. - Page 11 Climate III Installation Instructions REPAIRING THE FAN RECEIVER & REMOTE PAIRING NOTE: The pairing of the remote and receiver has been done at the factory. When the ceiling fan is installed, pairing the fan receiver and remote is NOT required.
-
Page 12: After Installation
Climate III Installation Instructions AFTER INSTALLATION WOBBLE: NOTE: ceiling fans tend to move during operation due to the fact that they are mounted on a rubber grommet. If the fan was mounted rigidly to the ceiling it would cause excessive vibration. Movement of a few centimetres is quite acceptable and DOES NOT suggest any problem. -
Page 13: Warranty
Climate III Installation Instructions WARRANTY 1 year warranty covers the entire fan. Please refer to warranty card for the details. 12 | P a g e...
Need help?
Do you have a question about the CLIMATE III and is the answer not in the manual?
Questions and answers