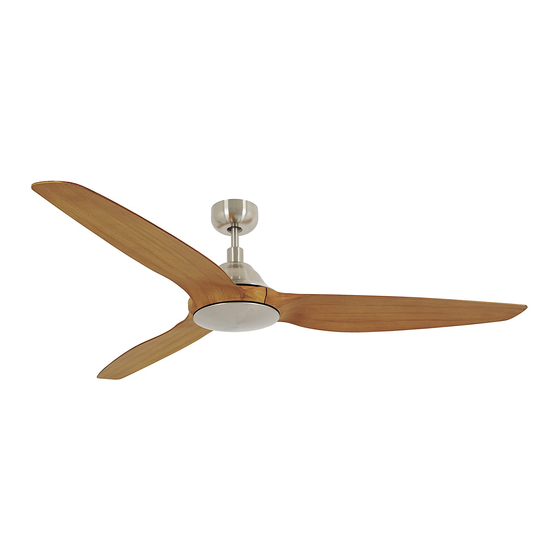
LUCCI Air AIRFUSION A Installation And Operation Manual
Dc ceiling fan
Hide thumbs
Also See for AIRFUSION A:
- Installation, operation, maintenance & warranty information (20 pages) ,
- Installation instructions manual (57 pages)
Summary of Contents for LUCCI Air AIRFUSION A
- Page 1 LUCCI AIRFUSION TYPE A DC CEILING FAN INSTALLATION OPERATION MAINTENANCE WARRANTY INFORMATION CAUTION READ INSTRUCTIONS CAREFULLY FOR SAFE INSTALLATION AND FAN OPERATION. V1.4 Published on 07. 2017...
-
Page 2: Safety Precautions
Airfusion Type A Installation Instructions THANK YOU FOR PURCHASING Thankyou for purchasing the latest in energy saving ceiling fans. This fan runs on DC (direct current) power which gives it the benefit of being super energy efficient whilst still maintaining high volume air-movement and silent operation. - Page 3 Airfusion Type A Installation Instructions Example: If a fan is connected to a circuit that can be isolated via an all-pole safety switch at the switchboard, then this is considered to be an all-pole disconnection to the ceiling fan electrical circuit, meeting the requirements of clause 7.12.2 of AS/NZS 60335.1.
-
Page 4: Before Installation
Airfusion Type A Installation Instructions BEFORE INSTALLATION Unpack your fan and check contents. You should have the following: Fig. 1 Canopy x 1 Down rod x 1 Coupling cover x 1 Motor assembly x 1 Blades x 3 Bottom cover x 1 Plastic anchors x 2 Blades screws x10 Wood screws x 2... -
Page 5: Installing The Fan
Airfusion Type A Installation Instructions INSTALLING THE FAN TOOLS REQUIRED: Phillips / flat head screwdriver Pair of pliers Adjustable spanner Step ladder Wire cutter Wiring, supply cable as required by local provincial and national wiring codes and regulations. INSTALLING THE MOUNTING BRACKET The ceiling fan must be installed in a location so that the blades are 300mm spacing from the tip of the blade to the nearest objects or walls. -
Page 6: Hanging The Fan Motor Assembly
Airfusion Type A Installation Instructions HANGING THE FAN MOTOR ASSEMBLY Lift the fan assembly onto the mounting bracket. Fig. 4 Ensure the notch of the ball joint is positioned on the stopper of the mounting bracket to prevent the fan from rotating when in operation. -
Page 7: Install Canopy
Airfusion Type A Installation Instructions INSTALL CANOPY Loosen the 2 screws from the bottom of the mounting bracket. Fig. 7 Slide the canopy up to the mounting bracket and place the key hole on the canopy over the screw on the mounting bracket, turn the canopy until it locks in place at the narrow section of the key holes and secure it by tightening the two set screws. - Page 8 Airfusion Type A Installation Instructions Turn on the power to fan. Press and hold the “ ” button of transmitter for 3-5 seconds within 60 seconds of switching the power ON to the receiver of ceiling fan. If the fan has light kit attached, the light will flash on and off to indicate the pairing process is activated. ...
- Page 9 Airfusion Type A Installation Instructions Fig. 10 Remote Control Buttons : FAN ON/OFF BUTTON (A): Press the button to turn the fan on/off. Press and hold the button for 3 seconds within 60 seconds of switching the power to the receiver for pairing the transmitter and receiver.
-
Page 10: After Installation
Airfusion Type A Installation Instructions : LIGHT CONTROL BUTTON (G): Press the button to turn on/off the light. : LIGHT DELAY BUTTON (H): Press the button to activate the light delay function, which will turn off the light 3 minutes later. REPAIRING THE FAN RECEIVER &... -
Page 11: Care And Cleaning
Airfusion Type A Installation Instructions The manufacturer’s warranty covers actual faults that may develop and NOT minor complaints such as hearing the motor run – all electric motors are audible to some extent. CARE & CLEANING Periodic cleaning of your ceiling fan is the only maintenance required. Use a soft brush or lint free cloth to avoid scratching the paint finish. - Page 12 Airfusion Type A Installation Instructions LUCCI CEILING FAN WARRANTY DETAIL LUCCI WARRANTY HOTLINE- 1800 602 243 THIS WARRANTY IS VALID IN AUSTRALIA ONLY In the event of service being required, please call the Lucci Fan Warranty Hotline on 1800 602 243 between 9am & 5pm (EST) Monday to Friday.
- Page 13 Airfusion Type A Installation Instructions CEILING FAN WARRANTY INFORMATION LUCCI WARRANTY HOTLINE- 1800 602 243 Complete and retain this form for your personal records and warranty purposes. NAME………………………………………………………………………………… ADDRESS…………………………………………………………………………… ……………………………………………………POSTCODE…………………… MODEL NUMBER…………………………………………………………………… (PO# + DATECODE Sticker here) PO NUMBER or DATECODE ……………………………………………………… DATE OF PURCHASE………………………………………………………………...


Need help?
Do you have a question about the AIRFUSION A and is the answer not in the manual?
Questions and answers