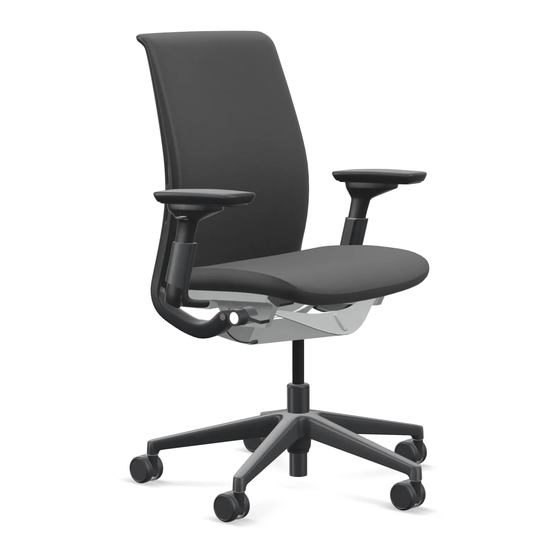
Steelcase Think 465 Fixed & Adjustable Replacement
Hide thumbs
Also See for Think 465:
- Replacement procedure (4 pages) ,
- Manual (19 pages) ,
- Replacement manual (3 pages)
Advertisement
®
If you have a problem, question, or request, call
your local dealer, or Steelcase Line 1 at
888.STEELCASE (888.783.3522)
for immediate action by people who want to help you.
(Outside the U.S.A., Canada, Mexico, Puerto Rico,
and the U.S. Virgin Islands, call: 1.616.247.2500)
Or visit our website: www.steelcase.com
©
2014 Steelcase Inc.
Grand Rapids, MI 49501
U.S.A.
Printed in U.S.A.
®
465 Think Chair (New) Lumbar
Fixed & Adjustable Replacement
Torx T20
(QTY.2)
Page 1 of 8
939546550 Rev A
Advertisement
Table of Contents

Related Manuals for Steelcase Think 465


Summary of Contents for Steelcase Think 465
- Page 1 Fixed & Adjustable Replacement Torx T20 (QTY.2) If you have a problem, question, or request, call your local dealer, or Steelcase Line 1 at 888.STEELCASE (888.783.3522) for immediate action by people who want to help you. (Outside the U.S.A., Canada, Mexico, Puerto Rico, and the U.S.
- Page 2 ® Press seat slide handle (at front of seat) and pull seat as far forward as it will go. Tip the chair onto its right side. Locate the seat out stop feature. Insert a screwdriver below the out stop feature and push it (up) toward the seat.
- Page 3 ® Remove the, (2) lower back screws by inserting a T20 Torx screwdriver. Disengage center of back cushion from lower back frame. First, push inward at center (7a) then lift up on bottom of cushion (7b). Once un-hooked, pull cushion forward. CUSHION SCREW LOWER...
- Page 4 ® Adjustable Lumbar Using two (2) screwdrivers, gently pry out the lumbar handles on both sides of the back. Fixed Lumbar Use screwdriver from inside back frame to gently push fixed lumbar clip out of slot. Repeat at opposite, inner side of back frame. LUMBAR ADJUSTABLE FIXED LUMBAR...
- Page 5 ® Push the bottom of the back cushion forward, on both sides, away from the back frame and pinch point cover (9a). Gently push lumbar pad forward from the rear and it will drop down and out of the back frame (9b). BACK FRAME BACK...
- Page 6 ® Set the lumbar pad on a work surface with the Steelcase Logo pointing up. Remove sliders from ends of old lumbar pad. Assemble sliders onto new lumbar pad. NOTE: Align wider slots on sliders with wider pegs on pad.
- Page 7 ® LUMBAR CIRCLE HANDLE Snap in new lumbar handles (or fixed height clips) through slots on back frame and into lumbar pad receivers. NOTE: Handles are not handed, but must be oriented as shown. (The 4 circle imprints face towards the back). Temporarily snap in center of back.
- Page 8 ® Assemble the seat onto the chair by aligning slots in the seat with the slide bearings. Push seat from the front while simultaneously pressing the seat slide handle. Push the seat with enough force to move beyond the seat out stop feature.
Need help?
Do you have a question about the Think 465 and is the answer not in the manual?
Questions and answers