Advertisement
Quick Links
If you have a problem, question, or request, call
your local dealer, or Steelcase Line 1 at
888.STEELCASE (888.783.3522)
for immediate action by people who want to help you.
(Outside the U.S.A., Canada, Mexico, Puerto Rico,
and the U.S. Virgin Islands, call: 1.616.247.2500)
Or visit our website: www.steelcase.com
© 2008 Steelcase Inc.
Grand Rapids, MI 49501
U.S.A.
Printed in U.S.A.
®
™
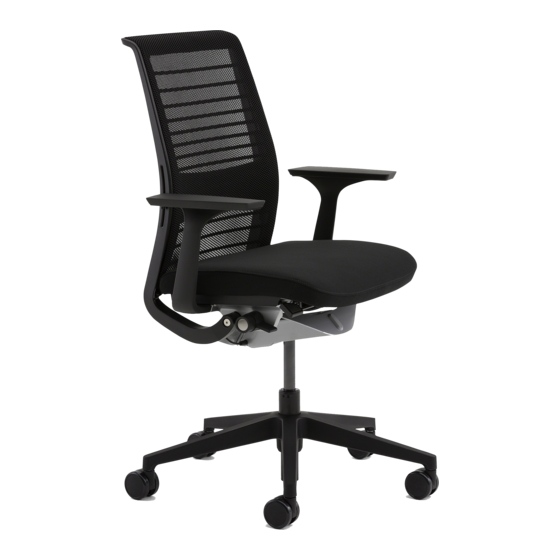
Leap
/Amia
/Think
REPAIR KIT HARDWARE BAG
NEW SHOULDER SCREWS
(WITH PRE-APPLIED LOCTITE)
NEW WAVE WASHERS
NEW PLASTIC FLAT WASHERS
®
Pivot Arm Cap Repair Kit
NEW SWING ARM LINK
NEW PIVOT PLATE
BEARING
T20 & T25
Page 1 of 6
939546224 Rev B
Advertisement

Subscribe to Our Youtube Channel
Related Manuals for Steelcase Leap


Summary of Contents for Steelcase Leap
- Page 1 NEW SWING ARM LINK T20 & T25 If you have a problem, question, or request, call your local dealer, or Steelcase Line 1 at 888.STEELCASE (888.783.3522) for immediate action by people who want to help you. (Outside the U.S.A., Canada, Mexico, Puerto Rico, NEW PIVOT PLATE and the U.S.
- Page 2 Remove four (4) black screws using a T20 drive bit as shown. Keep all parts for reassembly. Remove two (2) gold screws using a T20 drive bit and remove all parts as shown. Keep all parts for reassembly. Page 2 of 6 939546224 Rev B...
- Page 3 OLD SHOULDER SCREWS (WITHOUT LOCTITE) OLD WAVE WASHERS Remove the three (3) parts as shown. Keep all parts for reassembly. Remove two (2) shoulder bolts using a T25 drive bit. Remove two (2) wave washers as shown. These parts will be replaced, so you can throw these shoulder bolts and wave washers away.
- Page 4 NEW SWING ARM LINK OLD PIVOT PLATE BEARING Remove the OLD pivot plate bearing (6a) and replace it with the NEW pivot plate bearing (6b). Place the NEW swing arm link 'A' and swing arm link 'B' as shown. Place the NEW plastic washers into the counterbore holes.
- Page 5 Snap the plastic cover back into place as shown. Place the plastic bearings back into place as shown. Page 5 of 6 939546224 Rev B...
- Page 6 NOTE: Torque screws to 37 ±5 in/lbs. using a T20 drive bit. Place the lower arm cap support in place as shown (11a). Place the plastic washer (flat side down), compression spring and metal washer into place as shown. Install gold screw using a T20 drive bit with a torque of 37 ±5 in/lbs (11b).
Need help?
Do you have a question about the Leap and is the answer not in the manual?
Questions and answers