
Related Manuals for Pulsar 14


Summary of Contents for Pulsar 14
- Page 1 Model 14 Sound Level Meter User Manual Page 1 User Manual for the Model 14 Sound Level Meter This manual, the software to which it relates, the program code and drawings are all: © Copyright Pulsar Instruments Plc 1989-2015...
- Page 2 The content of this manual, any illustrations, technical information and descriptions within this document were correct at the time of going to print. Pulsar Instruments Plc reserves the right to make any changes necessary, without notice, in line with the policy of continuing product development and improvement.
-
Page 3: Table Of Contents
Model 14 Sound Level Meter User Manual Page 3 Overview........................4 First time use....................... 4 Model 14 Instrument Check List ................... 4 Instrument Controls ..................... 5 Taking Measurements....................7 Fundamental precautions....................7 Display and Indicators ....................8 Display ......................... -
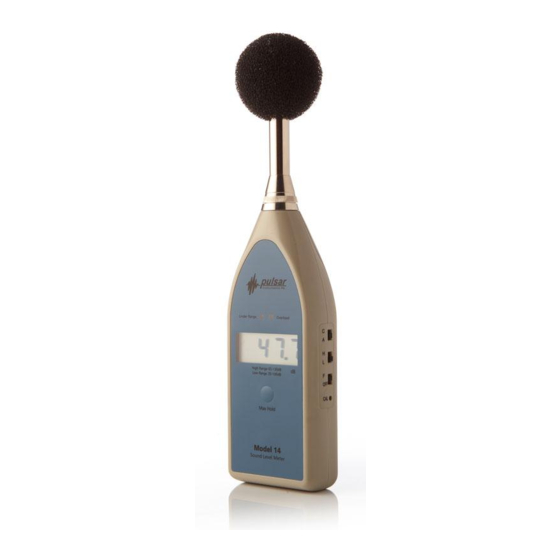
Page 4: Overview
First time use. The Model 14 should be inspected for any signs of damage and also to ensure that all relevant accessories are present. Your Model 14 will have been supplied either as a single unit or as part of a full measurement kit, Model 14-K. -
Page 5: Instrument Controls
Model 14 Sound Level Meter User Manual Page 5 Instrument Controls... - Page 6 Model 14 Sound Level Meter User Manual Page 6...
-
Page 7: Taking Measurements
Allow the instrument to settle for 10 seconds after switching on before calibrating or taking measurements. Always check the battery before and after each measurement. The Model 14 monitors the battery continuously while operating. Ensure that the white MAX HOLD function is turned off when not required. If this is not done, the display will freeze the last reading and the word HOLD will be displayed on the top left of the LCD. -
Page 8: Display And Indicators
This action will prevent leakage damage. Display and Indicators Display The LCD display of the Model 14 is scaled in decibels, either 'A' or 'C' weighted, depending on the position of the A/C slide switch. There are indicators in the display as follows:- Function... -
Page 9: Fitting A New Battery
Model 14 Sound Level Meter User Manual Page 9 Fitting a New Battery 1. Ensure the instrument is turned off before removing the battery cover. 2. Remove the battery cover. 3. The battery is made accessible by pressing the left hand side of the battery cover down slightly and then sliding it to the right. -
Page 10: Field Calibration
Note: Although the Model 106 Acoustic Calibrator has an output of 94dB, the pressure correction of the microphone capsule is 0.3dBA. For this reason the Model 14 must be adjusted to give a reading of 93.7dBA. 7. The instrument is now calibrated. -
Page 11: Technical Specification
Model 14 Sound Level Meter User Manual Page 11 Technical Specification A full technical user manual, including mandated rating plate information is available upon request. Standardisation: IEC 61672-1:2002 Class 2 IEC 60651:1979 Type 2 I Measurement Range: 35dB(A) to 130dB(A) -
Page 12: Appendix 1 - Ce Declaration Of Conformity
Model 14 Sound Level Meter User Manual Page 12 Appendix 1 - CE Declaration of Conformity Pulsar Instruments plc Hunmanby UK CE Certificate of Conformity Manufacturer: Pulsar Instruments Plc Unit 2, Bridlington Road Industrial Estate Hunmanby, Noise Yorkshire United Kingdom... -
Page 13: Guarantee
Page 13 Guarantee Pulsar Instruments Plc offers a 12 month guarantee on all of their units. This covers all parts and labour excepting only damage caused by the user. Because of the unique fragility of microphones, only internal short or open circuits are accepted as faults and not accident damage.
Need help?
Do you have a question about the 14 and is the answer not in the manual?
Questions and answers