vogel's PFW 6851 Installation Manual
Hide thumbs
Also See for PFW 6851:
- Installation instructions manual (14 pages) ,
- Installation manual (11 pages)

Subscribe to Our Youtube Channel
Related Manuals for vogel's PFW 6851


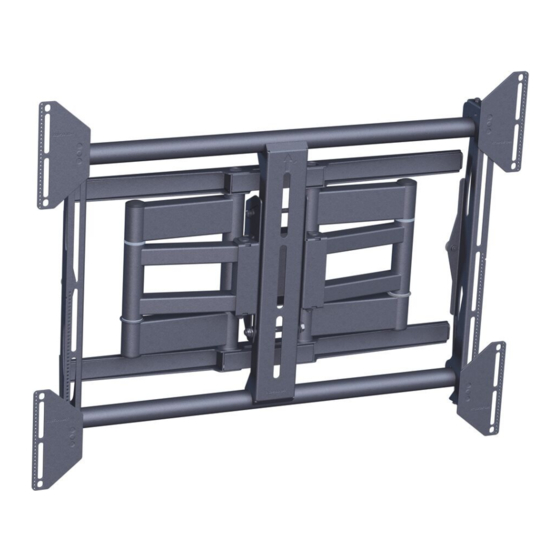
Summary of Contents for vogel's PFW 6851
- Page 1 PFW 6851 Installation Guide Installationsanleitung, Guía de Instalacíon, Guida de Installazione, Guide d’Installation, Installatie gids www.vogels.com...
-
Page 2: Included Components
Wood Drill bit Drill bit Socket Introduction Directional Mounting Arrow The Directional Mounting Arrow stamped into the PFW 6851 Mount indicates which edge is the top. Mounting Safety Two people are recommended for this step Wood Installation Minimum of 2 x 4 wood stud to be used You must secure the mount to two (2) wall studs with a minimum of four (4) lag bolts (2 lag bolts for each stud found). - Page 3 PFW 6851 Installation Guide Installationsanleitung, Guía de Instalacíon, Guida de Installazione, Guide d’Installation, Installatie gids Two people are recommended for this step; one person to level the Mount and another person to mark the wall stud location. Place the mount against the wall in the desired viewing location.
- Page 4 PFW 6851 Installation Guide Installationsanleitung, Guía de Instalacíon, Guida de Installazione, Guide d’Installation, Installatie gids Level the Mount. Use a pencil to mark the remaining three (3) mounting locations along the center of each wall stud. Two people are recommended for this step; one person to level the Mount and another person to drill the pilot holes.
-
Page 5: Concrete Installation
PFW 6851 Installation Guide Installationsanleitung, Guía de Instalacíon, Guida de Installazione, Guide d’Installation, Installatie gids Concrete Installation Two people are recommended for this step: one person to level the mount and another person to mark the mounting locations. Drill four (4) pilot holes of each mark using a drill and 3/8” masonary drill bit. -
Page 6: Selecting The Mounting Hardware
PFW 6851 Installation Guide Installationsanleitung, Guía de Instalacíon, Guida de Installazione, Guide d’Installation, Installatie gids Selecting the Mounting Hardware Insert a small straw or toothpick into the threaded inserts found on the back of the flat panel. Use a pencil to mark the depth of the threaded insert on the small straw or toothpick. -
Page 7: Universal Washer Installation
PFW 6851 Installation Guide Installationsanleitung, Guía de Instalacíon, Guida de Installazione, Guide d’Installation, Installatie gids Universal Washer Installation Universal Washers are designed to accommodate the various M4, M6, and M8 hole sizes required by flat panels. Do not place excessive pressure on the back of the flat panel, as this may damage your flat panel. -
Page 8: Adapter Plate Installation (Optional)
If they are not aligned and level, the flat panel will not sit properly when mounted to the PFW 6851 Nylon Nut Step 7. Once the universal mounting brackets are level, use a 1/2"... - Page 9 Flat Panel Step 1. Place the universal brackets and the flat panel over and onto the upper and lower mounting bars of the PFW 6851 and lower it down. Do not release the flat panel until the flat panel is resting securely on the upper and lower mounting bars.
-
Page 10: Plastic Channel Cover Installation
Installationsanleitung, Guía de Instalacíon, Guida de Installazione, Guide d’Installation, Installatie gids Ajusting the Flat Panel Tilt TO ADJUST THE TILT TENSION OF THE PFW 6851, LOOSEN THE TENSION BOLTS LOCATED ON THE BOTTOM RIGHT AND LEFT SIDE OF THE MAIN ARM ASSEMBLY. RE-TIGHTEN THESE BOLTS TO ACHIEVE YOUR DESIRED TENSION.
Need help?
Do you have a question about the PFW 6851 and is the answer not in the manual?
Questions and answers