Table of Contents
Advertisement
Quick Links
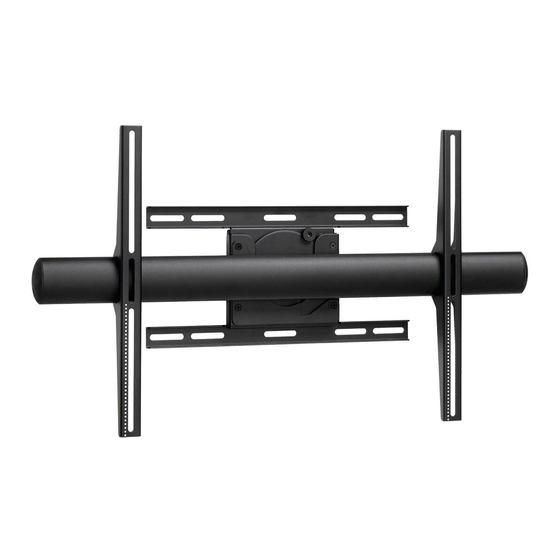
PFW 6858
PFW 6858
Installation Guide
Installation Guide
Installationsanleitung, Guía de Instalacíon, Guida de Installazione,
Guide d'Installation, Installatie gids
Installationsanleitung, Guía de Instalacíon, Guida de Installazione, Guide d'Installation, Installatie gids
www.vogels.com | Europe +31 (0)40 26 47 400
Max: 72kg/160lbs
MOUIN_PFW6858_V02
Advertisement
Table of Contents

Related Manuals for vogel's PFW 6858


Summary of Contents for vogel's PFW 6858
- Page 1 PFW 6858 PFW 6858 Installation Guide Installation Guide Installationsanleitung, Guía de Instalacíon, Guida de Installazione, Guide d’Installation, Installatie gids Installationsanleitung, Guía de Instalacíon, Guida de Installazione, Guide d’Installation, Installatie gids www.vogels.com | Europe +31 (0)40 26 47 400 Max: 72kg/160lbs...
-
Page 2: Weight Limit
If mounting to studs, make sure that the mounting screws are anchored into the center of the studs. Use of an edge-to-edge stud finder is recommended. PFW 6858 Be aware of the mounting environment. If drilling and/or cutting into the mounting surface, always make sure that there are no electrical wires in wall. - Page 3 M6 x 25mm Comb. Mounting Bracket (Qty.2) Screw (Qty.4) Screw (Qty.4) Screw (Qty.4) Screw (Qty.4) Screw (Qty.4) PFW 6858 Installation Guide Rotational Stop M6 x 30mm Comb. M8 x 16mm Comb. M8 x 25mm Comb. M8 x 30mm Comb. M6 x 25mm (Qty:1) Screw (Qty.4)
-
Page 4: Concrete Installation
Place the wall mount against the wall in the Drill a "pole hole" in the center of the upper right mark PFW 6858 desired viewing location. using a 1/4" drill bit and power drill. Use a pencil to mark the upper right mounting Installation Guide location alone the center of the wall stud. -
Page 5: Selecting The Mounting Hardware
Tighten all lag bolts using a socket wrench and Two people are recommended for this step: one 1/2" socket. PFW 6858 person to level the wall mount and another person to mark the mounting locations. Installation Guide Do not over tighten the lag bolt. - Page 6 PFW 6858 Installation Guide Installationsanleitung, Guía de Instalacíon, Guida de Installazione, Guide d’Installation, Installatie gids Selecting the Mounting Hardware 1. Insert one (1) 5/16" x 3" Lag Bolt and one Insert a small straw or toothpick into the threaded inserts found on the (1) 5/16"...
- Page 7 PFW 6858 Installation Guide Installationsanleitung, Guía de Instalacíon, Guida de Installazione, Guide d’Installation, Installatie gids Bottom Slide the mounting brackets into the cross bar. Rotational Support M4, M6, or M8 screws (Top of display) Griplate™ (Universal Washer) Universal Spacer (Optional) Align the brackets to the display mounting holes.
- Page 8 PFW 6858 Installation Guide Installationsanleitung, Guía de Instalacíon, Guida de Installazione, Guide d’Installation, Installatie gids M8 x 10mm Set Screw Center the cross bar to the display and tighten the two (2) M8 x 10 Set Screws using the 5/32" Allen Key to secure the brackets.
- Page 9 PFW 6858 Installation Guide Installationsanleitung, Guía de Instalacíon, Guida de Installazione, Guide d’Installation, Installatie gids Two or three person is recommended for this step. Lift the cross bar and place it into the wall mount.. Install the M6 Knurl Knob removed from step 1 to secure the cross bar from dislodging.
- Page 10 PFW 6858 Installation Guide Installationsanleitung, Guía de Instalacíon, Guida de Installazione, Guide d’Installation, Installatie gids M4 x 8mm Set Screw Level Level Rotational Support Place a level on the rotational support. Loosen/tighten (2) M4 x 8mm Set Screw to level the display arms for perfect 90°...
Need help?
Do you have a question about the PFW 6858 and is the answer not in the manual?
Questions and answers