
Related Manuals for FREERIDER X2 HUB


Summary of Contents for FREERIDER X2 HUB
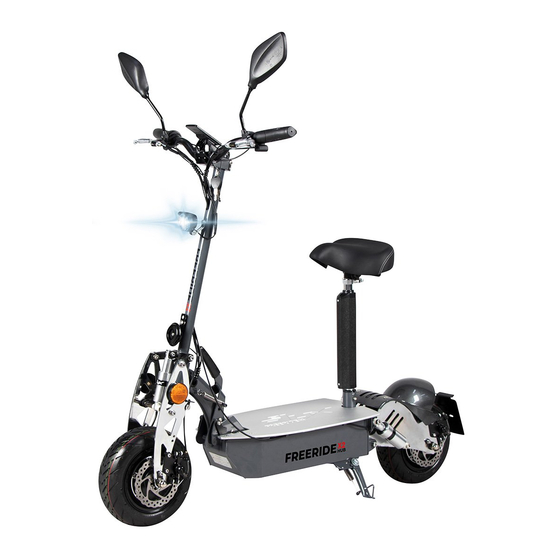
- Page 1 FREERIDE X2 HUB Manual FREERIDE X2 HUB INTRODUCTION E-SCOOTER ELEKTRO-ROLLER (Photo and equipment variations)
-
Page 2: Table Of Contents
Content: 1. Foreword 2. Notes 3. Preliminary legal observations 3.1. Road transport (EEC STREET models only) 3.2. Driving licence 3.3. Helmets 3.4. EEC Document (European Certificates of Conformity) 3.5. Walking and cycling paths 4. Safety 5. Package content 6. First 6.1 Instructions for unlocking the scooter 6.2 Instructions for mount handlebar 7. -
Page 3: Preliminary Legal Observations
Model: FREERIDE X2 HUB / 45KMH Persons of 16 -year -old age with moped or car license. 3.3. Helmets Due to its maximum speed of approximately 45 km /h, the FREERIDE X2 HUB may only be driven with a helmet. -
Page 4: Eec Document (European Certificates Of Conformity)
3.4. EEC Document (European Certificates of Conformity) For the approval of your FREERIDE X2 HUB, use the attached DIN A4 sheet (European Certificate of Conformity EEC). This makes the scooter acceptable throughout Europe. EEC approval requires the fixed seat for driving in public transport. The holding in a standing position is not permitted. FREERIDE X2 HUB may only be driven by one person. -
Page 5: Instructions For Unlocking The Scooter
6. First(you can see we add picture/note with logo) 6.1. Instructions for unlocking the scooter To open the scooter,pull out safe PIN firstly(a is the safe pin in picture ①) and then press the handle to open down with one hand (see arrow b and c), while gently press the handlebars up with the other hand. -
Page 6: Commissioning
7.Commissioning 7.1. Connect battery and controller Now insert the BATTERY PACK into the battery compartment by tapping the tread surface upwards, and connecting the plug XT90 and XT60 to the controller device. Please disconnect the battery plug while you replace or take out fuse. Please make sure the fuse insert the end of safe valve, or it may cause the broken of fuse and safety valve after short driving. -
Page 7: Mount Licence Plate And Plate Light
Place seat onto uper seat post and tighten screws . In order to allow comfortable, fatigue -free and thus safe driving, the saddle height should be adjusted to the height of the body. The toes must still be able to touch the ground. Release quick lever, determine saddle height and clamp. -
Page 8: Fold
7.4. Fold The seat must be removed before folding. Make sure the ignition lock is on AUS. After using the scooter, you can fold it for easier storage or transport. To do this, pull out safe PIN firstly(safe PIN is on position of ① ), and then face both sides of the scooter. Use your left hand to push the hand post,(position ③) with your right hand simply pull the lever (position ②)back to collapse and gently push the handlebars down, making sure you do not hurt yourself. -
Page 9: Ignition
7.6. Ignition The delivery includes four keys.(two keys for ignition, two keys for steering lock) Place the ignition key on position "1" so that the scooter is ready for use. Arrow a shows ignition key, arrow b shows key for steering lock, arrow c shows position of steering lock. NOTE Remember to take out key of steering lock whether steering lock is open or close, otherwise keys will be easy lost. -
Page 10: Fuse
NOTE -The battery and charger of FREERIDE X2 HUB are matched. Therefore, never charge the batteries with a charger other than the supplied charger. -The maximum battery life is achieved by charging them at ambient temperature between +10 degrees and max. +30 degrees. -
Page 11: Charging
8.5. Charging 1. Charge battery in vehicle: Make sure the E -Scooter's turned off.Take the charger and attach it to a socket. The red light on the char- ger should now turn on to show that it has power. Insert the 3 -pole charger on the right front bottom of the vehicle The status display on the charger will be red to indicate that the charging process has started. -
Page 12: Maintenance And Instructions For Charging Batteries
Therefore, bring the battery to room temperature before each charge. -Choose a storage place where the FREERIDE X2 HUB is stored as far as possible at room temperature. -Reload the battery after use, irrespective of the previous route or the energy taken. -
Page 13: Tacho
Tighten the screw on holder of display. Connect 4PIN plug on display to other plug from harnesswire. NOTE Please turn off power before connect the display. The display as a standard accessories on FREERIDE X2 HUB EEC Street models . or “ ”... -
Page 14: Starting And Driving
10. Starting and driving WARNING - Risk of falling! Please note the following points to minimise the risk of falling: 1. Before you go, always open the sidebar. 2. Hold the steering wheel straight. 3. When turning, starting in a curve or when driving in a narrow curve the brake Easy to operate. This interrupts the electric drive force and safe driving without driving influences. -
Page 15: 14: Accessories And Parts
13. Guarantee The E -scooter is guaranteed according to the current legal deadlines. The warranty excludes wear parts such as batteries, tires, hoses, rims, brake parts, wheel bearings, steering head bearings. Also excluded are damages due to improper use, in particular jumping, descending steps, sidewalks, stairs and the like, running on muddy ground, sand or gravel, and overloading due to excessive weight. - Page 16 15. Errors The following table will help you identify and correct common problems that can occur with an E -scooter. Symptoms Possible reasons Solutions The fuse was not used or defective. Put the fuse on. The battery pack is not or is not properly Connect the shopping bag according to No function at all.
-
Page 17: Technical Data
16. Instructions NOTE Regular and properly implemented care measures serve to maintain the value of FREERIDE X2 HUB and are important prerequisites for the recognition of warranty claims. Corrosion due to lack of care or winter operation is not guaranteed!!! -Paint, rubber and plastic parts shall not be treated with aggressive or penetrating cleaning or solvents. - Page 18 18. Maintenance Before Work to be done 14 -day Monthly If needed departure All screws and clamps and Check couplings on a fixed seat and if necessary. Adjust. Check chain tension, if applicable. Adjust; clean the chain and use chain oil. Point 4.
-
Page 19: Service
19.Service If you have any questions or need spare parts and accessories, please contact your dealer or our online store at the following :... - Page 20 FREERIDE HUB Manual...
Need help?
Do you have a question about the X2 HUB and is the answer not in the manual?
Questions and answers