Advertisement
Quick Links
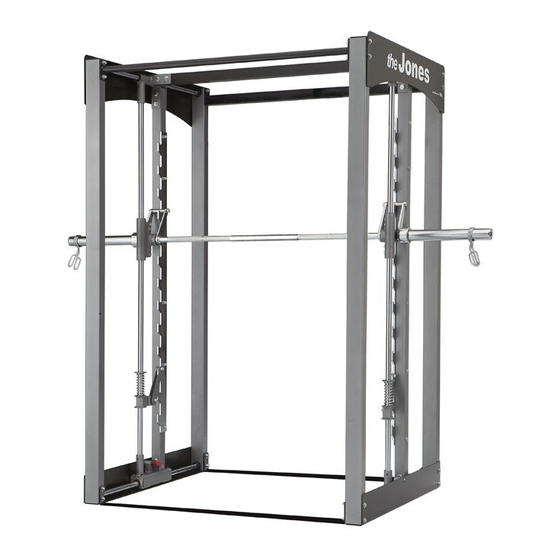
Jones Light Commercial (LC) Machine
Record your Product Registration Info here:
Serial Number:__________________________
Purchase Date:__________________________
Dealer Name:___________________________
Register your product at
Owners Manual
1
2
3
4
5
6
7
8
9
1 0
11
1 2
1 3
Click the link at the top of the page.
1
www.bodycraft.com
5049
Advertisement

Subscribe to Our Youtube Channel
Related Manuals for BodyCraft Jones Light Commercial


Summary of Contents for BodyCraft Jones Light Commercial
- Page 1 Jones Light Commercial (LC) Machine Owners Manual Record your Product Registration Info here: Serial Number:__________________________ Purchase Date:__________________________ Dealer Name:___________________________ Register your product at www.bodycraft.com Click the link at the top of the page. 5049...
-
Page 3: Before You Begin
Whether your goal is cardiovascular fitness, a shapely, toned body or dramatic muscle size and strength, the Jones Light Commercial will help you achieve the specific results you want. For your safety and benefit, read this manual and the accompanying literature before using the Jones Light Commercial. -
Page 5: Parts List
PARTS LIST NO. DESCRIPTION QTY. BASE FRAME L & R TOP FRAME L & R UPRIGHT FRAME BASE CONNECTOR TOP BEARING HOUSING CONNECT CHIN UP BAR REAR TOP FRAME LOGO PANEL RIGHT BAR RACK LEFT BAR RACK RACK HOLDER VERTICAL GUIDE ROD BASE GUIDE ROD (pre-assembled in Base Frame) TOP GUIDE ROD (pre-assembled in Base Frame) LEFT BASE BEARING HOUSING (pre-assembled in Base Frame) -
Page 6: Base Frame Assembly
STEP 1 Base Frame Assembly I M PORTANT: ˙ Assembly requires two people. ˙ To ease the assembly process, do not tighten bolts until instr ucted. ˙ Assemble on a flat, level floor. 1. Slide an Upright Frame (3) onto each end of the Left and Right Base Frame (1) and attach the two Base Connectors (4) using two 3/8"... - Page 7 STEP 2 Rack and Top Frame Assembly 1. Loosen the 5/16" X 1/4" Set Screws (49) on the ringlet welded to the Base Bearing Housings (15L, 16R) and insert the two Vertical Guide Rods (12). Slide the Safety Spotter (22), then the 1" Spring (32), then the 1" ID Big Washer (29), and finally, the Vertical Bearing Housing (20) over the top of Vertical Guide Rod (12) as shown.
- Page 8 STEP 3 Chin Up Bar and Rear Top Frame Assembly 1. Attach the Chin Up Bar (6), Rear Top Frame (7), and the two Logo Panels (8) to the Top Frames (2) using four 3/8" X 4" Hex Bolts (42), eight 3/8" Washers (51) and four 3/8"...
- Page 9 STEP 4 Weight Bar Assembly 1. Attach the Weight Bar (19) to the Vertical Bearing Housing (20) using two 3/8" X 1-1/4" Hex Bolts (45), four 3/8" Washers (51) and two 3/8" Nylon Nuts (55). 2. Slide the Olympic Weight Sleeve (25) onto each side of Weight Bar (19) and secure with a 1/2"...
- Page 11 • This product must be assembled on a flat, level surface to assure its proper function. • If unsure about the proper use of the BodyCraft Jones Machine, call your local BodyCraft dealer or our customer service department at 800-990-5556.
Need help?
Do you have a question about the Jones Light Commercial and is the answer not in the manual?
Questions and answers