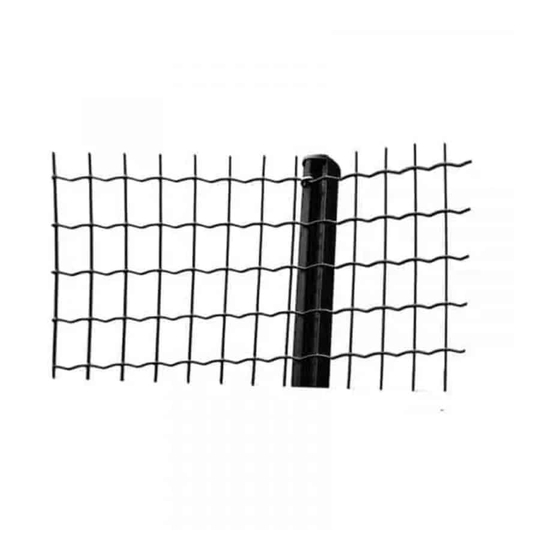
Summary of Contents for Betafence FORTINET PROTECT
- Page 1 PROTECT FORTINET ® MANUAL FOR ERECTING FORTINET PROTECT FENCE Installation Guide Fortinet Protect – December 2019 1/20...
-
Page 2: Table Of Contents
Table of contents 1. The Betafence concept......3 1.1 Post system........3 1.2 Tools for professional installation . -
Page 3: The Betafence Concept
For netting 1,50 meter to 2 meter high. Clip tongs For fixing the clips to the attachment strips on the posts. Crimping tongs For adjusting the tension (increases the crimping in the horizontal wires of the mesh) Installation Guide Fortinet Protect – December 2019 3/20... -
Page 4: Preparation Of The Perimeter Fence Line
Take at least one week for hardening of the concrete Make wet several times a day and protect against sunshine especially when temperatures are high We advice to use concrete as dry as possible Installation Guide Fortinet Protect – December 2019 4/20... - Page 5 Sample of a property Inner- and outer corners Verify the details related to the direction of the fixing strip on the post when making inner- and outer-corners. INNER CORNER OUTER CORNER Installation Guide Fortinet Protect – December 2019 5/20...
-
Page 6: Embedding The Posts Into The Concrete
Tension a rope from top to top of these tension units and embed the intermediate posts properly whilst touching the rope on top of the intermediate posts to ensure the right level and direction. Installation Guide Fortinet Protect – December 2019 6/20... -
Page 7: Installation Of The Mesh
STEP STEP STEP STEP STEP 1 & STEP 2 Unroll two Fortinet Protect rolls over the ground in front of the posts. STEP 3 Connect them by means of the Fortinet clips. Installation Guide Fortinet Protect – December 2019 7/20... - Page 8 (at least 30 meter away from the first post). Hang on the belt/rope between tension comb and the scoop of the excavator and start tensioning. The welded mesh will lift up by itself. Installation Guide Fortinet Protect – December 2019 8/20...
- Page 9 Verify the distance between the lower part of the roll and ground level before fixing properly. STEP 7 Do the same on each intermediate post: distance between two clips is about 40 Check height above ground level on each post before fixing. Installation Guide Fortinet Protect – December 2019 9/20...
-
Page 10: To Continue
Supplementary double tie wire can be added afterwards and knotted on the inside of the property. We advice once at the top, once at the bottom and once in the middle of the welded mesh. Installation Guide Fortinet Protect – December 2019 10/20... -
Page 11: Supplementary Indications To Keep In Mind
Fix the end of the infill with the upper part, by joining almost every “ horizontal” wire (detail 2). Fix all intermediate posts/fence (detail 3). Installation Guide Fortinet Protect – December 2019 11/20... - Page 12 9. If axe holes of the Fortinet Protect rolls are damaged during uncharging the containers, cut away two or tree meshes. Keep in mind that, when fixing two rolls together, it is important that the join is as flat as possible .
- Page 13 11. Number of clips : For a 2 meter high fence Installation Guide Fortinet Protect – December 2019 13/20...
- Page 14 For a 2,5 meter high fence with extension arm : Installation Guide Fortinet Protect – December 2019 14/20...
- Page 15 This is an essential tool to tension in a proper way in all conditions and eliminates working with a winch. In the mean time, the workman with the excavator can transport the heavy rolls, level and backfill the perimeter area. Installation Guide Fortinet Protect – December 2019 15/20...
-
Page 16: Reparation Of Fortinet Welded Mesh
8. REPARATION OF FORTINET WELDED MESH TOOLS PROCEDURE 1. Problem of broken mesh Installation Guide Fortinet Protect – December 2019 16/20... - Page 17 2. Hang on both sides of the mesh a tension comb as close as possible on the inside of the fence, connected with the winch. 3. Pull both ends together by using the winch Installation Guide Fortinet Protect – December 2019 17/20...
- Page 18 Detail: connection of supplementary piece of Fortinet 5. Remove winch and combs. Add supplementary tension in the fence using the crimp tong, by crimping full rows of meshes from top to bottom Installation Guide Fortinet Protect – December 2019 18/20...
-
Page 19: Fixing Of Y-Extension Arms With Barbed Wire And Clipped Razor Tape On Bekaclip Posts
fixation b.m.o. the standard stainless steel clip on the fixing strip. Fix a tensioner on both ends of the barbed wire, see drawing below, and tension the barbed wire properly. Installation Guide Fortinet Protect – December 2019 19/20... -
Page 20: Installation & Fixation Of The Concertina Coil On Top Of The Y-Extension Arms
connection of the coil on the barbed wire ropes: with about 27 stainless steel clips between two extension arms = join each contact point between razor tape and barbed wire. Installation Guide Fortinet Protect – December 2019 20/20...


Need help?
Do you have a question about the FORTINET PROTECT and is the answer not in the manual?
Questions and answers